Difference between revisions of "UART Communication with PIC16F877A Starter Board"
| (3 intermediate revisions by the same user not shown) | |||
| Line 2: | Line 2: | ||
In this tutorial we will be doing the serial communication on PIC16F877A Starter board.<br> | In this tutorial we will be doing the serial communication on PIC16F877A Starter board.<br> | ||
PIC starter board has an on board Usb-to-Serial converter and you do not need any other hardware other than this board.<br> | PIC starter board has an on board Usb-to-Serial converter and you do not need any other hardware other than this board.<br> | ||
| − | |||
[[File:0 UART main.gif]] | [[File:0 UART main.gif]] | ||
| + | <br><br> | ||
| + | |||
=UART Pins= | =UART Pins= | ||
| Line 15: | Line 16: | ||
|TX || PORTC.6 | |TX || PORTC.6 | ||
|} | |} | ||
| + | <br><br> | ||
| − | |||
=Code= | =Code= | ||
| + | Below is the sample code to transmit a string at 9600 baud rate.<br> | ||
| + | Refer the uart.c/uart.h files for more functions.<br> | ||
<html> | <html> | ||
<script src="https://gist.github.com/sharanago/12a15188d6143edfa7ba6408d6c1da02.js"></script> | <script src="https://gist.github.com/sharanago/12a15188d6143edfa7ba6408d6c1da02.js"></script> | ||
</html> | </html> | ||
[[File:Pic16f877a uart.PNG]]<br><br> | [[File:Pic16f877a uart.PNG]]<br><br> | ||
Latest revision as of 19:01, 2 May 2016
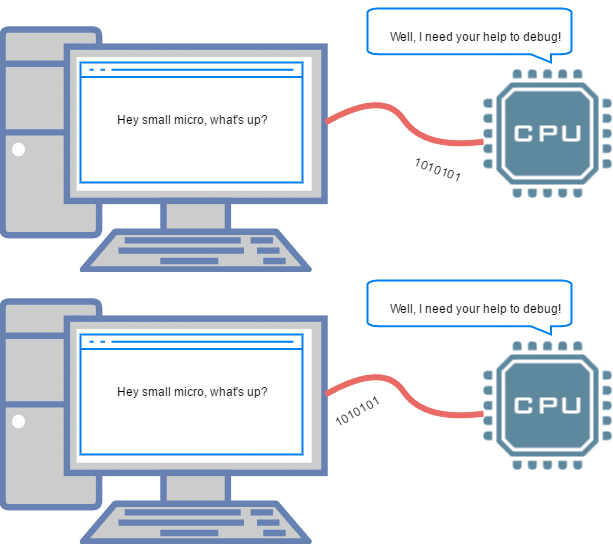
In this tutorial we will be doing the serial communication on PIC16F877A Starter board.
PIC starter board has an on board Usb-to-Serial converter and you do not need any other hardware other than this board.

UART Pins
Below table shows the PIC16F877A Starter board UART pins.
| UART Pin | Controller Pin |
|---|---|
| RX | PORTC.7 |
| TX | PORTC.6 |
Code
Below is the sample code to transmit a string at 9600 baud rate.
Refer the uart.c/uart.h files for more functions.

