In this tutorial we will see how to upload hex file using the below PICKit 2 programmer.
Installing PICkit 2 Software
Download and Install the Pickit2 software from the below link
Launching PICkit 2 Software
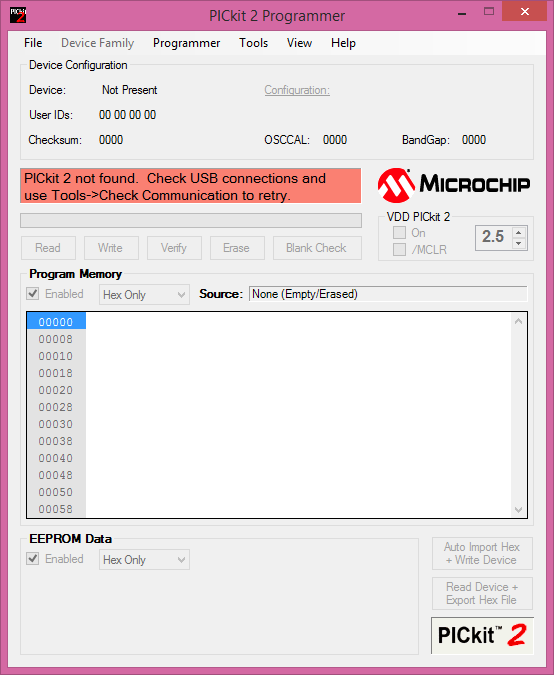
Step1: Once we download the PICKit programmer Software, start the PICkit 2 Software by selecting Start>Programs>Microchip>PICkit 2. When the PICkit 2 Programmer application is first opened, it will attempt to identify the connected device by the device ID and display it in the Configuration window. In our case it is showing PICkit 2 not found because PICkit 2 is not connected to target device yet. Refer below image.
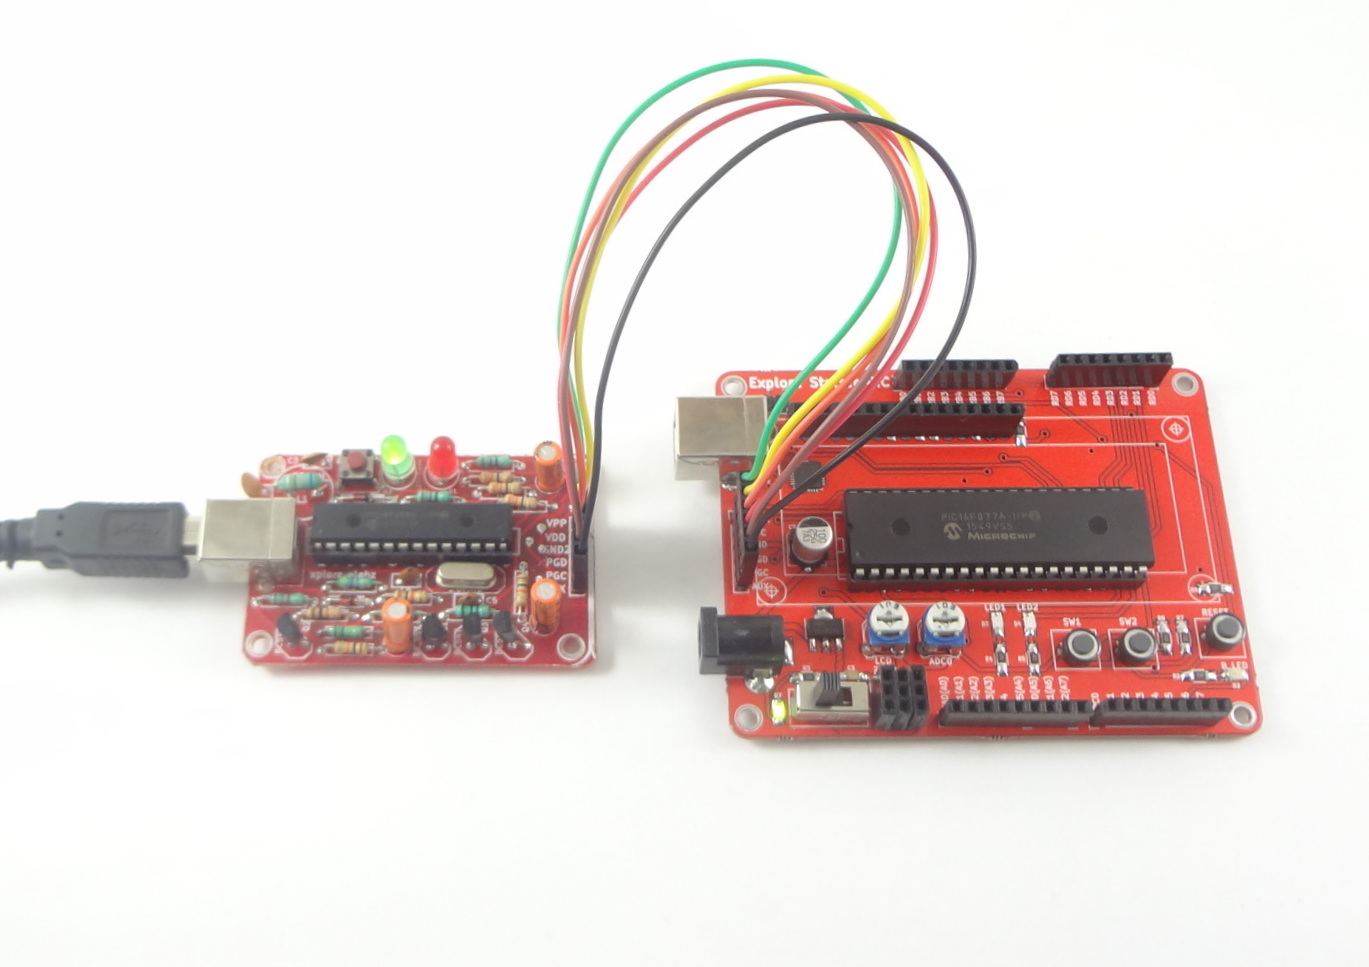
Step2: Plug one end of the USB cable into PICkit 2 USB connector. Plug the other end into a USB port on your PC.
- Connect the PICkit 2 to a target board via a 6-pin connector. The target board can be the Explore Starter PIC board or Explore PIC Breakout board.Refer the below image for board connection.
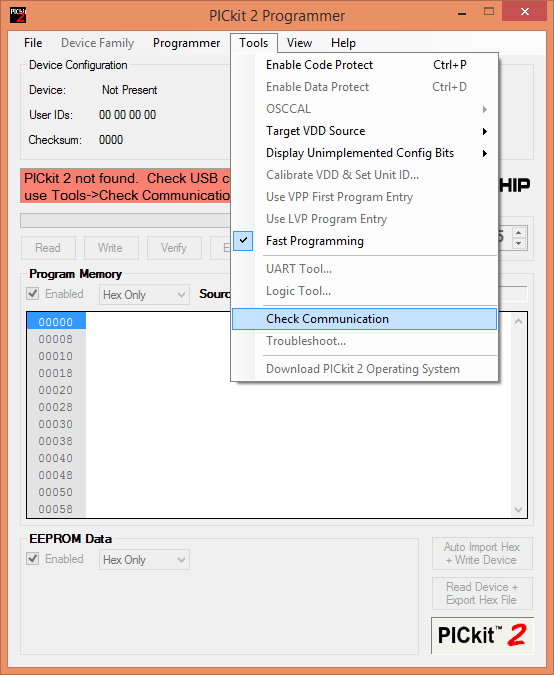
Step3: Go to Tools tab click on the Check communication,now status window will show PICkit 2 connected.
- Refer the below labeled image of PICkit 2 programmer application software.
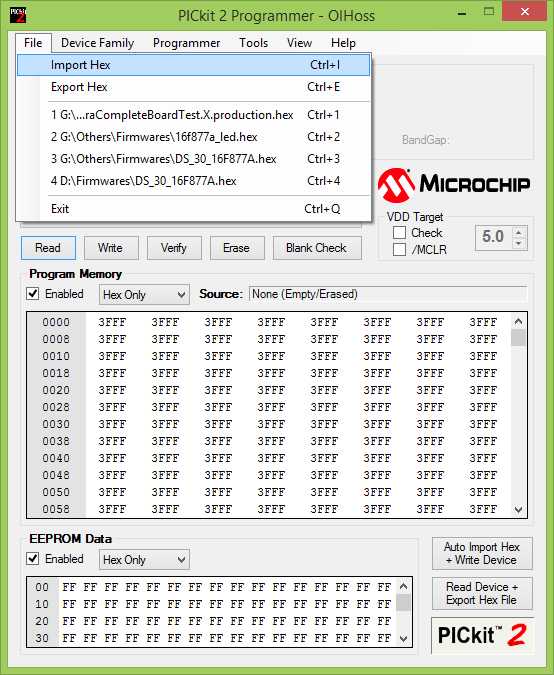
Step4:To import a compiled program (hex file) to be programmed into the target device, select File>Import HEX as shown in below image.
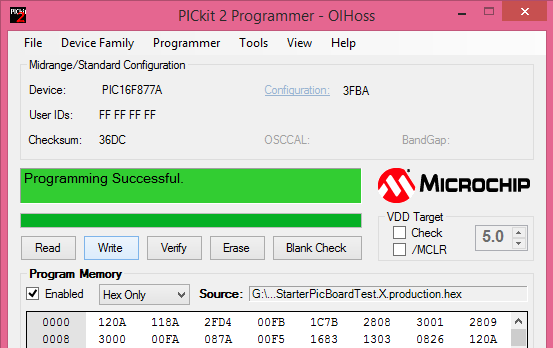
Step5:After a device family has been selected and a hex file has been imported, the target device can be programmed by clicking Write. The device will be erased and programmed with the hex code previously imported. Status window will show Programming Successful.Refer below image.


