Building a Frivolous Internet Connected Display with ESP32
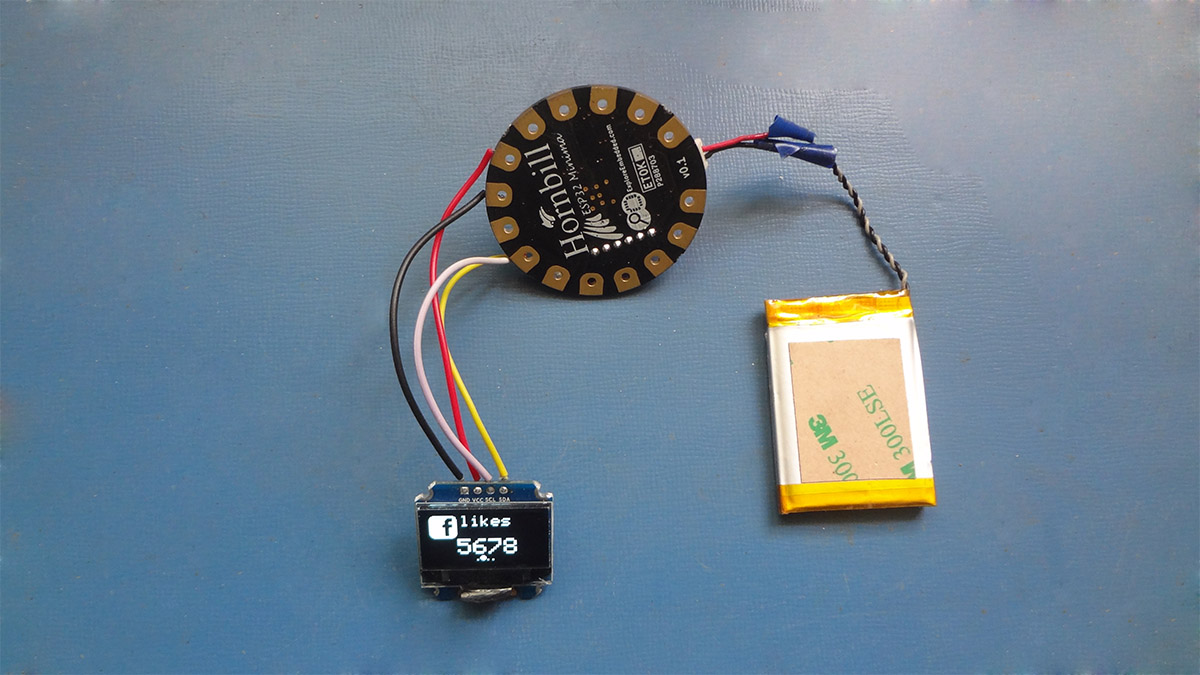
I am obsessed with numbers, are you? Examples in the demo are frivolous but the objective is to display that numbers that matter on a tiny OLED from all over the internet(sort of)!
We will be using services like IFTTT (which did not work well), Zapier (trial plan) etc to
fetch numbers from numerous services out there and show them on a tiny display. We will be using
the hornbill ESP32 Minima to connect to the internet (AWS IOT). We will expose a webhook
on our server to receive the trigger and then publish the message to display. Confused? Looking at
the image below might help.
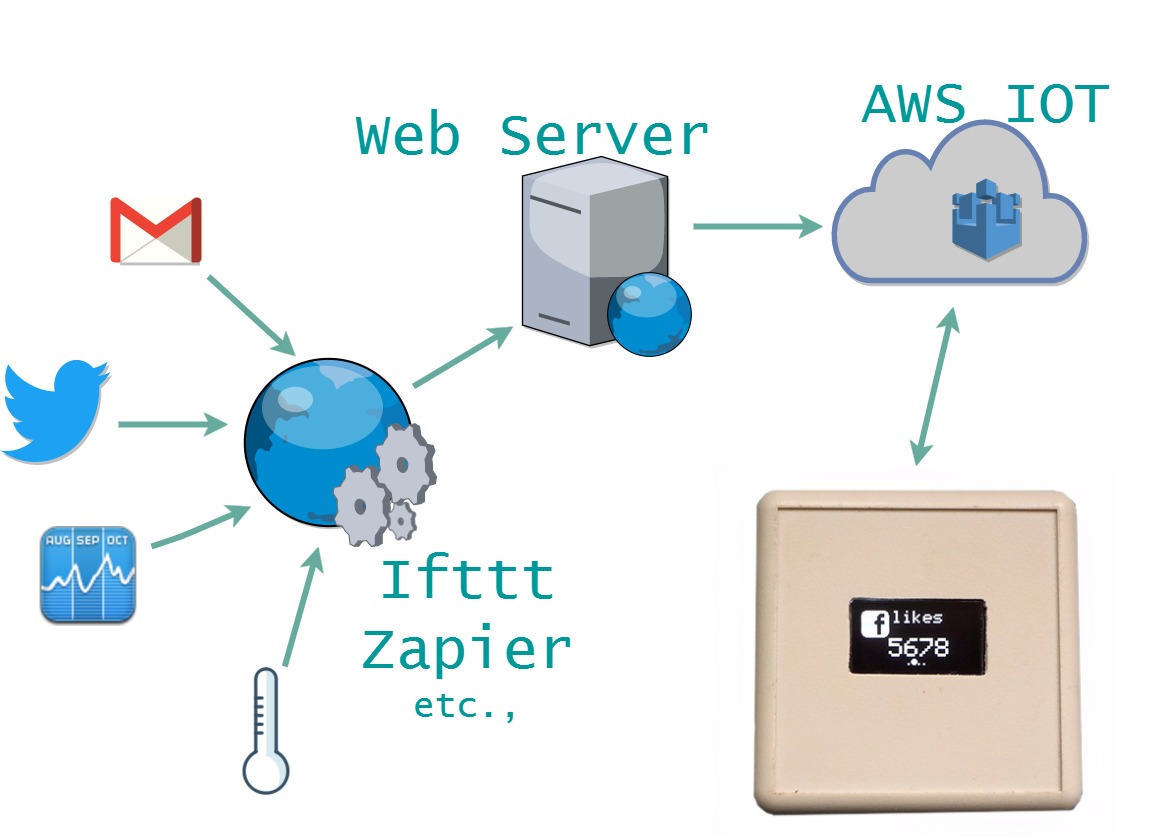 This may not be the best appoach to do this, but this is what I could come up with you. If you can think
of anything better, please do comment!
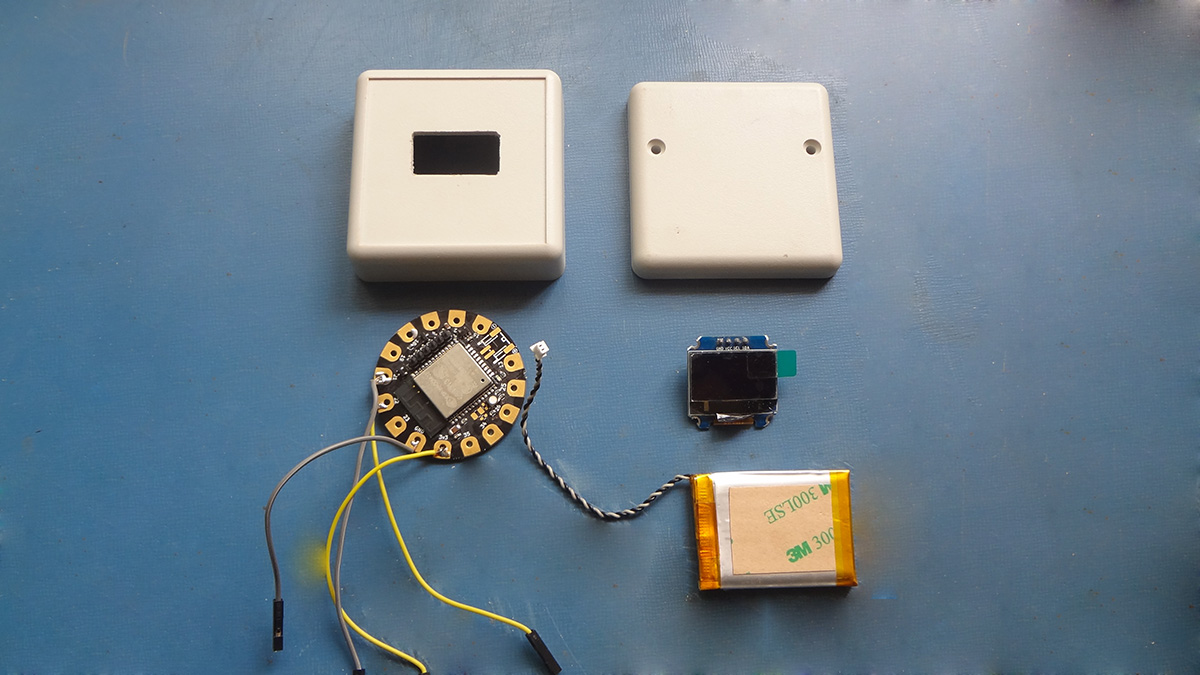
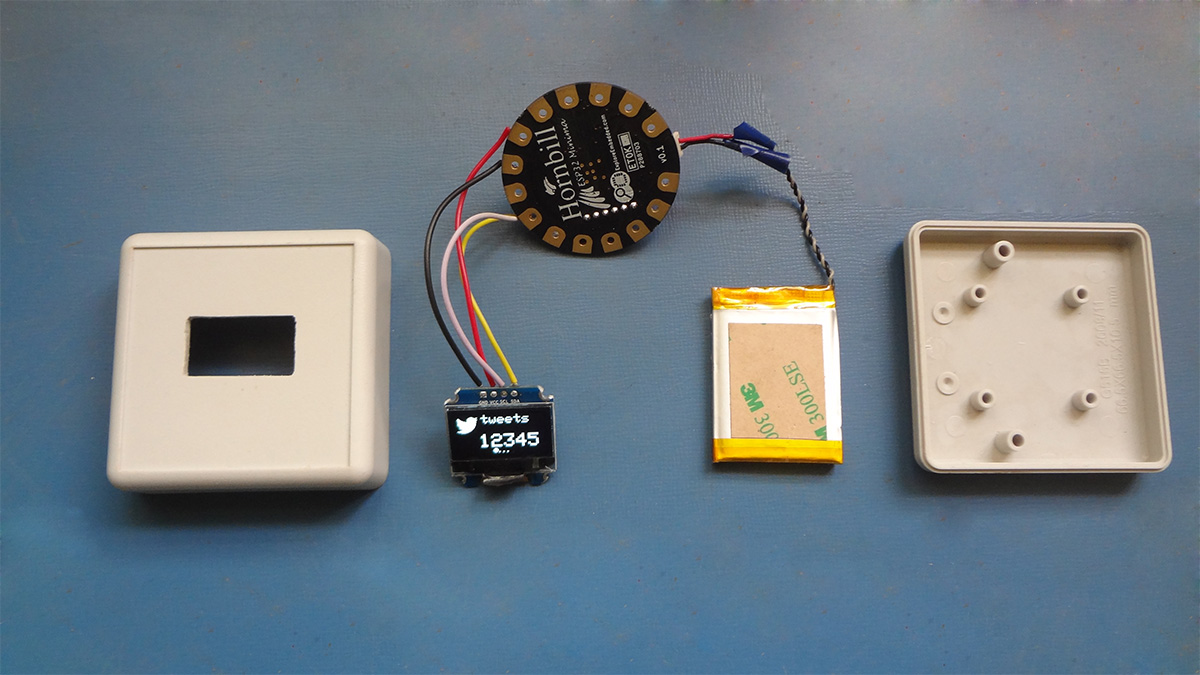
The Parts
- Hornbill ESP32 Minima
- OLED 128x64
- Wires
- Plastic enclosure
- LiPo Battery
The Build
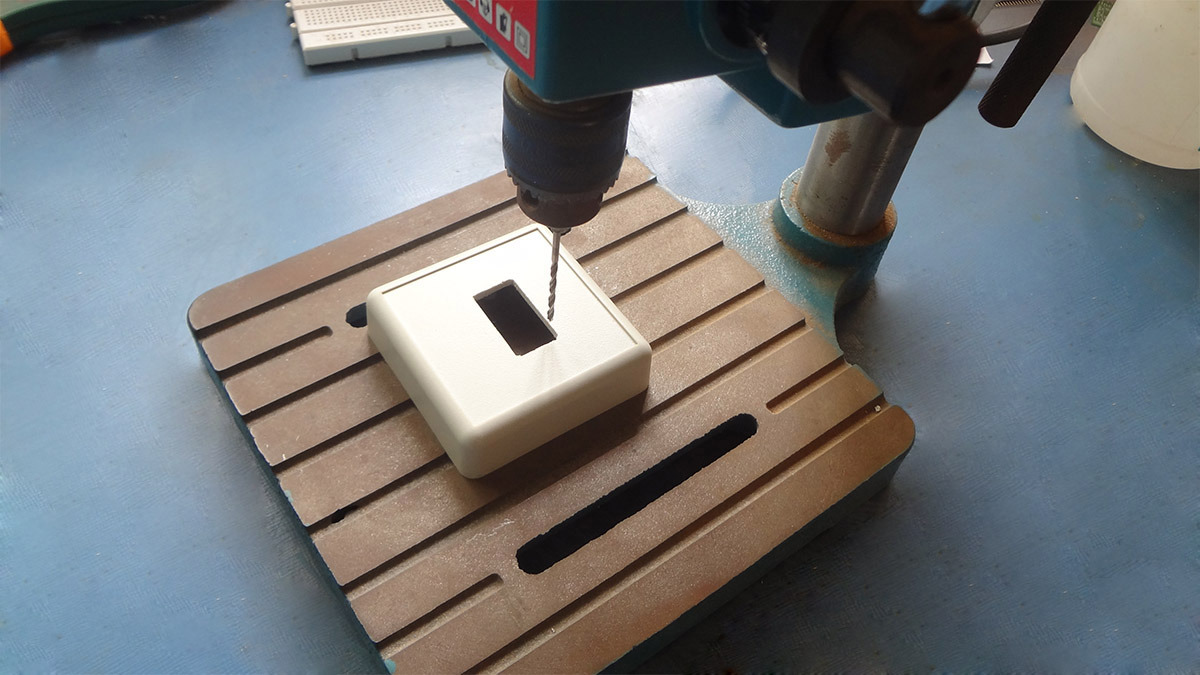
Measure the OLED size, mark it on the enclosure and make a cut out. We did it with a bench top drill. Start out by drilling small holes along side the marking.
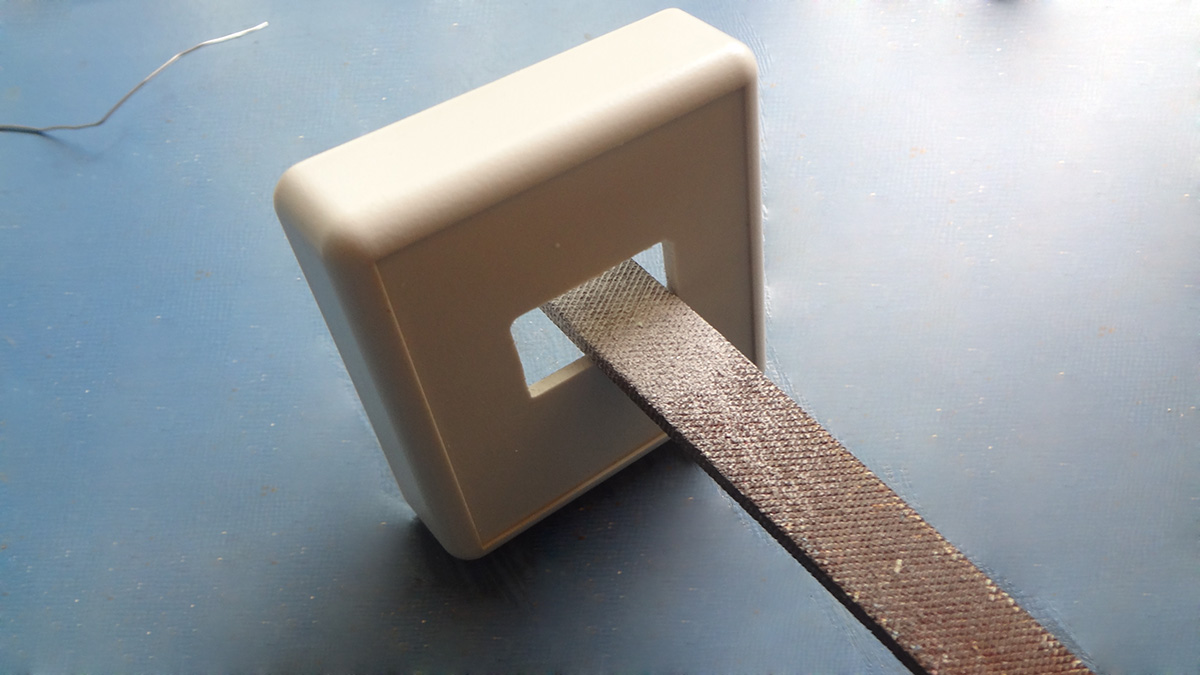
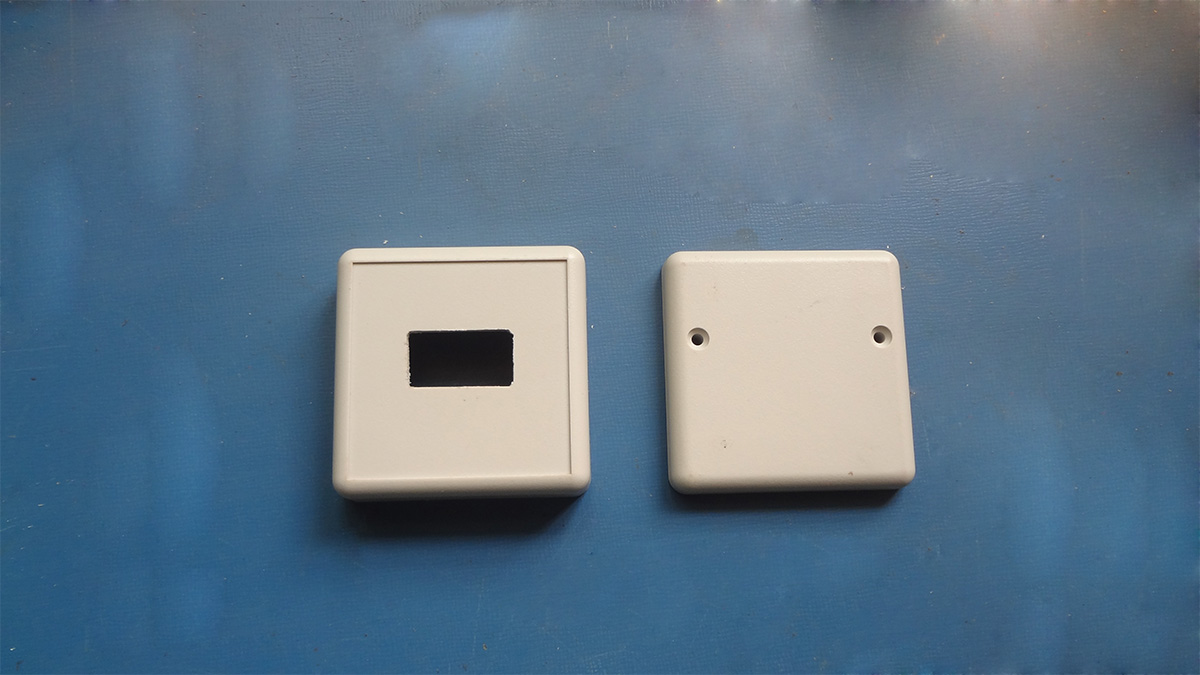
File the rough edges to make a smooth cut out.
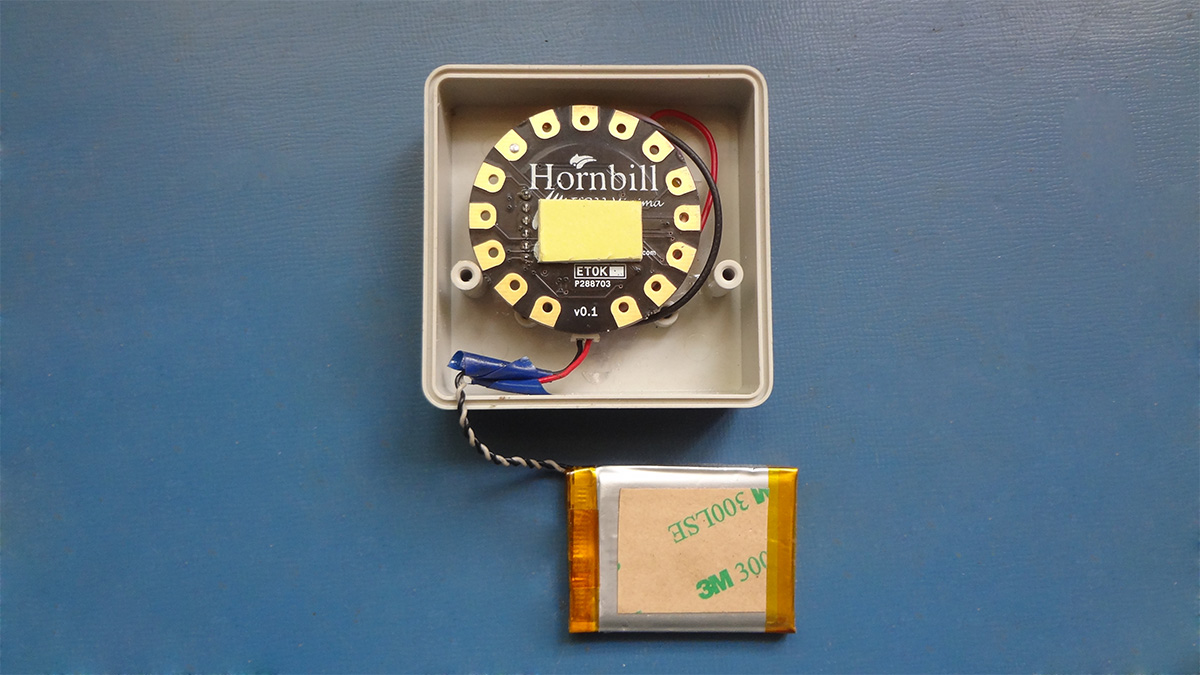
We plan to power it up with the LiPo battery. If you plan to use a USB charger, you might want to make one more cut out for it.
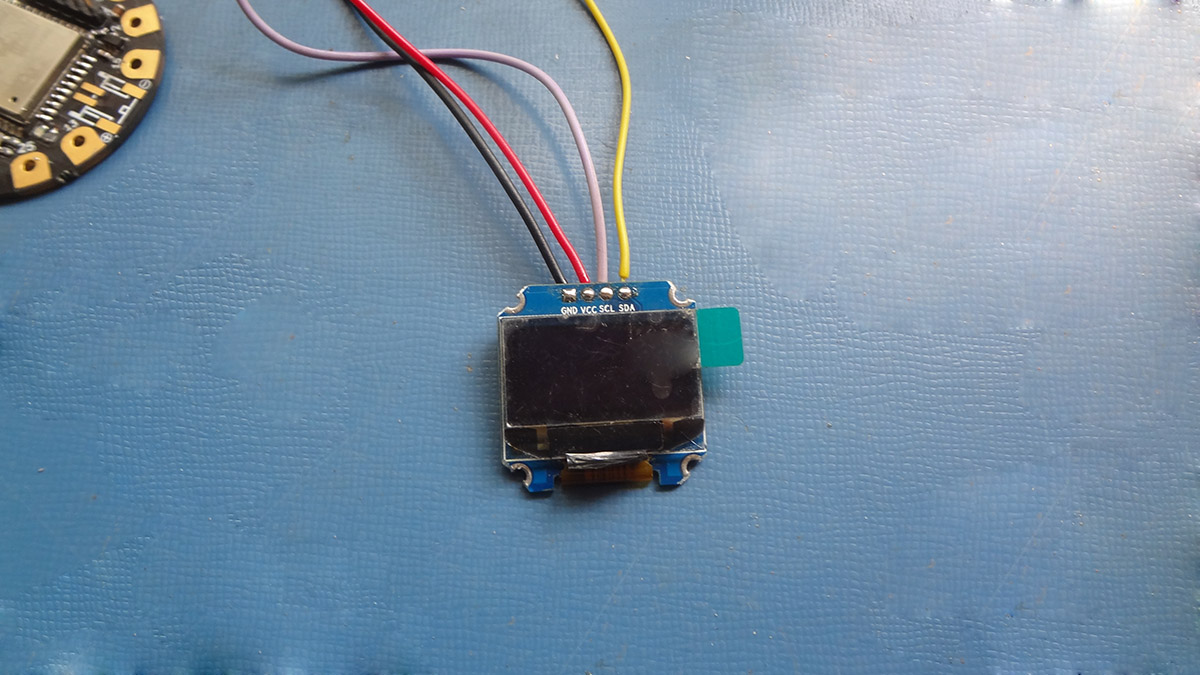
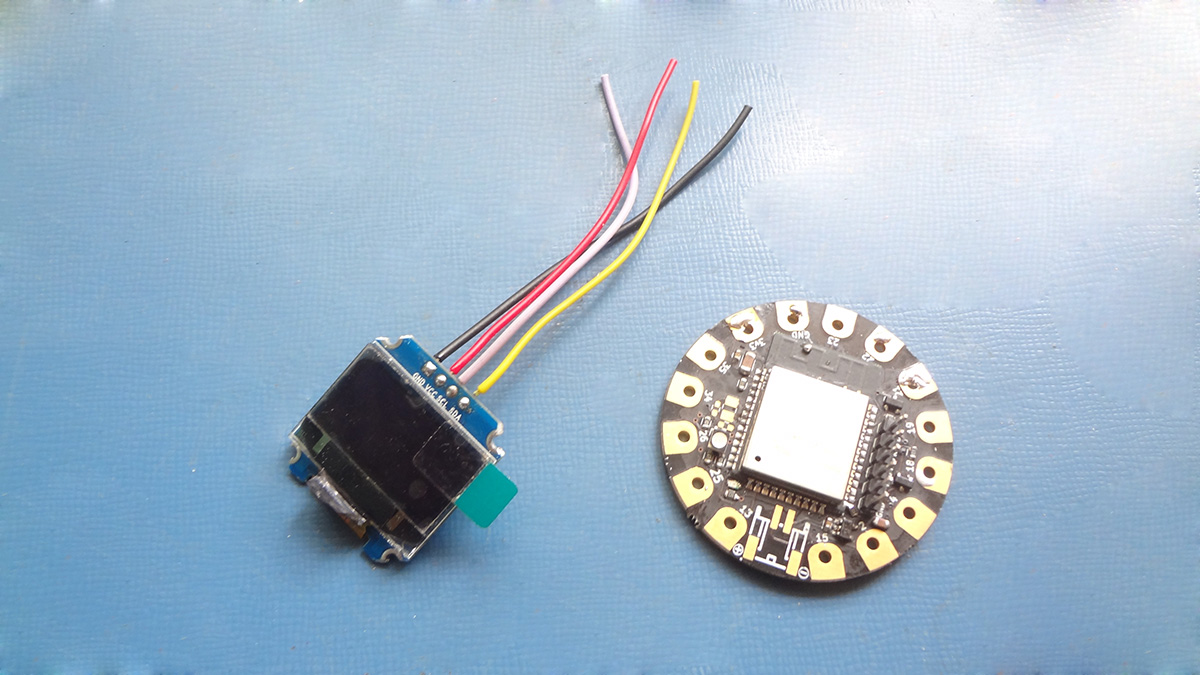
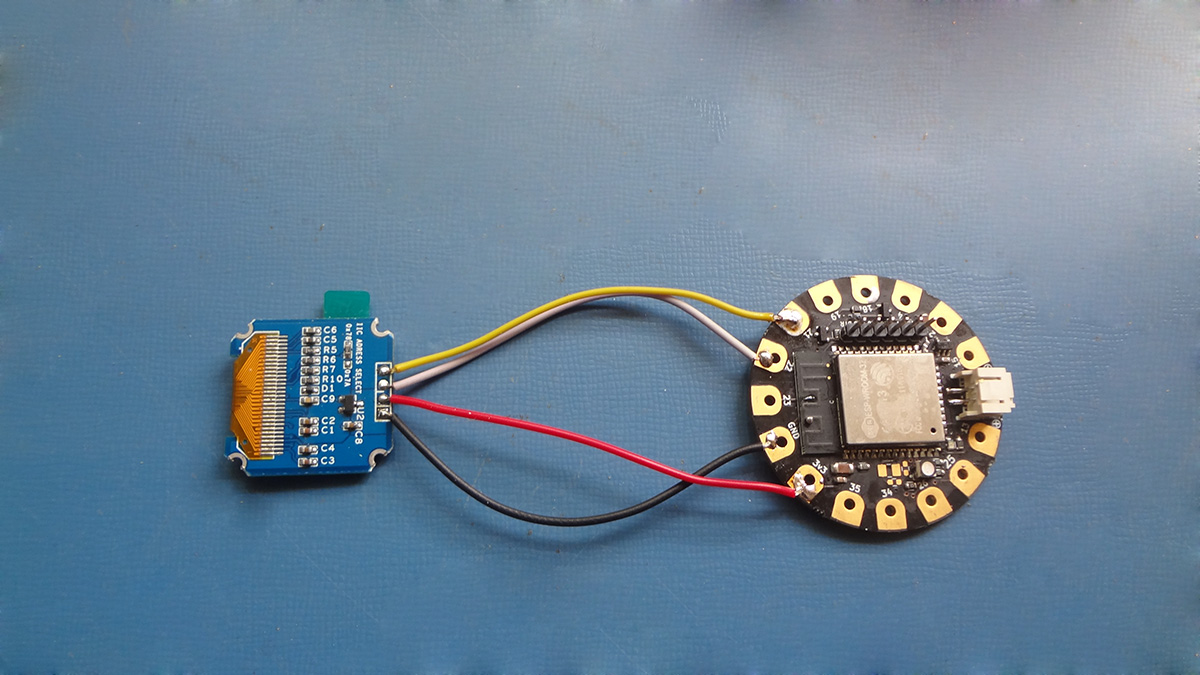
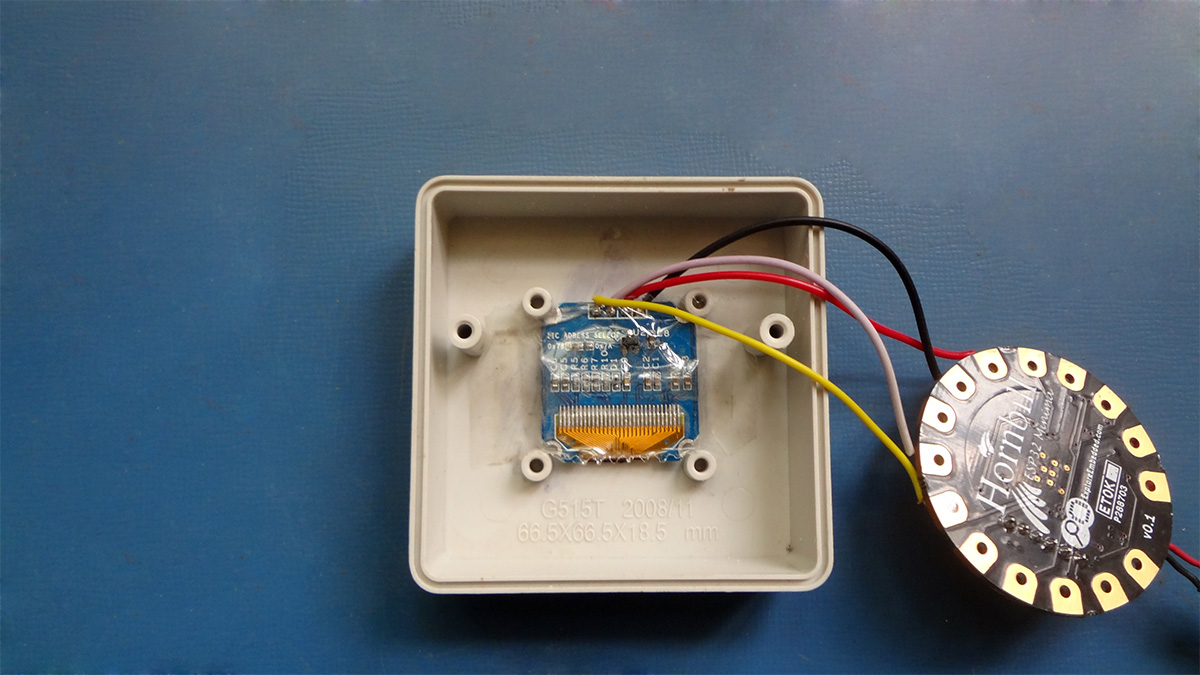
The Hornbill Minima comes with the LiPo battery connector. Only 4 connections are to be made for the display.
| OLED Pin | ESP32 Pin | Description |
|---|---|---|
| SDA | 21 | Yellow wire |
| SCL | 22 | White wire |
| VCC | 3.3V | Red Wire |
| GND | GND | Black wire |
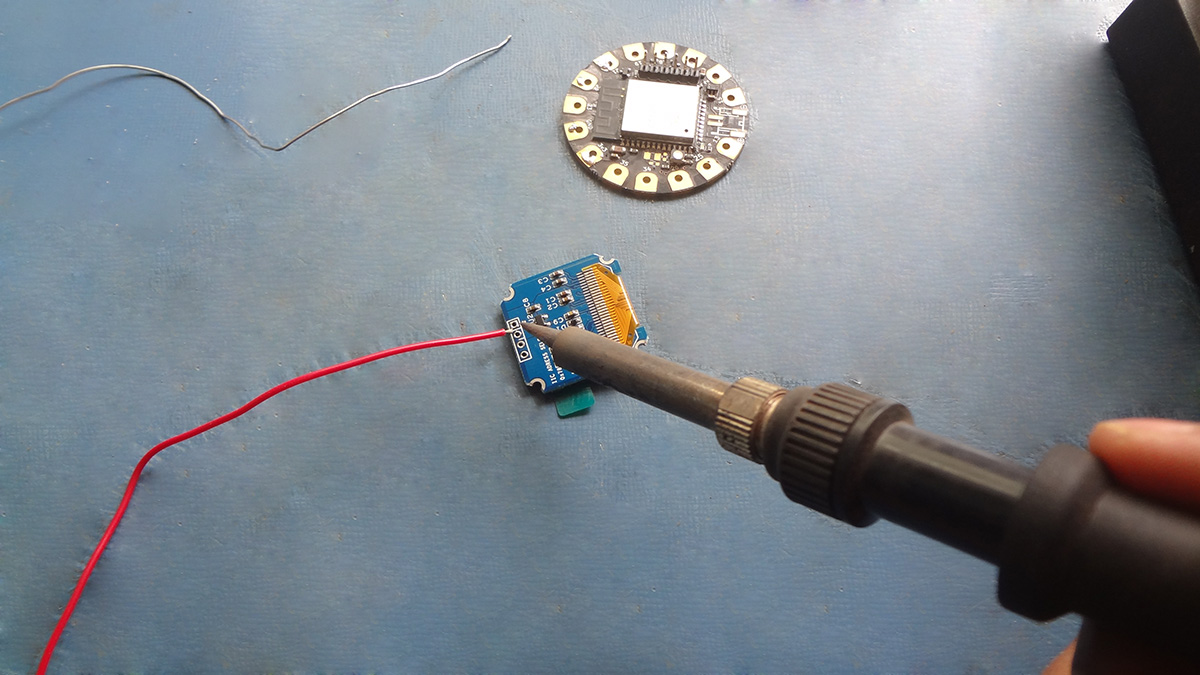
Start with with soldering the wires on OLED first.
Then solder the wires on the Hornbill Minima Pads.
Now make appropriate changes in the firmware code. Download from the "code for FICD section"
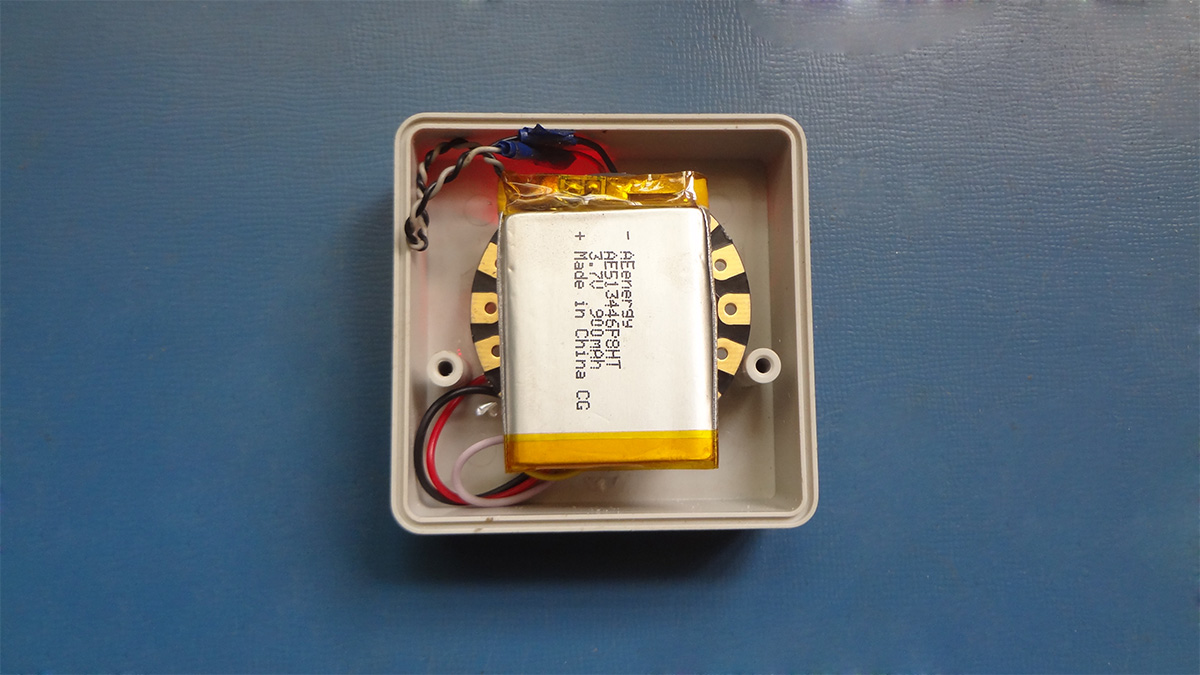
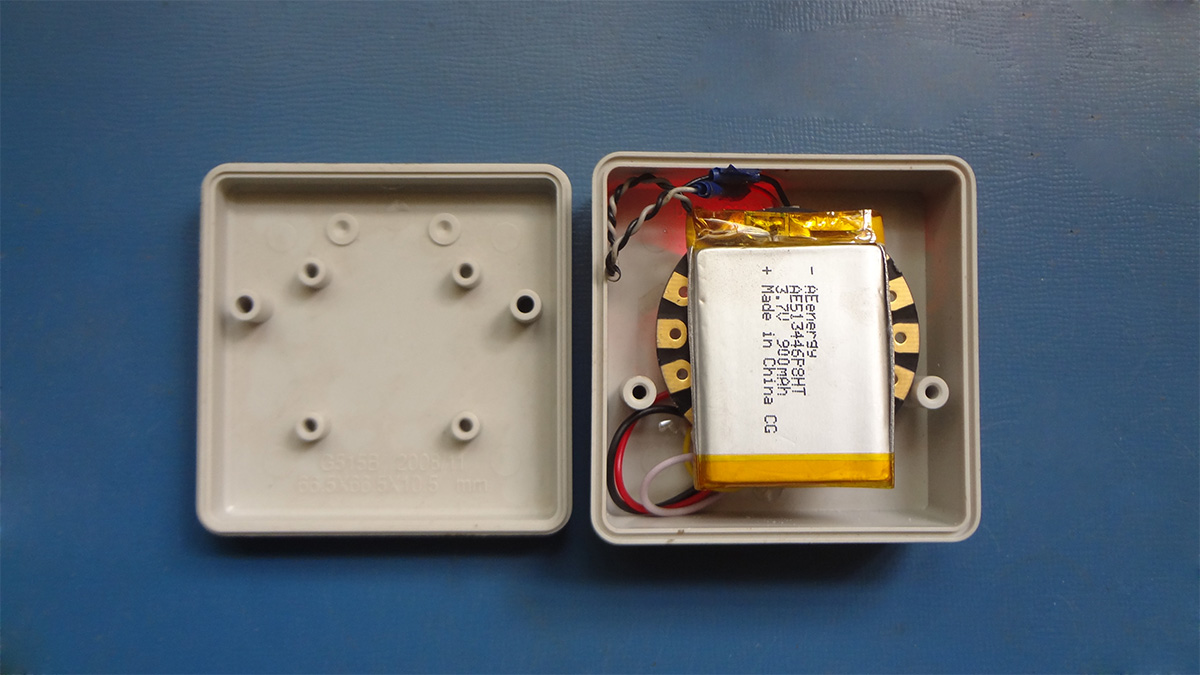
Now, its is time to mount the display inside the case. We did this with the help of tape. You might design and print a tiny 3D printed case as well.
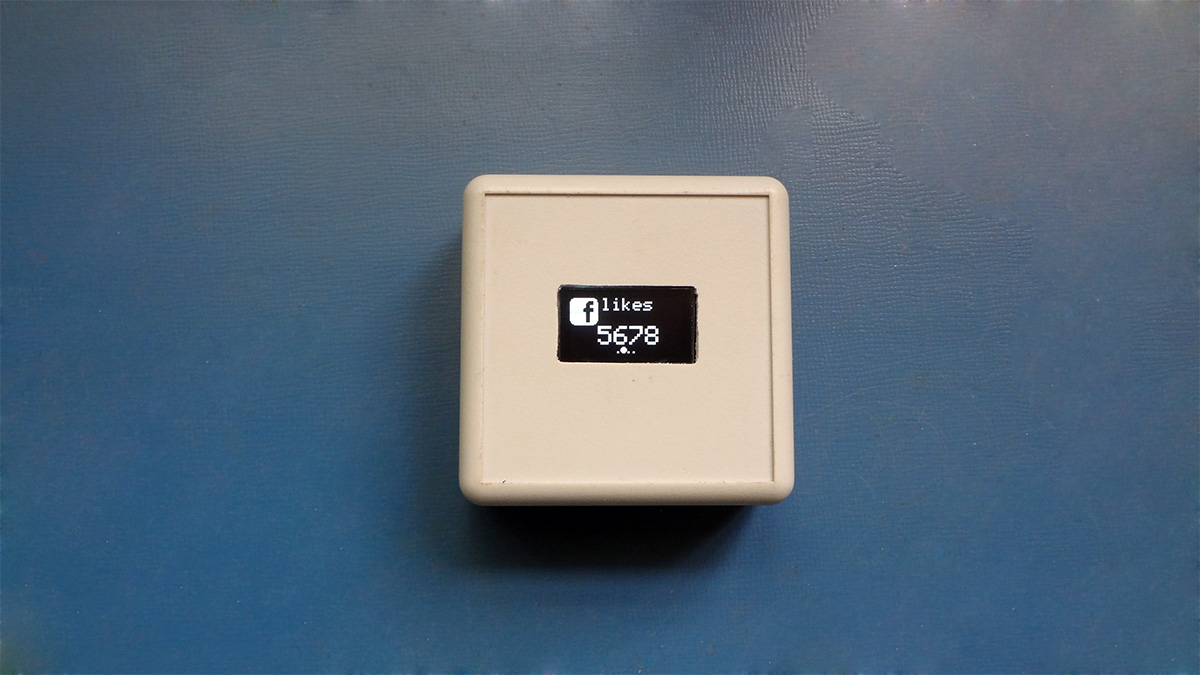
Now the display is ready for action. It will display hard-coded numbers from the firmware. In the next section we will look at using services like IFTTT and Zapier, to display numbers that matter.
Let us look at the data will flow throughout the example.
| Attribute | Example Value | Description |
|---|---|---|
| service | Name of the service, this should match in the Arduino code | |
| serviceTag | followers | This will be displayed in small font. It could be anything that describes the next attribute. |
| value | 231 | The value shown in big font on the display. It can be a formatted number or string. |
Setting up the trigger Services
These services all triggers to be set up from various other services online. We tried IFTTT and Zapier in this tutorial. The IFTTT maker channel did not work well. Zapier did work well. You may try these or any other similar services as well. Note that the free plan for Zapier is limited. Opening an account and setting up a trigger is pretty straightforward and for that reason I'll skip those steps.
With all these services we will set up a HTTP POST request to be made whenever the event occurs. In the example below I configure a POST action if a new twitter search appear with a certain name.

You can get creative with the trigger part, it could be email, Instagram, Stocks, Time, Weather etc., I will cover the action part in detail. The end goal of the action part is to take the configured values and publish them on the display. However there is no direct way to do that. The trigger services use HTTP and our devices on Hornbill IO/ AWS IOT speak MQTT. Hence we need to write a small script to handle the post and publish the message to the display. I will cover this in the next section. Let us look at the action part now.

