In this tutorial we'll see, how to interface RTC with Starter AVR board. For this I am using RTC breakout which has DS1307 RTC on it. For basics of RTC just have a look at our Real Time Clock(DS1307) with AVR tutorial.

Basic

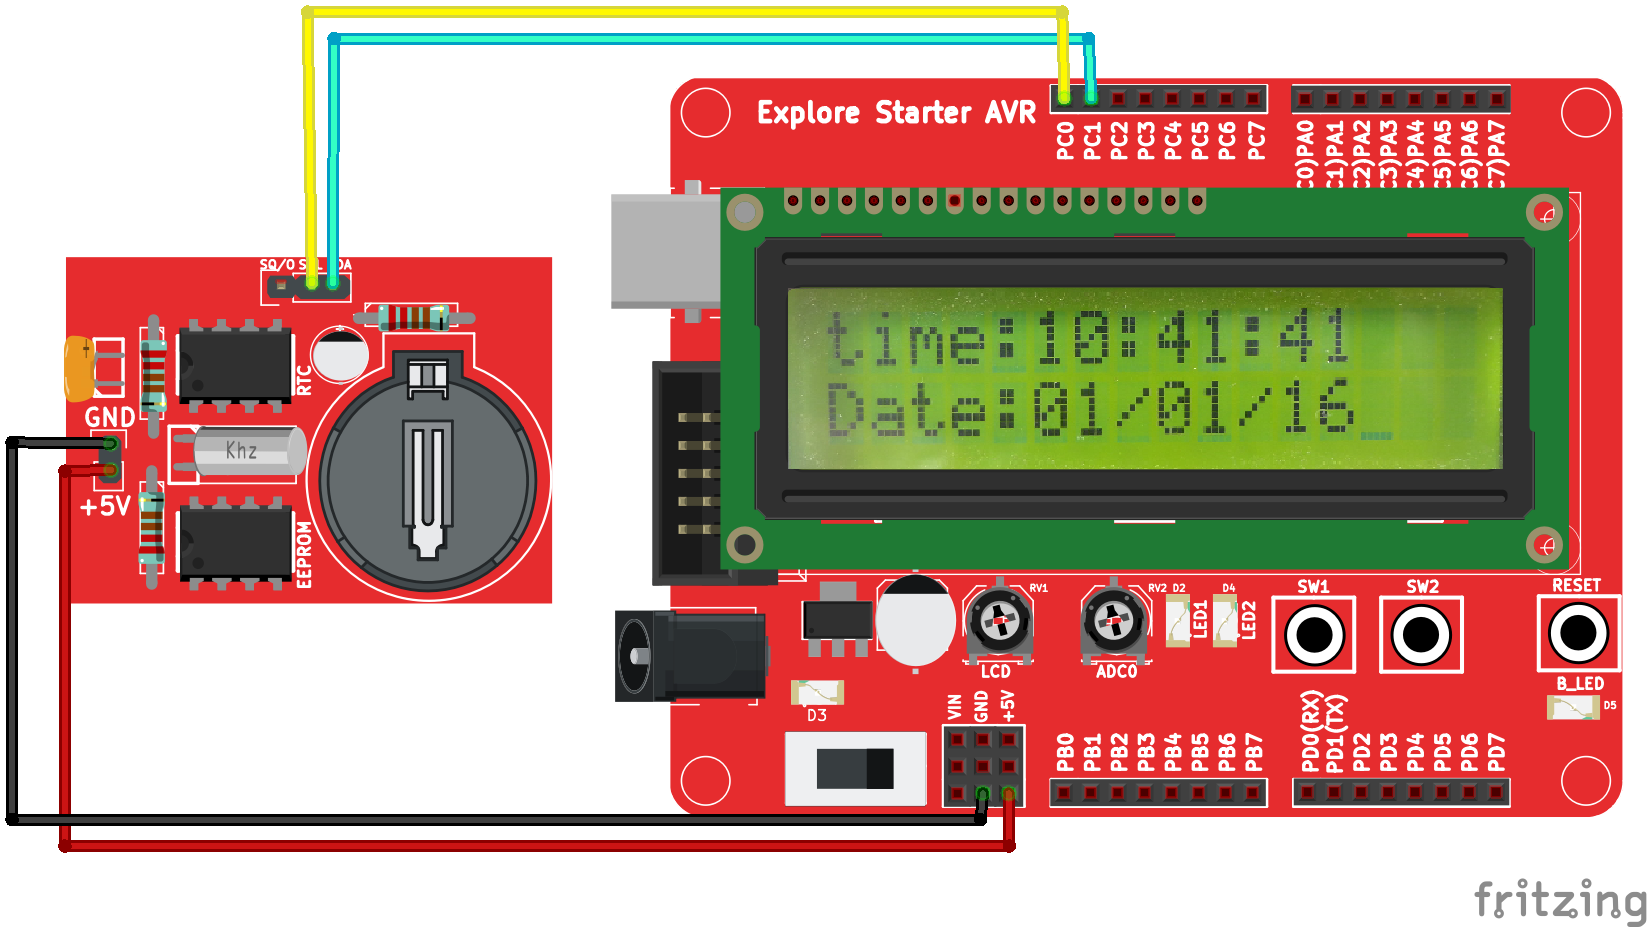
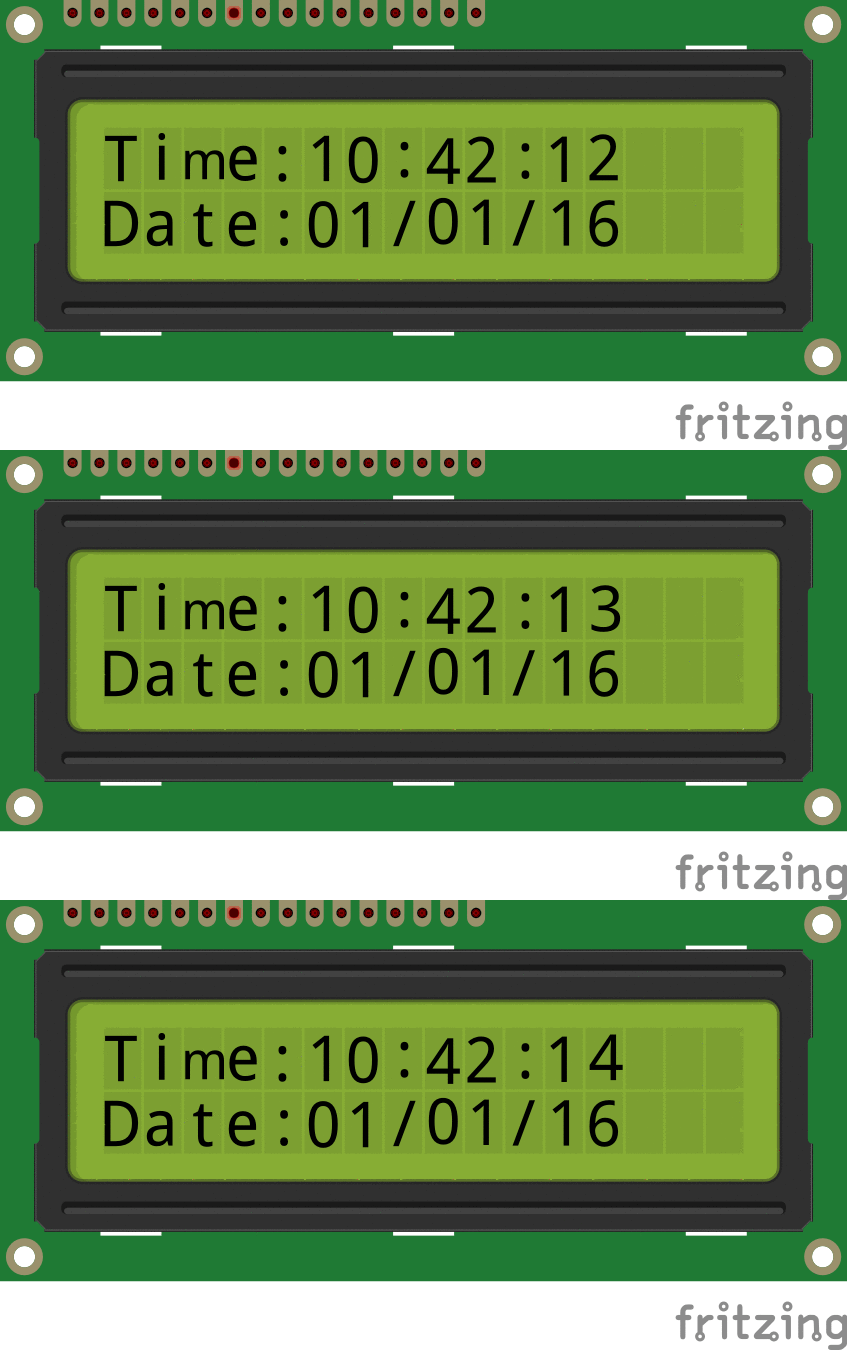
As starter AVR has facility to connect LCD on board, we will display RTC data on LCD in this tutorial. So as shown in hookup connect LCD on starter board. Then connect SCL pin of RTC breakout to PC0 and SDA pin to PC1. PC0 is SCL and PC1 is SDA pin of Atmega 32 microcontroller.

Hookup

0 RTC Starter AVR fritzing.png

Code

#include "rtc.h"
#include "lcd.h"
int main()
{
rtc_t rtc;
/*Connect RS->PB0, RW->PB1, EN->PB2 and data bus to PORTB.4 to PORTB.7*/
LCD_SetUp(PB_0,PB_1,PB_2,P_NC,P_NC,P_NC,P_NC,PC_4,PC_5,PC_6,PC_7);
LCD_Init(2,16);
/*Connect SCL->PC0, SDA->PC1*/
RTC_Init();
rtc.hour = 0x10; // 10:40:20 am
rtc.min = 0x40;
rtc.sec = 0x00;
rtc.date = 0x01; //1st Jan 2016
rtc.month = 0x01;
rtc.year = 0x16;
rtc.weekDay = 5; // Friday: 5th day of week considering monday as first day.
/*##### Set the time and Date only once. Once the Time and Date is set, comment these lines
and reflash the code. Else the time will be set every time the controller is reset*/
RTC_SetDateTime(&rtc); // 10:40:20 am, 1st Jan 2016
/* Display the Time and Date continuously */
while(1)
{
RTC_GetDateTime(&rtc);
LCD_GoToLine(0);
LCD_Printf("time:%2x:%2x:%2x \nDate:%2x/%2x/%2x",(uint16_t)rtc.hour,(uint16_t)rtc.min,(uint16_t)rtc.sec,(uint16_t)rtc.date,(uint16_t)rtc.month,(uint16_t)rtc.year);
}
return (0);
}

Demo

00Interface RTC with Atmega128.gif

Downloads