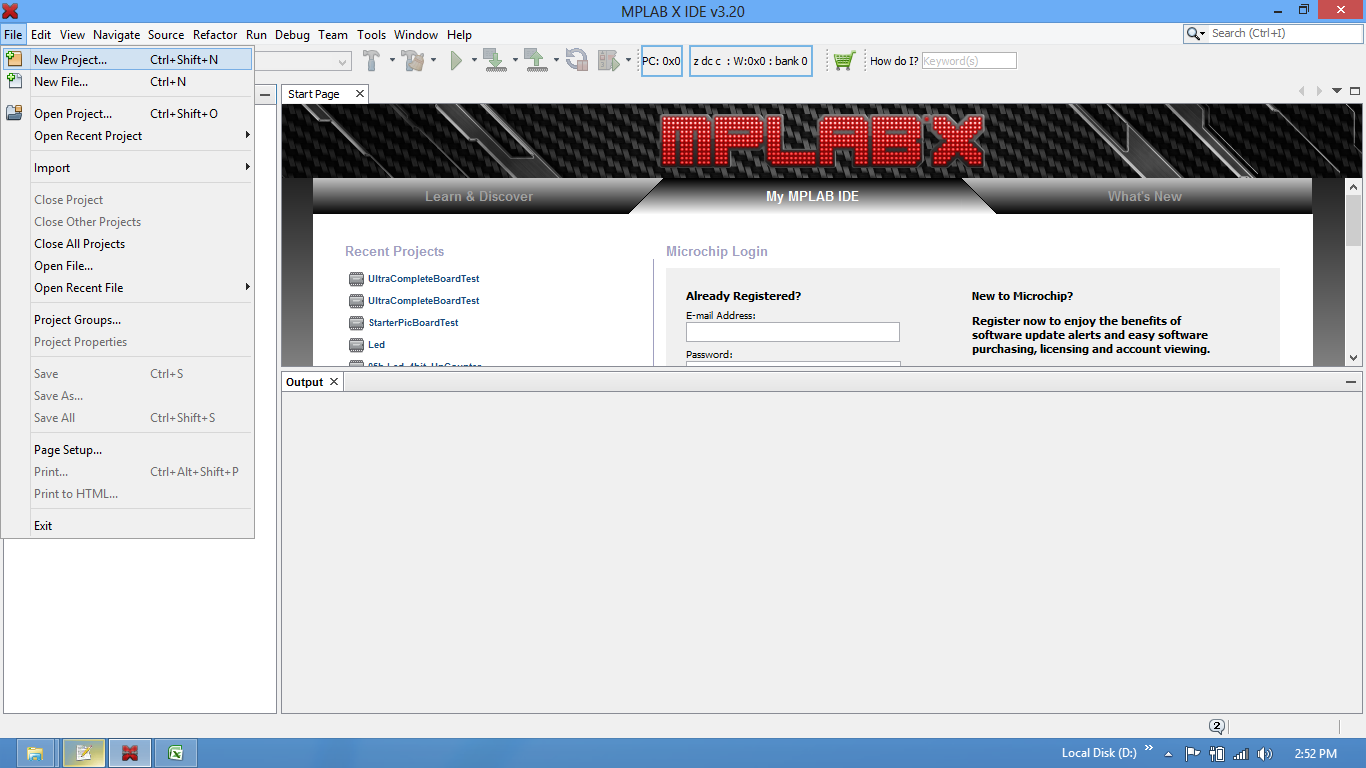
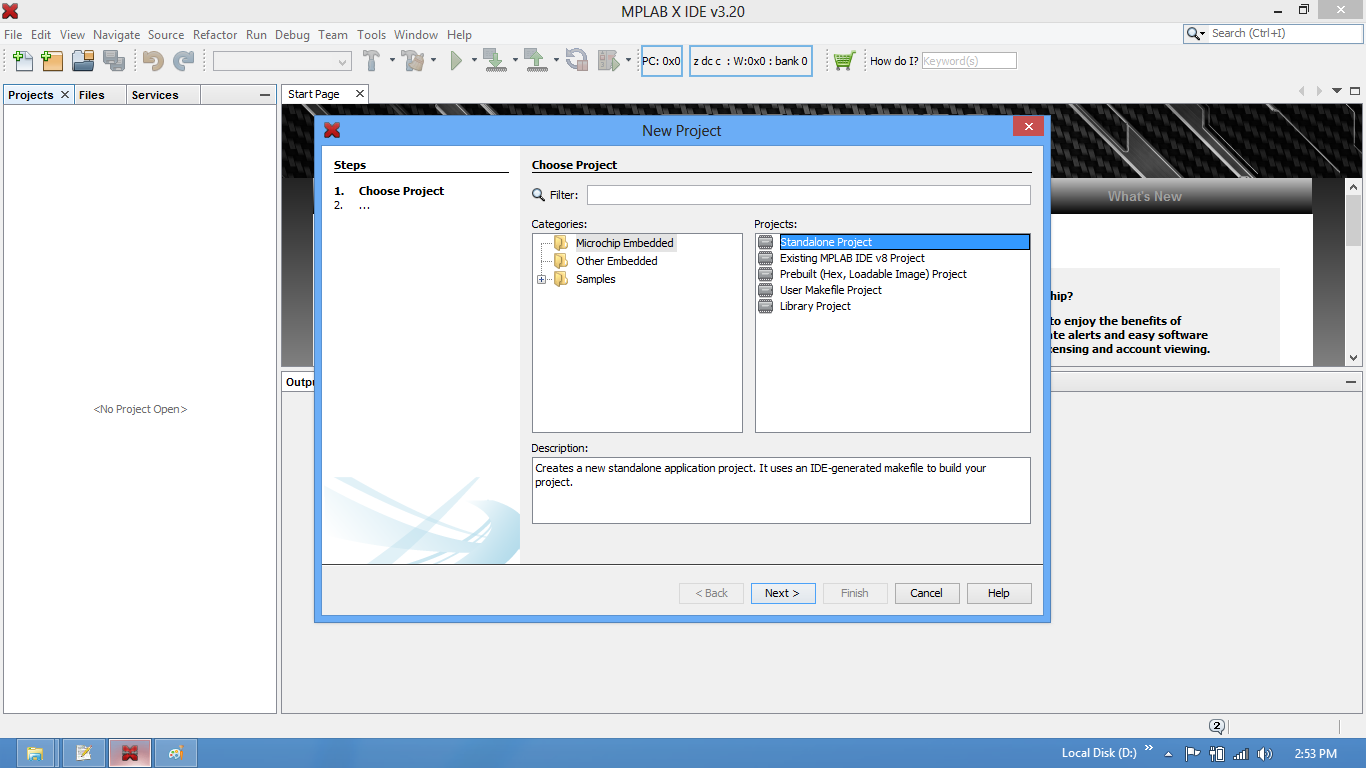
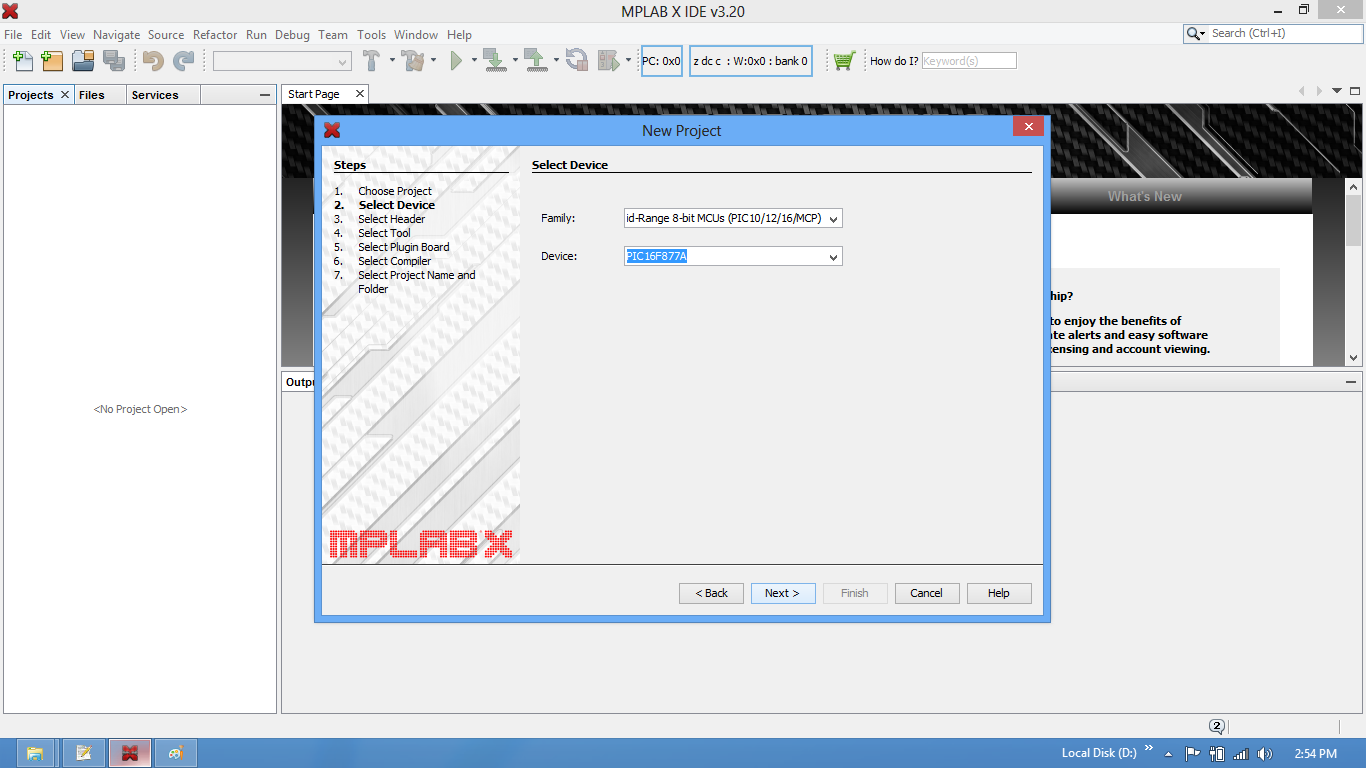
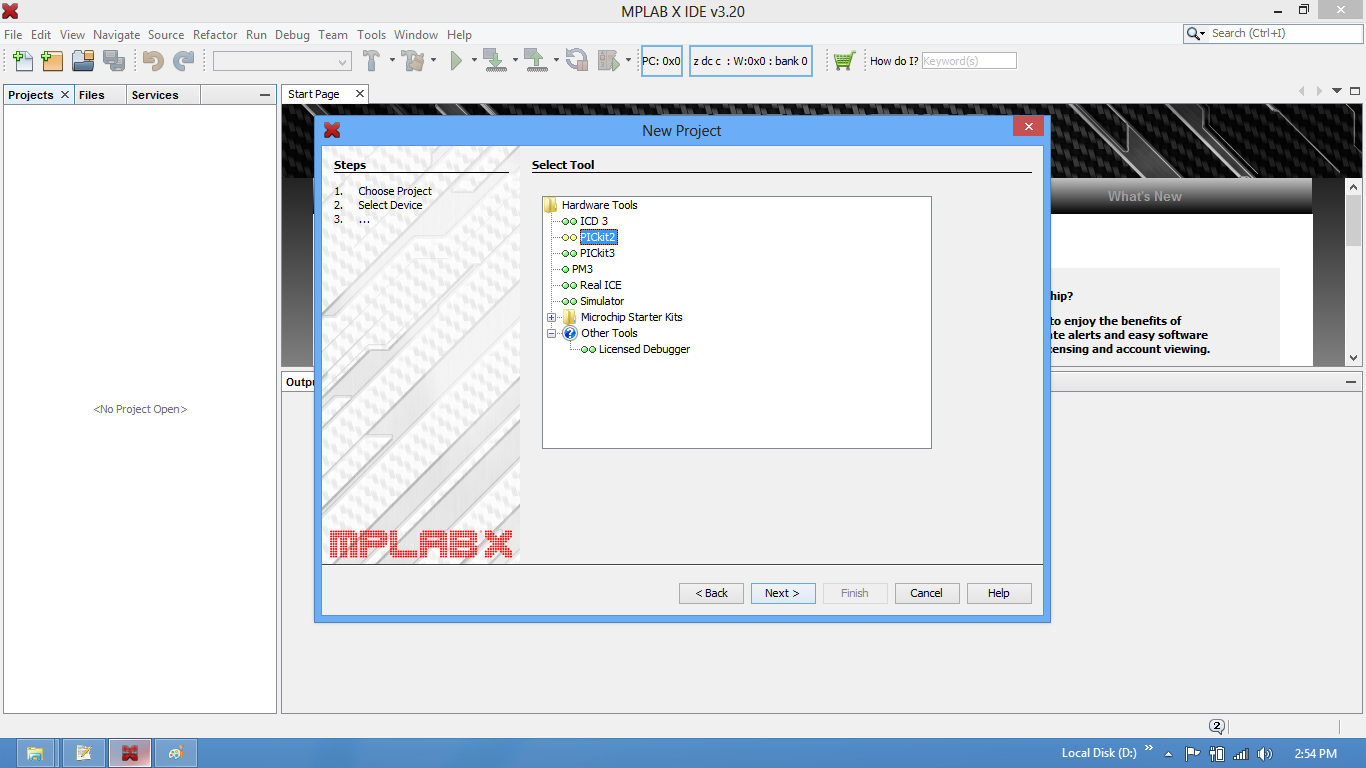
In this tutorial we will see how to setup a Mplabx project to generate .hex file for Pic16f877a
File:Pic16F877A MplabX Setup00.png
Keil Setup Steps
Step1: Open the Keil software and select the New Microvision project from Project Menu as shown below.

Step2: Browse to your project folder and provide the project name and click on save.
Step3: Once the project is saved a new pop up “Select Device for Target” opens, Select the controller(NXP:LPC1768) and click on OK.
Step4: Select the controller(NXP:LPC1768) and click on OK.
Step5: As LPC1768 needs the startup code, click on Yes option to include the LPC17xx Startup file.
Step6: Create a new file to write the program.
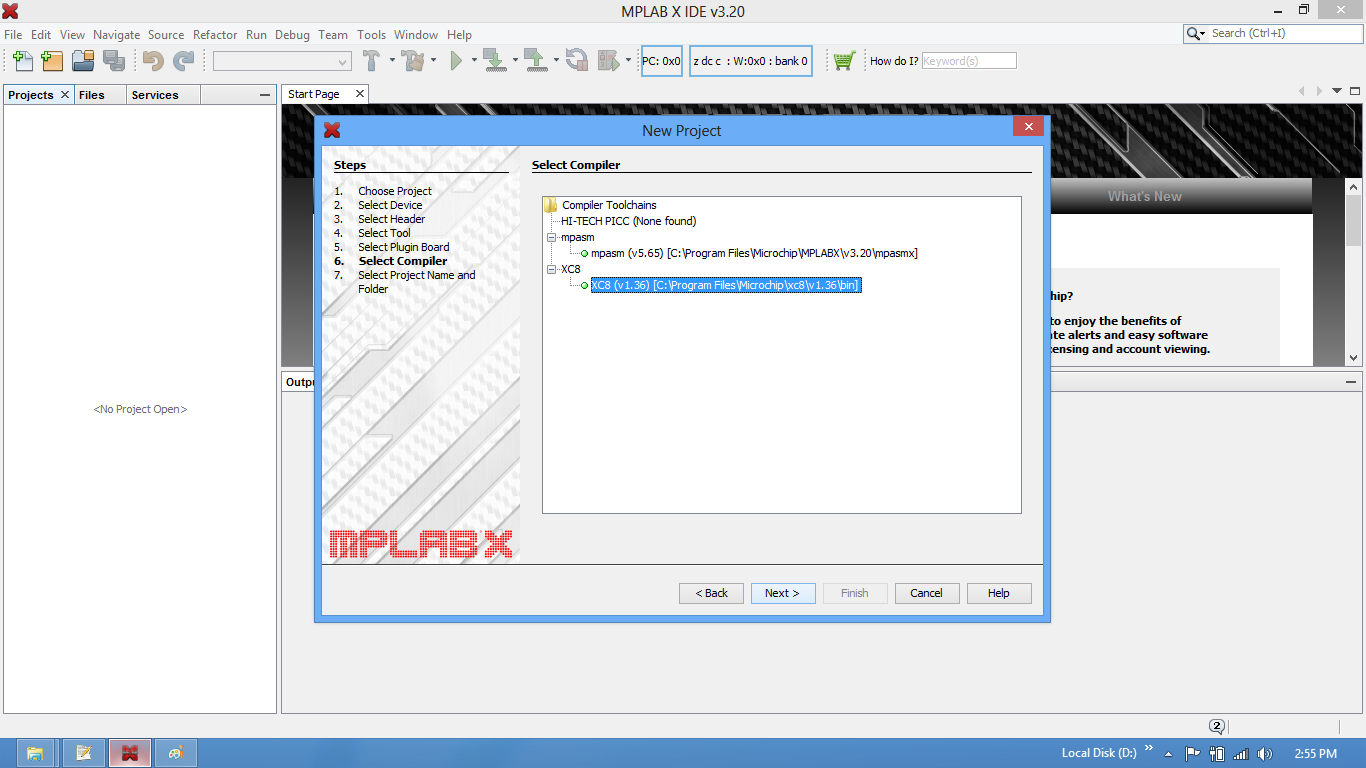
Step7: Type the code or Copy paste the below code snippet.
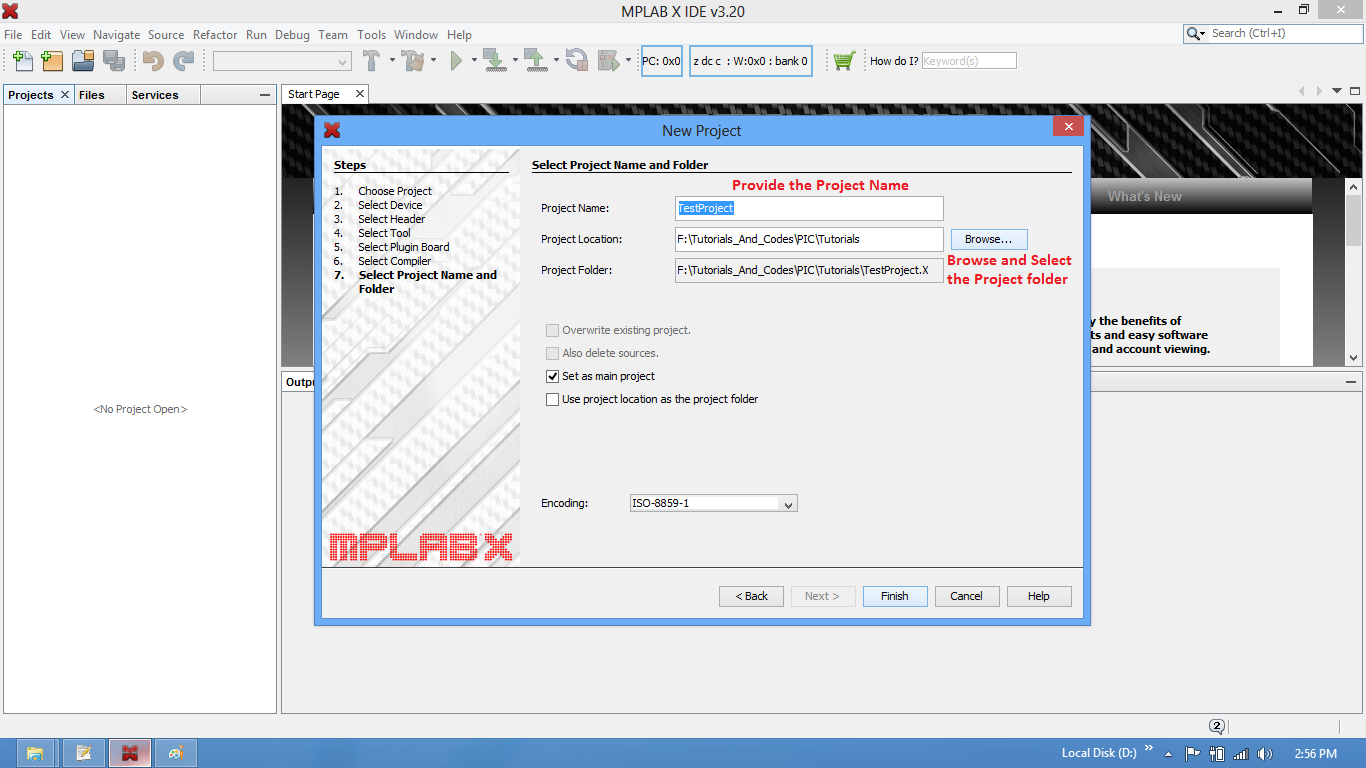
Step8: After typing the code save the file as main.c.
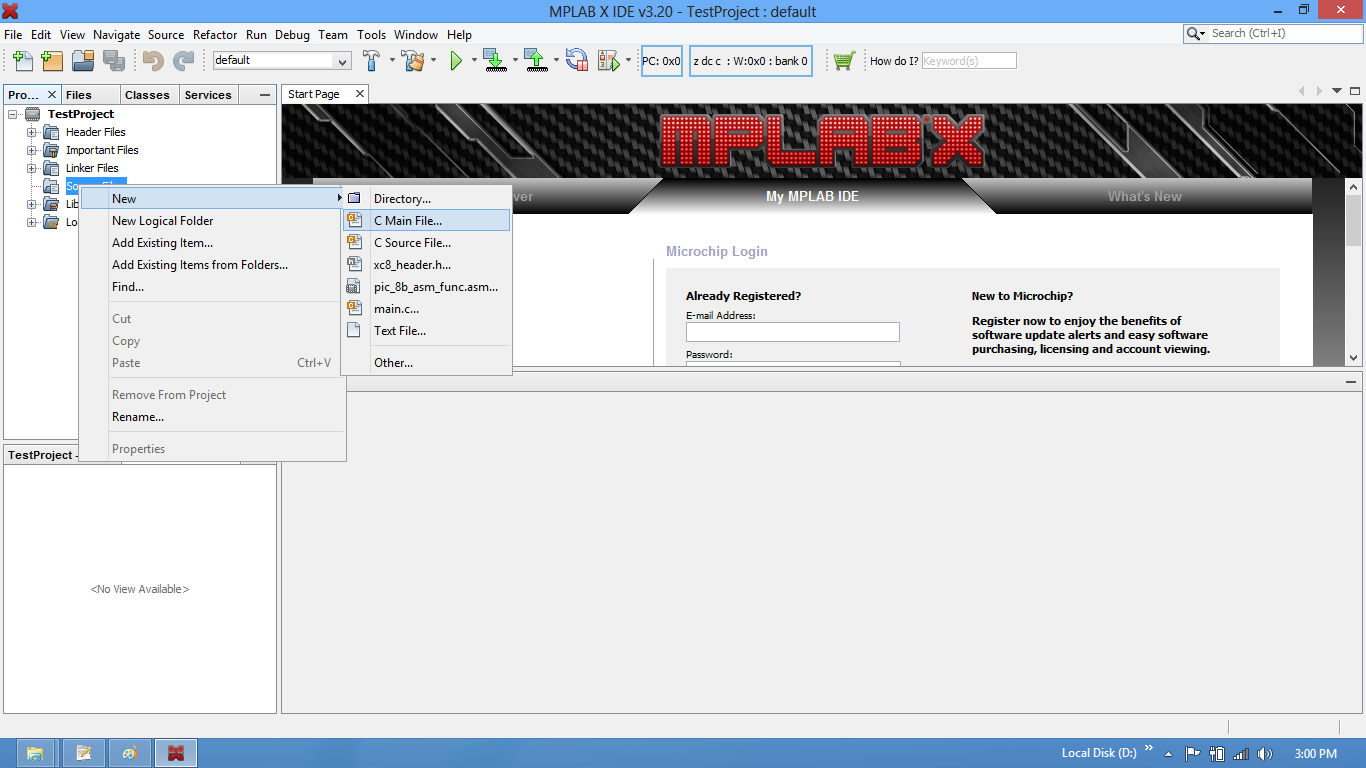
Step9: Add the recently saved file to the project.
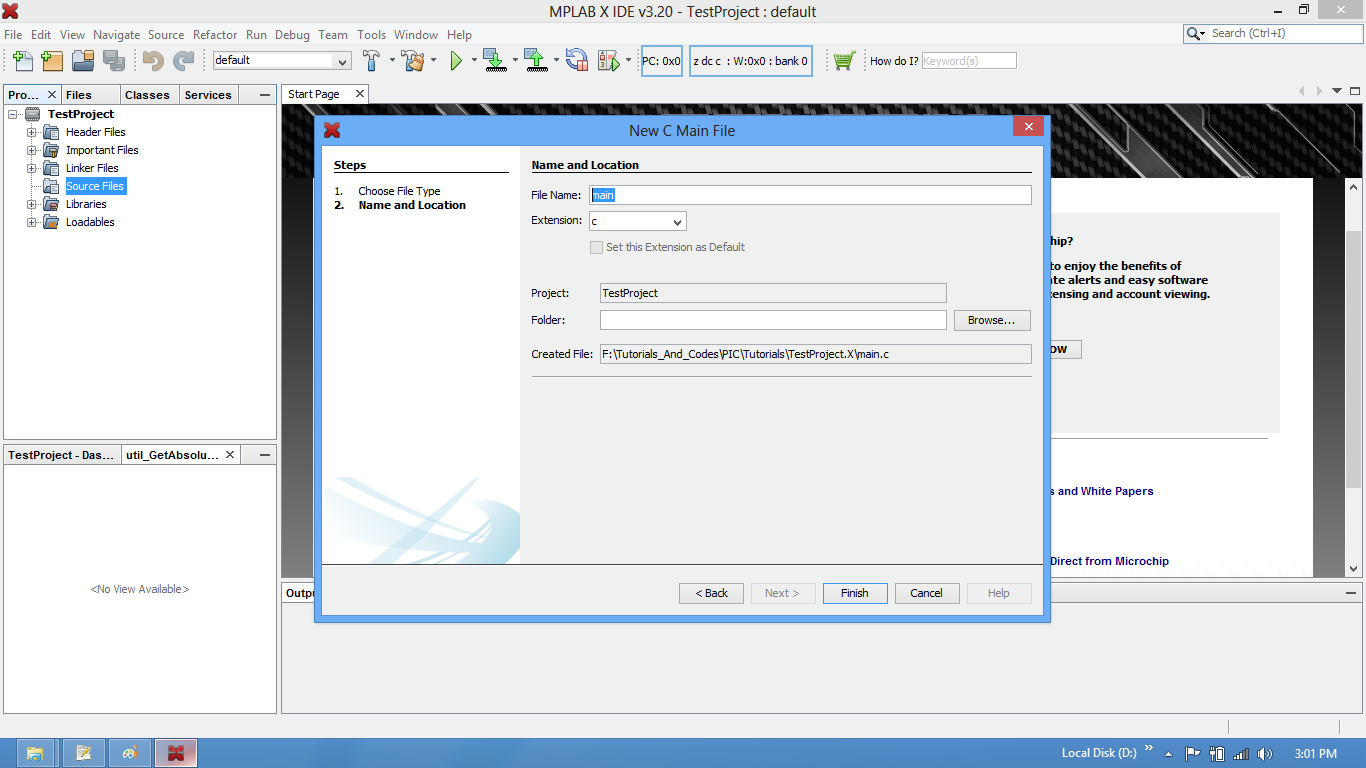
Step10: Add the main.c along with system_LPC17xx.c.
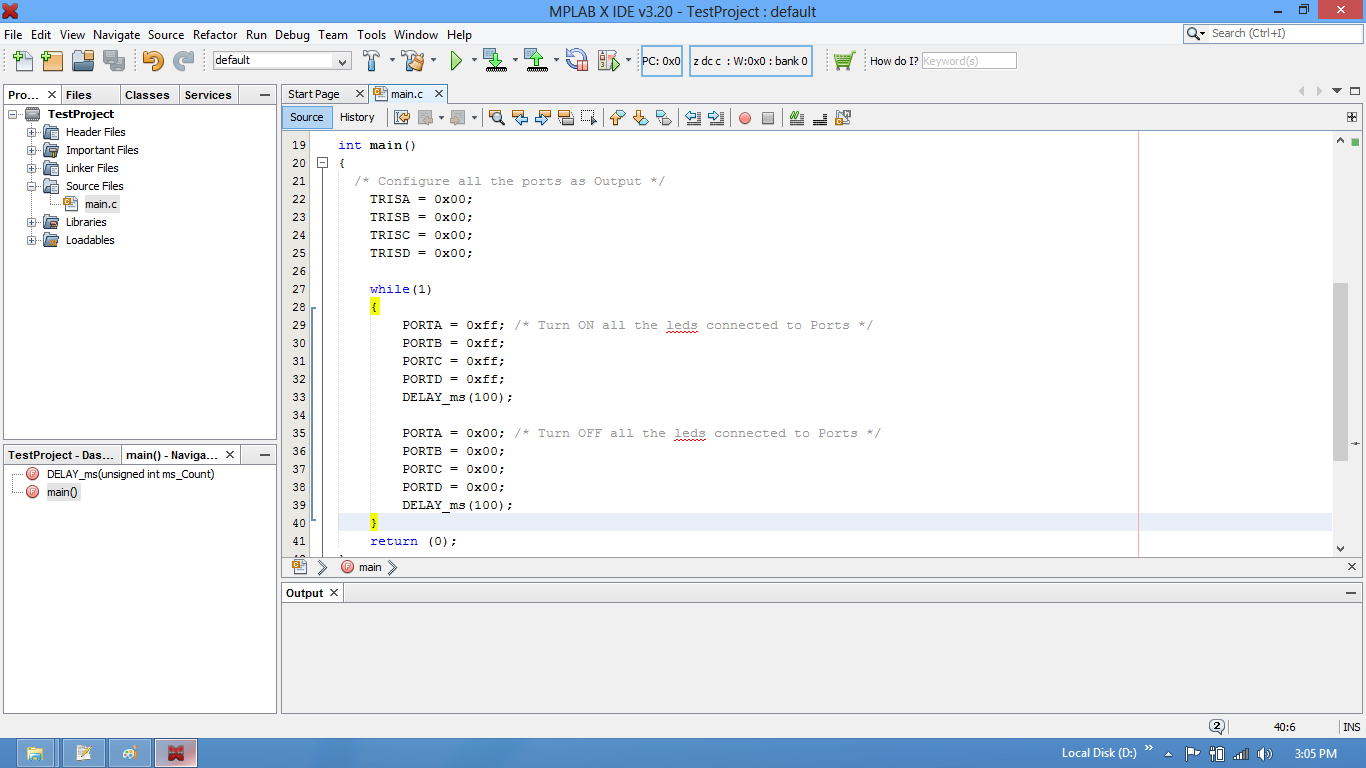
Step11: Build the project and fix the compiler errors/warnings if any.
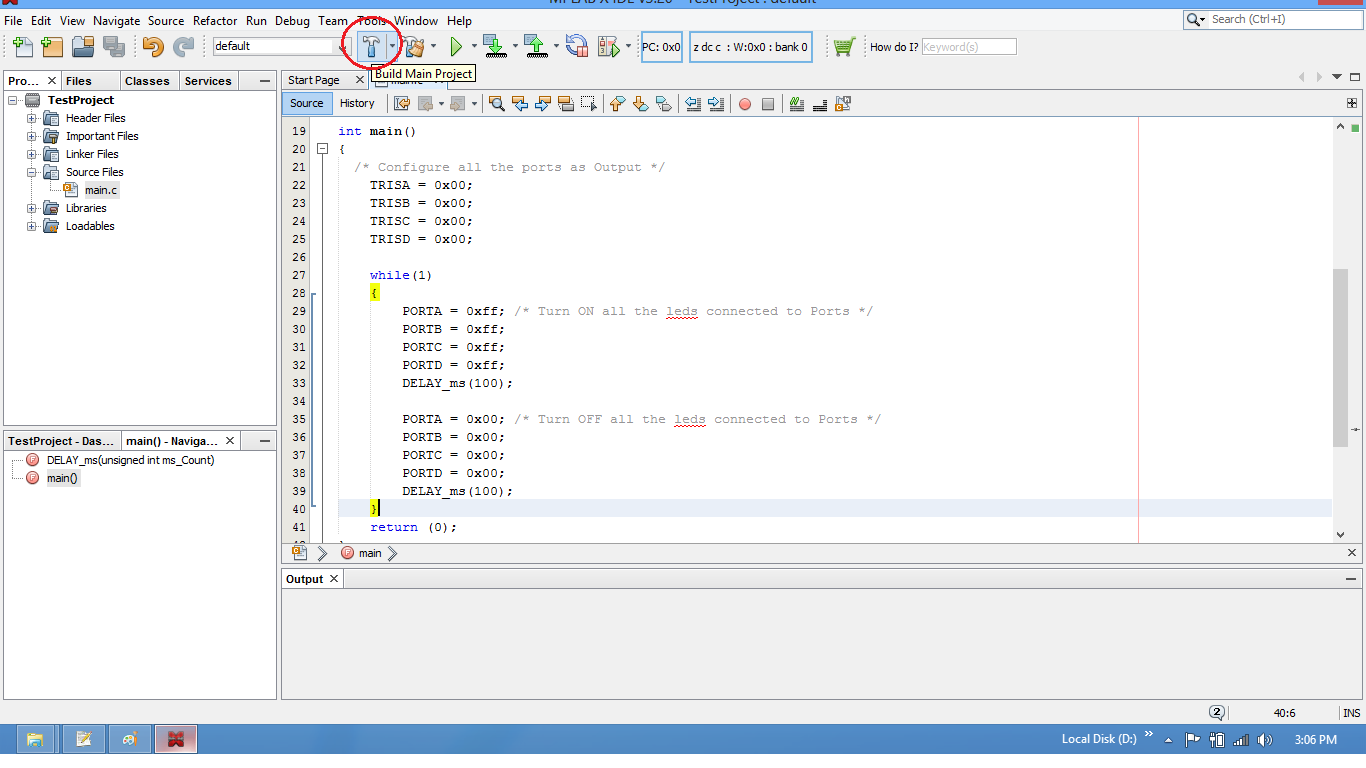
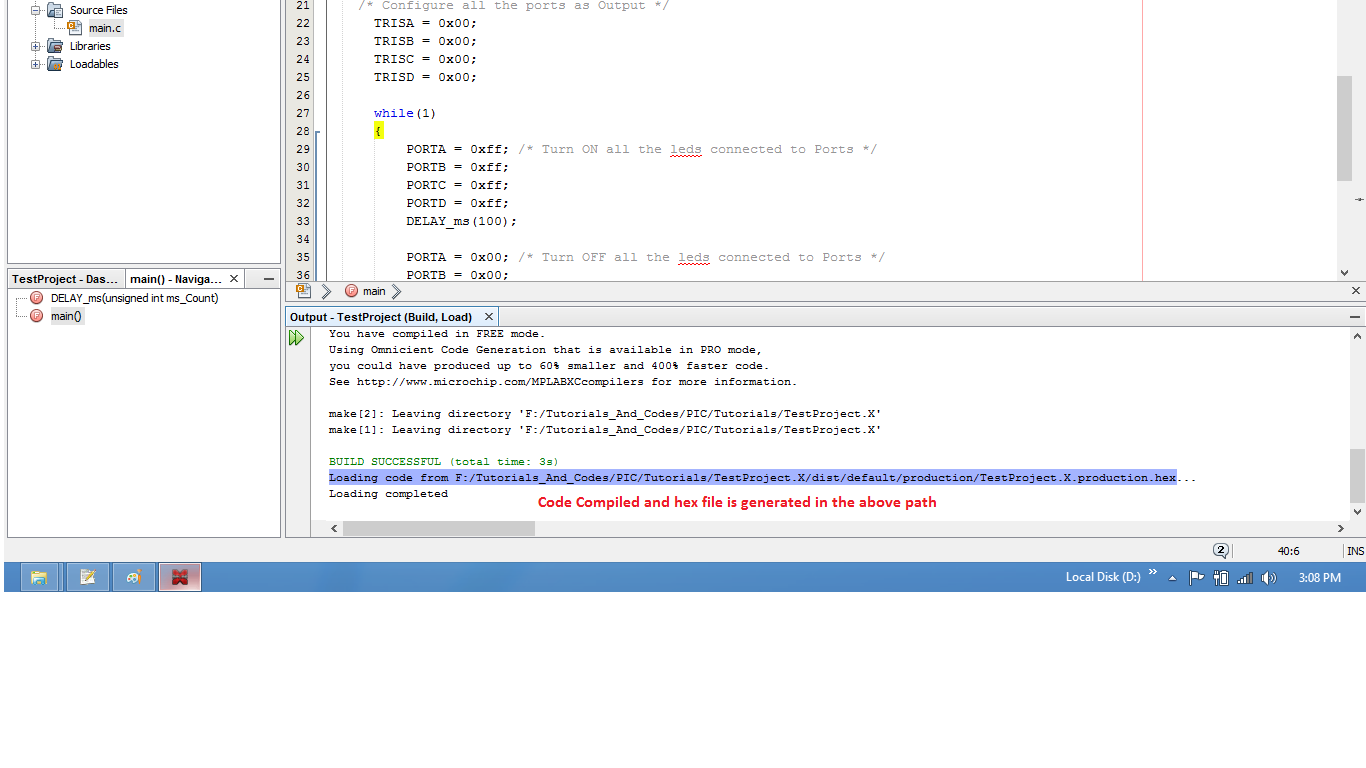
Step12: Code is compiled with no errors. The .hex file is still not generated.
Enable Hex File Generation
Step13: Click on Target Options to select the option for generating .hex file.
Step14: Set IROM1 start address as 0x0000.
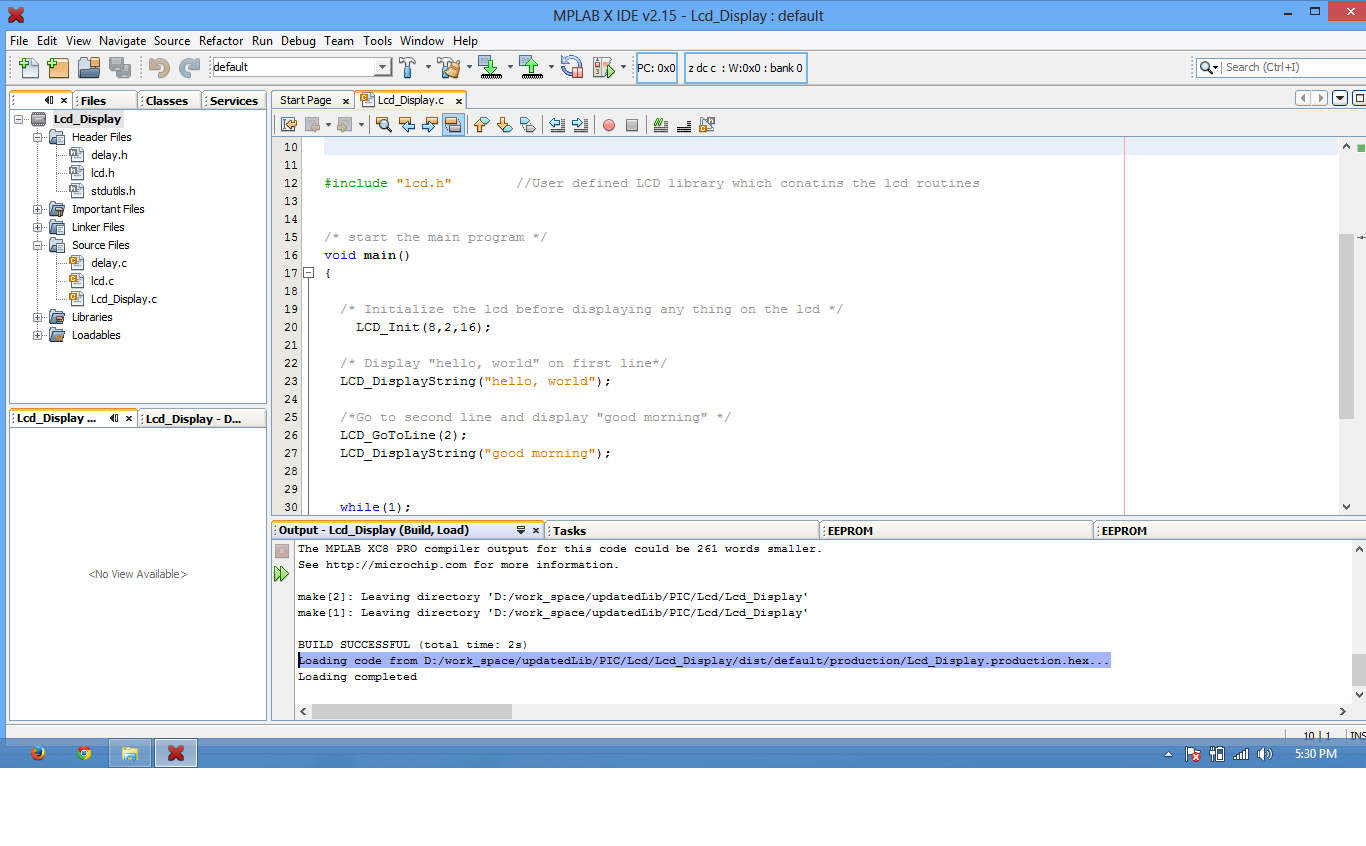
Step15: Enable the option to generate the .hex file
Step16: .Hex file is generated after a rebuild.
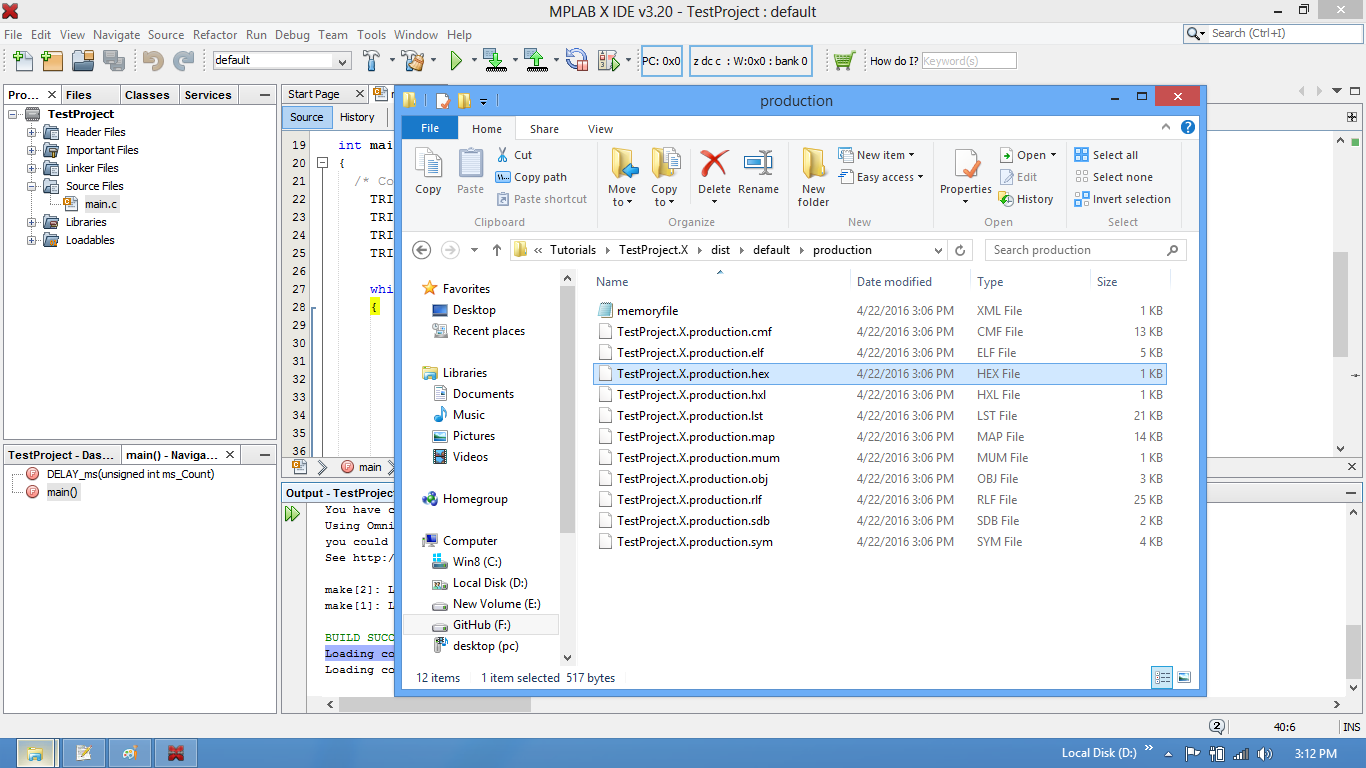
Step17: Check the project folder for the generated .hex file.
Uploading the Hex file
After generating the .hex file check this tutorial for uploading Hex and Bin files.
