Difference between revisions of "LCD Interface with PIC16F877A Starter Board"
| Line 26: | Line 26: | ||
file:Pic16f877a 4x20 lcd.JPG | file:Pic16f877a 4x20 lcd.JPG | ||
</gallery> | </gallery> | ||
| + | <br> | ||
| + | |||
| + | = Downloads= | ||
| + | Download the complete project folder from the below link: | ||
| + | https://github.com/ExploreEmbedded/Pic16f877a_ExploreStarterPIC/archive/master.zip<br> | ||
| + | |||
| + | |||
| + | Have a opinion, suggestion , question or feedback about the article let it out here! | ||
| + | {{DISQUS}} | ||
Revision as of 16:53, 28 April 2016
Contents
Code
LCD 1x16
LCD 2x16
LCD 4x20
Demo
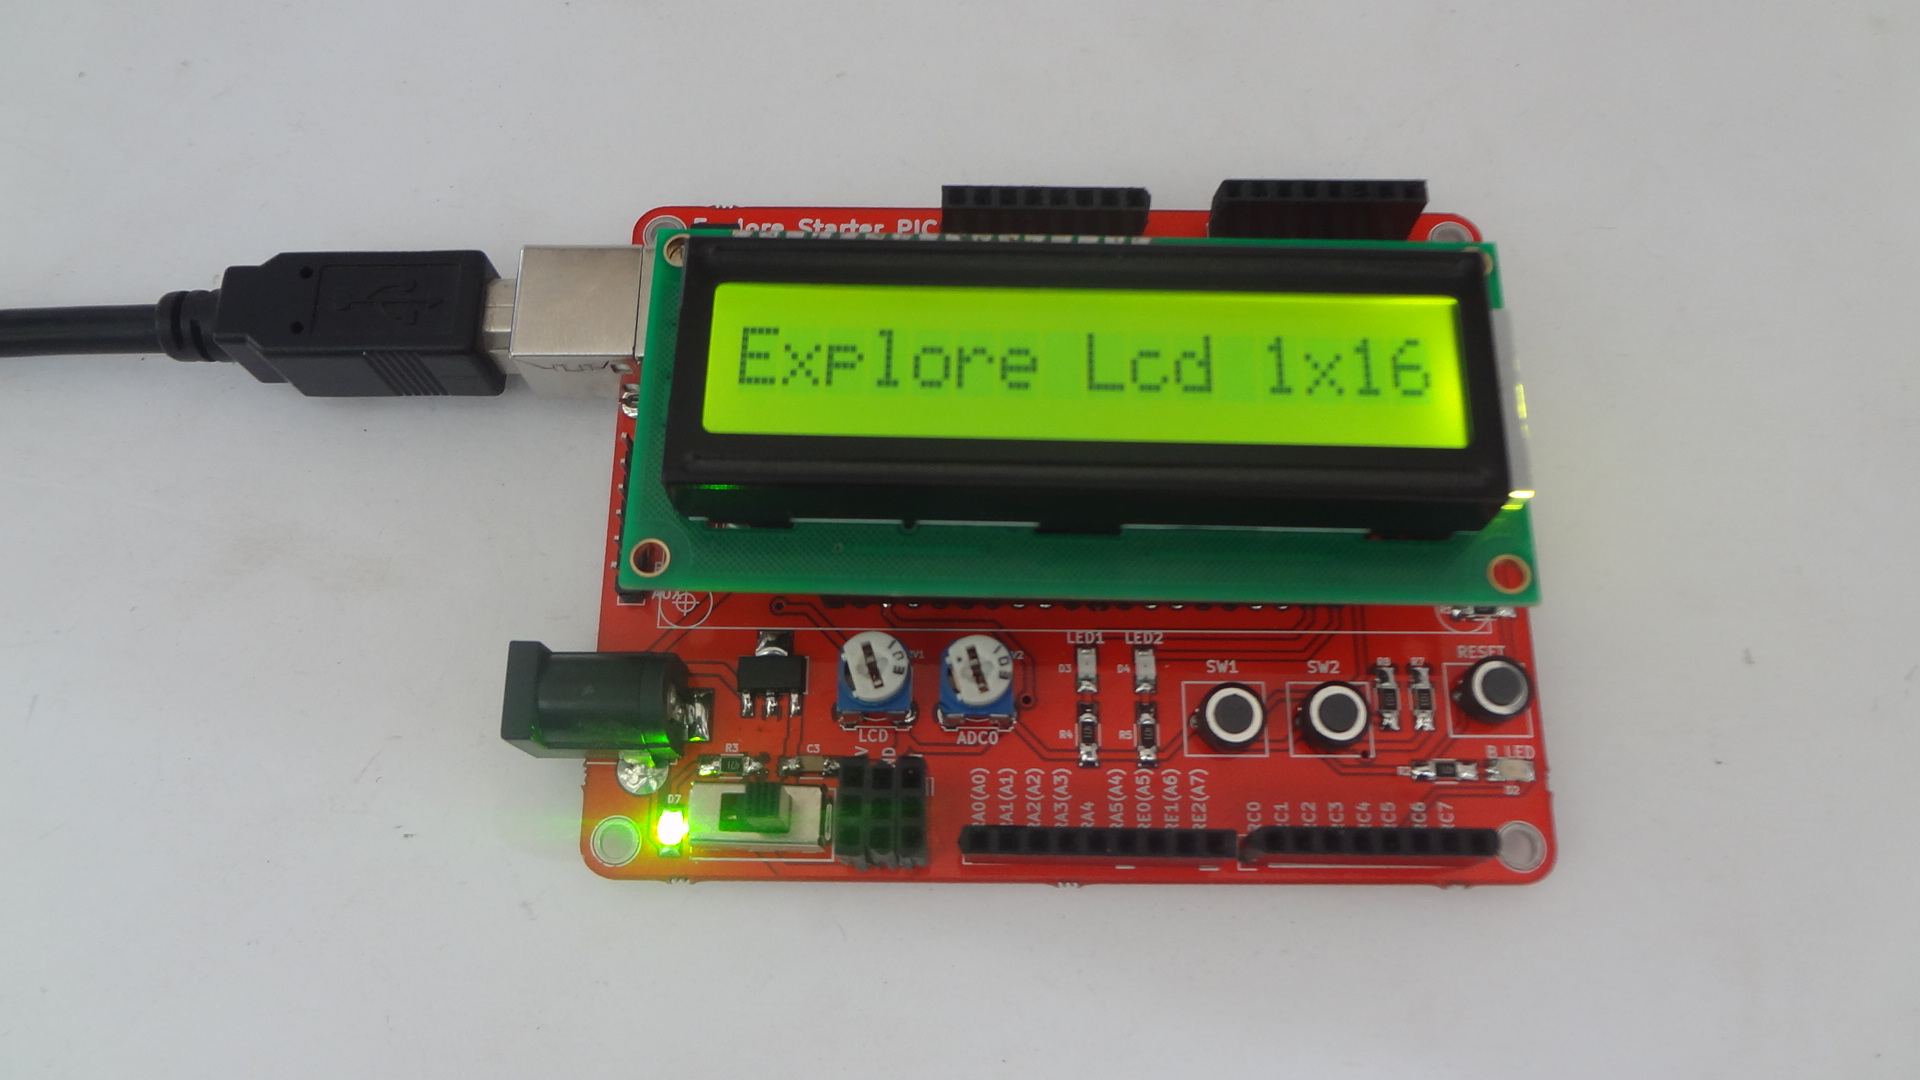
The images below shows 16x2, 16x1 and 20x4 LCD's interfaced with starter AVR.

Downloads
Download the complete project folder from the below link:
https://github.com/ExploreEmbedded/Pic16f877a_ExploreStarterPIC/archive/master.zip
Have a opinion, suggestion , question or feedback about the article let it out here!


