Difference between revisions of "Switch and LED with PIC16F877A Starter Board"
(Created page with "Category:Starter PIC16F877 In this tutorial we will learn how to blink the LED's with PIC16F877 Starter Board.<br> The Explore Starter PIC board has two on board LED's whi...") |
|||
| Line 10: | Line 10: | ||
=Code= | =Code= | ||
<html> | <html> | ||
| − | <script src="https://gist.github.com/sharanago/ | + | <script src="https://gist.github.com/sharanago/0d6c8619bc40351dd7a3d476f7f82840.js"></script> |
</html> | </html> | ||
=Demo= | =Demo= | ||
[[File:Pic16f877aLedBlinking.gif]]<br><br> | [[File:Pic16f877aLedBlinking.gif]]<br><br> | ||
Revision as of 15:58, 27 April 2016
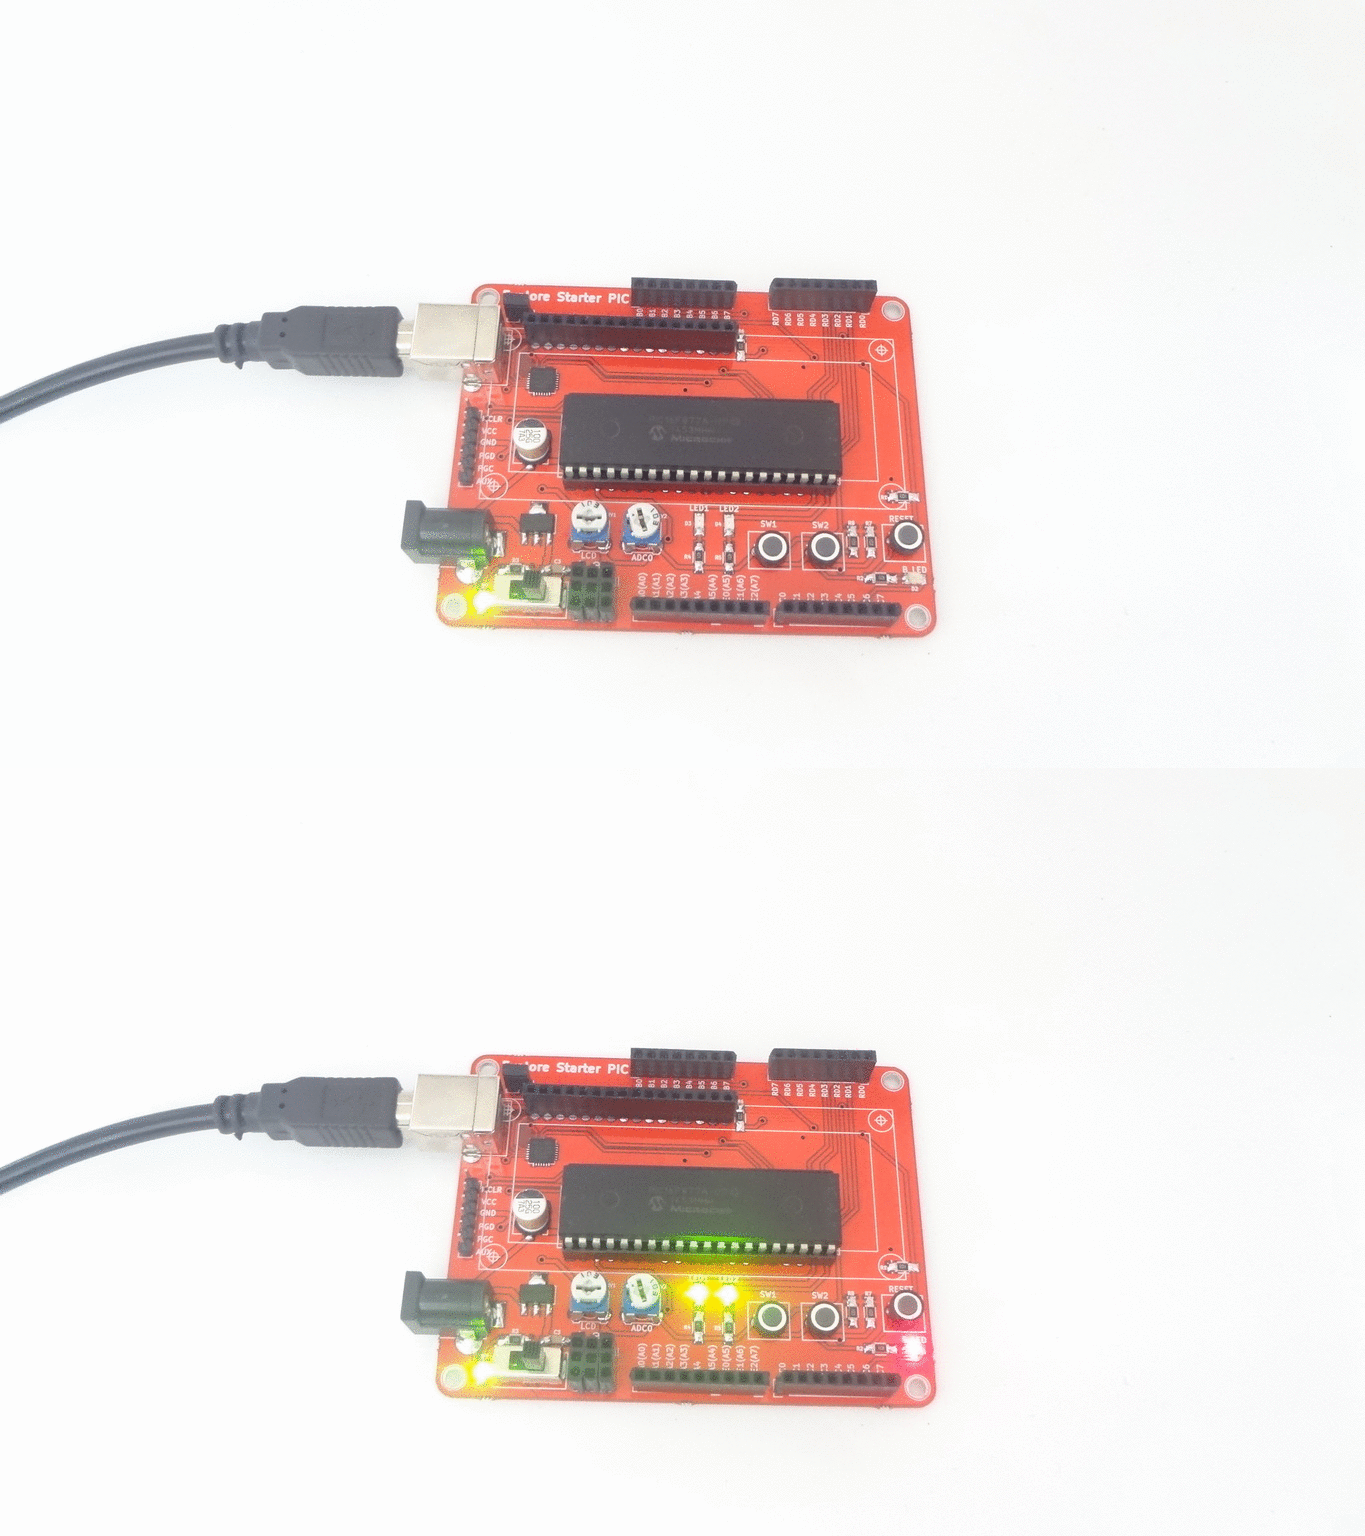
In this tutorial we will learn how to blink the LED's with PIC16F877 Starter Board.
The Explore Starter PIC board has two on board LED's which are connected to PORT D0 and PORT D1.
Steps
- Configure the PORTS as outputs using TRIS registers.
- Turn ON all the LEDs and wait for some time.
- Turn OFF all the LEDs and wait for some time.
Code

