Difference between revisions of "AVR Hardware and Software Setup"
| Line 16: | Line 16: | ||
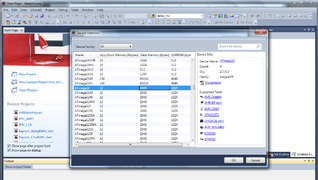
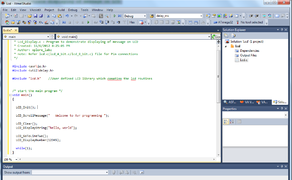
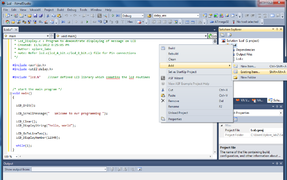
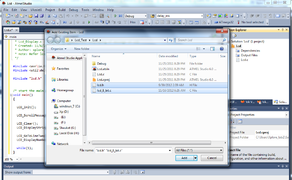
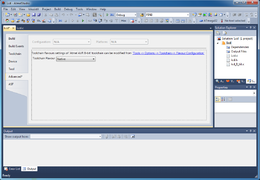
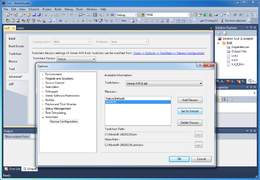
==Setting up Atmel Studio 6:== | ==Setting up Atmel Studio 6:== | ||
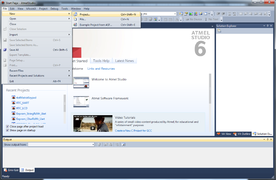
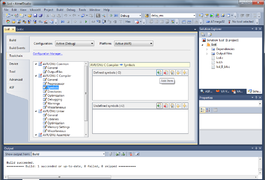
| − | <gallery>File:Image001.png|Step 1 | + | <gallery mode="packed-overlay"> |
| + | File:Image001.png|Step 1 | ||
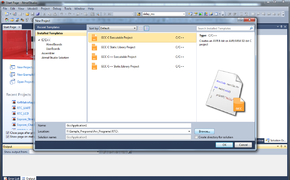
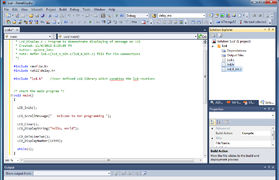
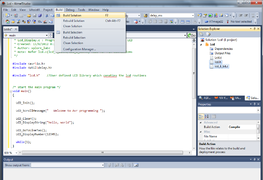
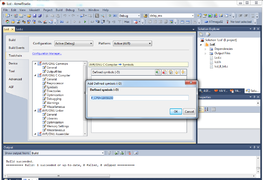
File:Image002.png|Step 2 | File:Image002.png|Step 2 | ||
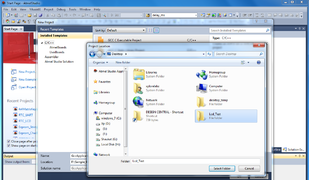
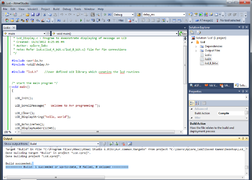
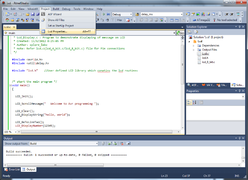
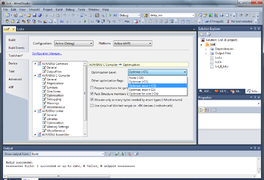
File:Image003.png|Step 2 | File:Image003.png|Step 2 | ||
| Line 60: | Line 61: | ||
*Once the hex file is generated check the steps under [[Using XploreFlash]] to transfer it to target MCU. | *Once the hex file is generated check the steps under [[Using XploreFlash]] to transfer it to target MCU. | ||
}} | }} | ||
| + | |||
=Hardware Tools= | =Hardware Tools= | ||
{{Box|type=l_green_light|text= | {{Box|type=l_green_light|text= | ||
Revision as of 10:19, 23 September 2014

Introduction:
In this tutorial we will look at the basic setup required to get started with AVR series of microcontrollers. There are two aspects to it, the software and the hardware. Fortunately, we for AVR there are free software tools available and even some of it is open-source! In this entire tutorial series we will be demonstrating the hardware on aspects on Ultra AVR Development board and also on breadboard and Starter AVR development board wherever possible. Having said that we will release all the schematics and code for you to hack and build on your own.
Software
Let’s talk about software first:
- Atmel Studio 6.2: This is complete software suite from Atmel; it is an integrated development Environment that allows you to write C/C++ programs, complies with a free AVRGCC compiler and produces hex files. You can download it here. Choose the download option according to your existing setup.
- The Programming Software: The programming SW is required to transfer hex file to the target MCU. There are various options available depending on the programmer you’re using. In this tutorial series we will be using Xplore Flash. There are other software that you could also try

