Difference between revisions of "Displaying Icons on GLCD using 8051"
Raghavendra (Talk | contribs) (Created page with "category:8051 tutorials We have designed this 8051 kit, so that a beginner can gradually build up from basics like LED blinking up to standard peripherals and communicatio...") |
|||
| Line 1: | Line 1: | ||
[[category:8051 tutorials]] | [[category:8051 tutorials]] | ||
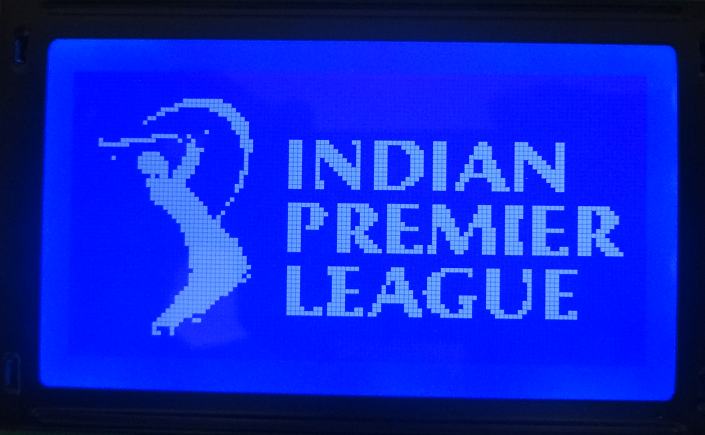
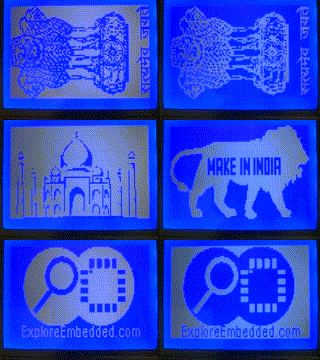
| − | + | In this tutorial, we will see how to display the images/icons on 128x64 Monochrome GLCD. To do this we need images of 128x64 pixels, if not we have to crop/resize the higher resolution images. This can be done using photoshop or some other photo editors. We will be using the windows built in tool <b>PAINT</b>.<br> | |
| − | |||
| − | |||
| − | |||
| − | + | =Image Resize= | |
| − | + | Lets take a high resolution image and crop it to 128x64 and then generate the bitmap. | |
| − | + | [[FILE:IPL.png]]<br> | |
| − | + | Download and open the above image using <b>ms paint</b> as shown below. | |
| + | [[FILE:Glcd Logo 0.PNG]]<br> | ||
| − | + | Resize the image to 128x64 pixels. | |
| − | + | [[FILE:Glcd Logo 1.PNG]]<br> | |
| + | Save the image in monochrome bitmap format <b>.bmp</b> as shown below. | ||
| + | [[FILE:Glcd Logo 2.PNG]]<br> | ||
| + | [[FILE:Glcd Logo 3.png]]<br> | ||
| − | + | =Bitmap Using Lcd Assistant= | |
| − | + | ||
| − | + | Now run the [https://www.exploreembedded.com/wiki/images/c/c5/LCDAssistant.zip LCD Assistant] software and load the monochrome image saved in the previous step. | |
| − | Download [ | + | [[FILE:Glcd Logo 4.png]]<br> |
| + | |||
| + | Do the setting as shown in the image. | ||
| + | [[FILE:Glcd Logo 5.png]]<br> | ||
| + | |||
| + | Click on FILE->Save Output and save the output file as logo.txt | ||
| + | [[FILE:Glcd Logo 6.png]]<br> | ||
| + | |||
| + | The bitmap for the image will be saved in an array as shown in the below image. | ||
| + | [[FILE:Glcd Logo 7.PNG]]<br> | ||
| + | |||
| + | Use this array in your code for displaying the image/logo on the GLCD. | ||
| + | |||
| + | =Code= | ||
| + | Below is the complete code with the bit map array.<br> | ||
| + | Check glcd.h file for pin connection. | ||
| + | <html> | ||
| + | <script src="https://gist.github.com/SaheblalBagwan/08799669325b6d3476f6e629248fea4f.js"></script> | ||
| + | </html> | ||
| + | |||
| + | [[FILE:Glcd_LogoDisplay.png]]<br><br> | ||
| + | [[File:0GLCD Logo Display.gif]]<br><br> | ||
| + | |||
| + | =Downloads= | ||
| + | Download the complete project folder from this link: [https://github.com/ExploreEmbedded/8051_DevelopmentBoard Hardware design Files and Code Library]<br> | ||
| + | [https://www.exploreembedded.com/wiki/images/c/c5/LCDAssistant.zip LCD Assistant software]. | ||
| + | |||
| + | |||
| + | Have an opinion, suggestion , question or feedback about the article let it out here! | ||
| + | {{DISQUS}} | ||
Revision as of 12:31, 26 August 2016
In this tutorial, we will see how to display the images/icons on 128x64 Monochrome GLCD. To do this we need images of 128x64 pixels, if not we have to crop/resize the higher resolution images. This can be done using photoshop or some other photo editors. We will be using the windows built in tool PAINT.
Image Resize
Lets take a high resolution image and crop it to 128x64 and then generate the bitmap.

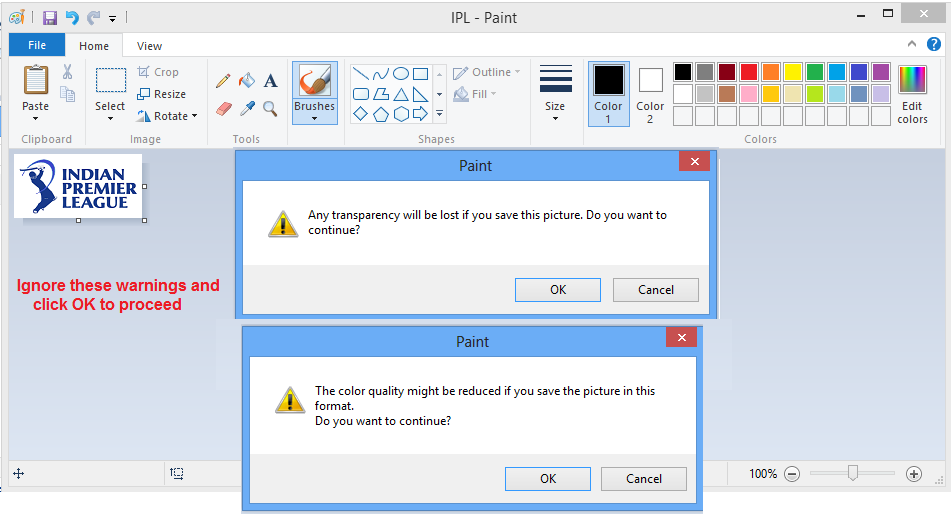
Download and open the above image using ms paint as shown below.
Resize the image to 128x64 pixels.
Save the image in monochrome bitmap format .bmp as shown below.
Bitmap Using Lcd Assistant
Now run the LCD Assistant software and load the monochrome image saved in the previous step.
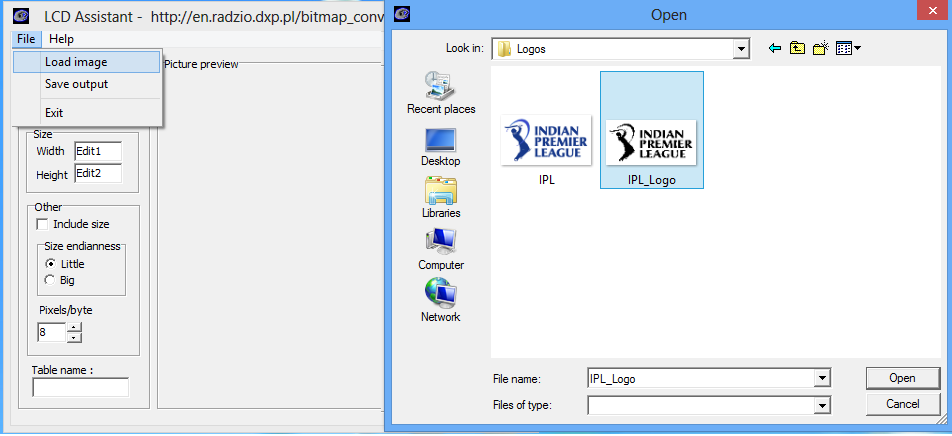
Do the setting as shown in the image.
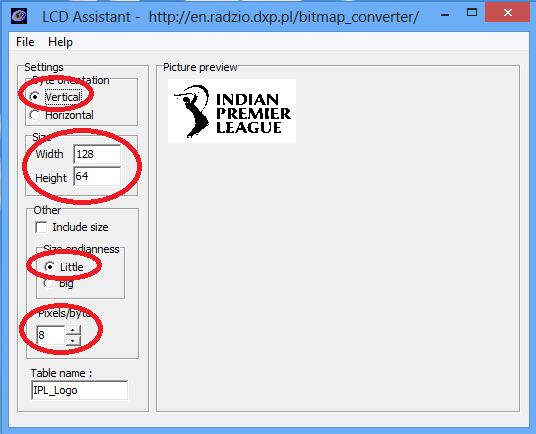
Click on FILE->Save Output and save the output file as logo.txt
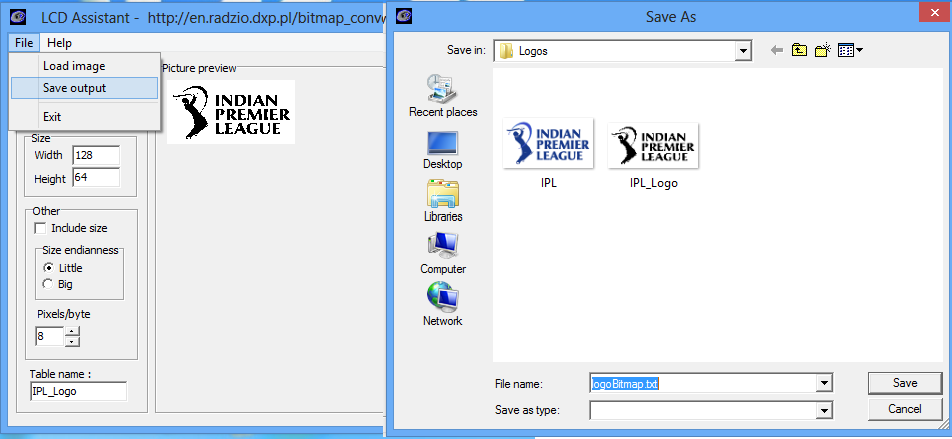
The bitmap for the image will be saved in an array as shown in the below image.
Use this array in your code for displaying the image/logo on the GLCD.
Code
Below is the complete code with the bit map array.
Check glcd.h file for pin connection.
Downloads
Download the complete project folder from this link: Hardware design Files and Code Library
LCD Assistant software.
Have an opinion, suggestion , question or feedback about the article let it out here!


