Difference between revisions of "AT89S Series 8051 programmer"
| Line 2: | Line 2: | ||
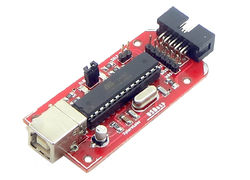
| − | [[File: | + | [[File:DSC00773.JPG|680x450px|Fig 1:AT89S Series 8051 Programmer]] |
| − | <gallery> | + | <gallery mode="packed"> |
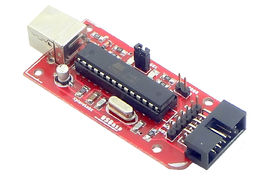
| − | Image: | + | Image:DSC00780.JPG |
| − | Image: | + | Image:DSC00782.JPG |
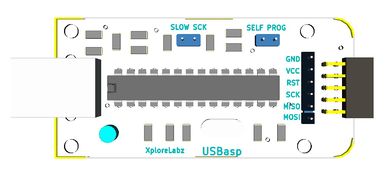
Image:AT89S Series 8051 Programmer 3d.JPG | Image:AT89S Series 8051 Programmer 3d.JPG | ||
| − | + | ||
</gallery> | </gallery> | ||
{{Box|type=l_green_light|text=<br/> | {{Box|type=l_green_light|text=<br/> | ||
Revision as of 13:53, 30 December 2014
Contents
Connecting to Target Hardware
- Depending on the type of Development board you're using, you could either use 5x2 FRC connector or 6X1 single in line connector.
- For 6X1 connector the legend on the programmer shows where the target hardware SPI pins be connected.
- For 5x2 connector refer the schematic.
Downloads
Setting up the XploreFlash Programmer
Step 1: Xplore flash is based on various opensource software, it requires avrdude. Avrdude is part of WinAVR GCC complier. Download and install it.
Step 2: Download and install USB driver for the programmer.
Step 3: Download and install XploreFlash GUI. (XploreFlash GUI is based on AVRDUDESS)
Step 4: Follow Step by step guide on using the programmer software XploreFlash program the micrcontroller. The GUI software will require .NET framework 2.0 or later please download and install it.
Troubleshoot
USBasp Driver not installed in device manager
If the USBasp Programmer is not detected in Device Manager of windows computer, perform steps shown as shown on Install USBasp Drivers Page.
Video


