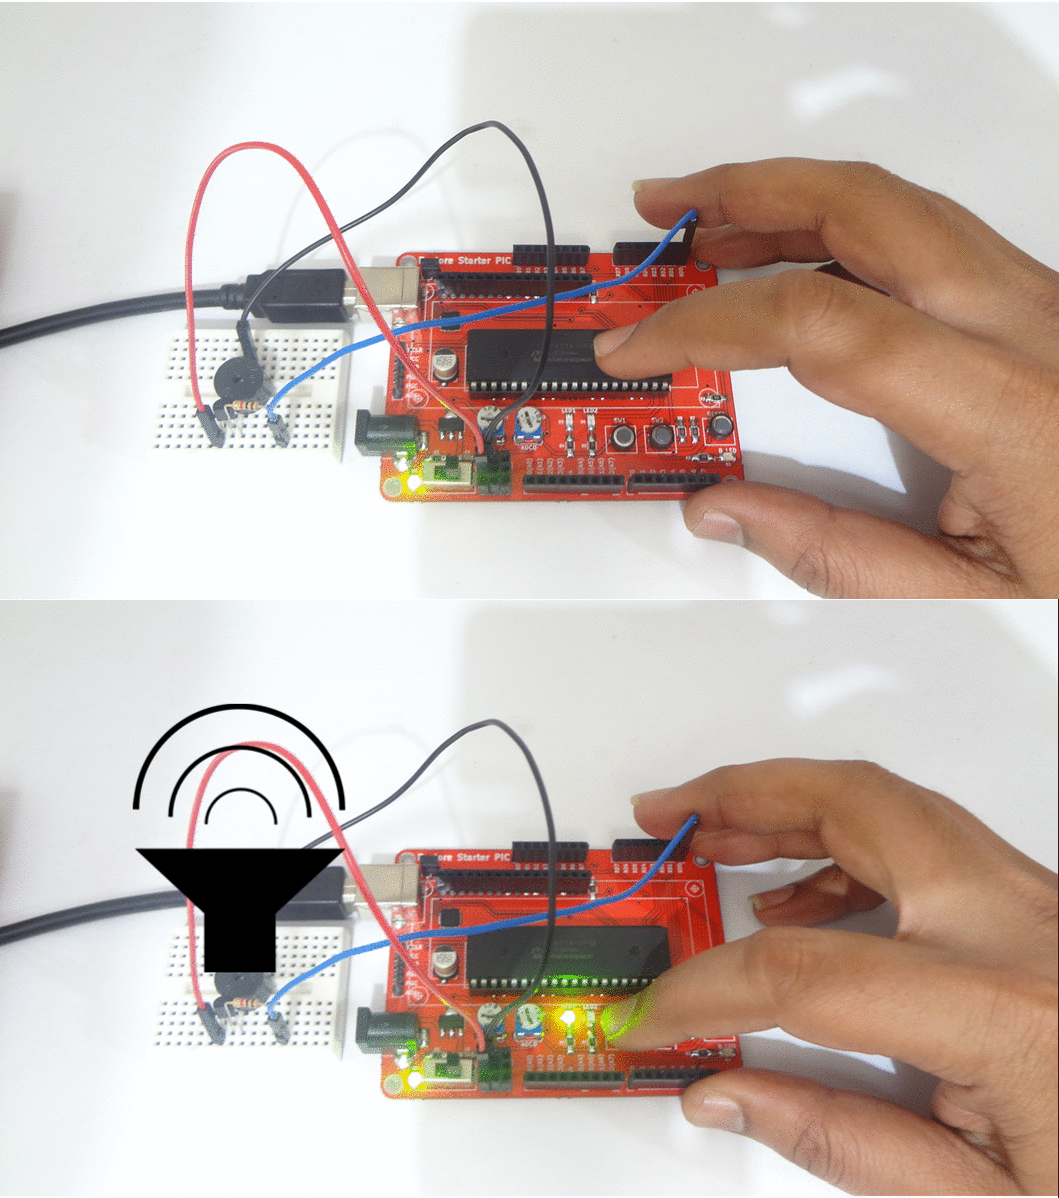
Difference between revisions of "Buzzer with PIC16F877A Starter Board"
(Created page with "Category:Starter PIC16F877 =Code= <html> <script src="https://gist.github.com/sharanago/0d6c8619bc40351dd7a3d476f7f82840.js"></script> </html> =Demo= File:Pic16f877a b...") |
|||
| (3 intermediate revisions by 2 users not shown) | |||
| Line 1: | Line 1: | ||
[[Category:Starter PIC16F877]] | [[Category:Starter PIC16F877]] | ||
| + | In this tutorial we will see how to interface a switch and buzzer with Pic16f877a starter board.<br> | ||
| + | Starter PIC board comes with on board switch connected to PORTD2 which will be used to control the buzzer.<br> | ||
| + | |||
| + | =Steps= | ||
| + | #Configure the PORT D0 as output to control the buzzer. | ||
| + | #Configure the PORT D2 as input to read the switch status.. | ||
| + | #Read the switch status. | ||
| + | #ON/OFF the Buzzer as per switch status. | ||
=Code= | =Code= | ||
Latest revision as of 18:26, 2 May 2016
In this tutorial we will see how to interface a switch and buzzer with Pic16f877a starter board.
Starter PIC board comes with on board switch connected to PORTD2 which will be used to control the buzzer.
Steps
- Configure the PORT D0 as output to control the buzzer.
- Configure the PORT D2 as input to read the switch status..
- Read the switch status.
- ON/OFF the Buzzer as per switch status.
Code

