Difference between revisions of "Water Level Indicator"
| (13 intermediate revisions by the same user not shown) | |||
| Line 1: | Line 1: | ||
| + | '''By : '''[[User:Sandeep|Sandeep]] 11:49, 6 March 2015 (IST)<br/> | ||
| + | ---- | ||
| + | [[File:Cart add.png|right|link=https://www.exploreembedded.com/product/Water%20Level%20Indicator]] | ||
| + | |||
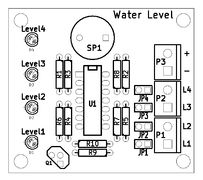
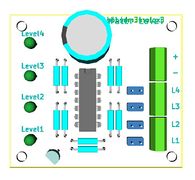
At times you just need a simple device that just works and this is one. This DIY kit indicates the level of water and sets an buzzer whenever it reaches a certain level. There are 4 levels and the buzzer can be triggered at any level you wish with the help of jumper. <br/> | At times you just need a simple device that just works and this is one. This DIY kit indicates the level of water and sets an buzzer whenever it reaches a certain level. There are 4 levels and the buzzer can be triggered at any level you wish with the help of jumper. <br/> | ||
[[File:DSC01052.JPG |800px]] | [[File:DSC01052.JPG |800px]] | ||
| Line 7: | Line 11: | ||
File: Front Cu.JPG | File: Front Cu.JPG | ||
</gallery> | </gallery> | ||
| + | =Kit Contains= | ||
| + | * Water level Indicator PCB | ||
| + | * All the components | ||
| + | '''''Note: Wire is not shipped with the kit''''' | ||
=How it works?= | =How it works?= | ||
[[File:General Arrangement.JPG]] | [[File:General Arrangement.JPG]] | ||
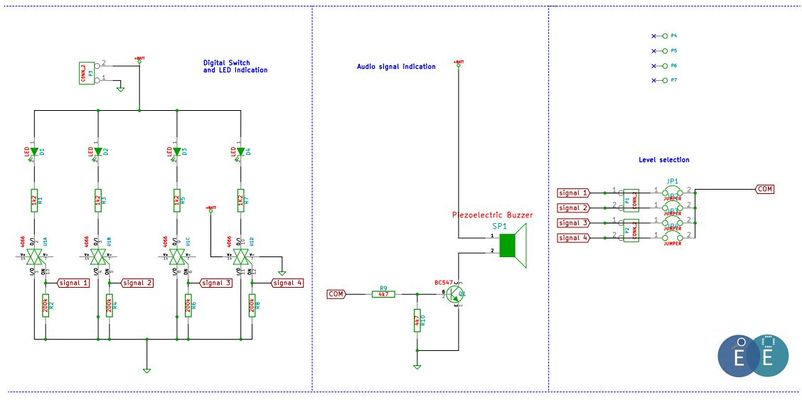
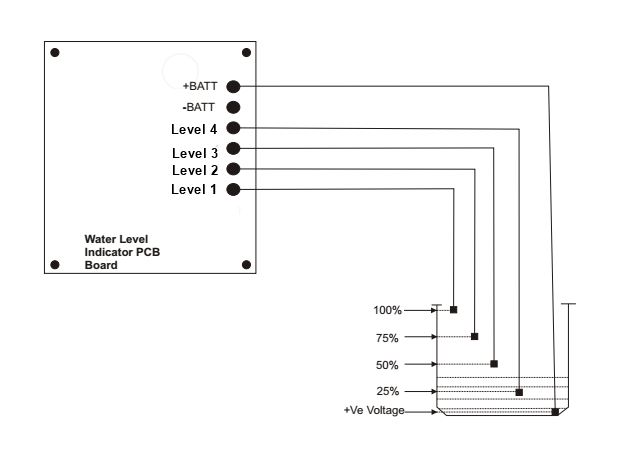
| + | As seen the diagram above, the positive voltage(+9V to +12V) is always present at the bottom of the tank. The other wires for level 1, level 2, level 3 and level 4 are arranged as shown. You can use the water proof tape to strap these wires on the main wire that goes to the bottom. Check the pictures at the bottom, I had installed it at my home. These levels are detected by the bi-directional switch IC as shown in the schematic. Also observe that you can set the jumper to turn on the buzzer at any desired level. This works pretty well and have it installed at my home since last 3 months. Now its your turn to build one! | ||
=The Schematic= | =The Schematic= | ||
| − | [[File:Schematic.JPG|x400px | + | [[File:Schematic.JPG|x400px]] |
=Demo on home water tank= | =Demo on home water tank= | ||
| Line 23: | Line 32: | ||
*[http://exploreembedded.com/wiki/images/0/03/Water_Level_Indicator.pdf '''Schematic'''] | *[http://exploreembedded.com/wiki/images/0/03/Water_Level_Indicator.pdf '''Schematic'''] | ||
[[category:DIY Hobby Kits]] | [[category:DIY Hobby Kits]] | ||
| + | {{DISQUS}} | ||
Latest revision as of 16:50, 6 March 2015
By : Sandeep 11:49, 6 March 2015 (IST)
At times you just need a simple device that just works and this is one. This DIY kit indicates the level of water and sets an buzzer whenever it reaches a certain level. There are 4 levels and the buzzer can be triggered at any level you wish with the help of jumper.
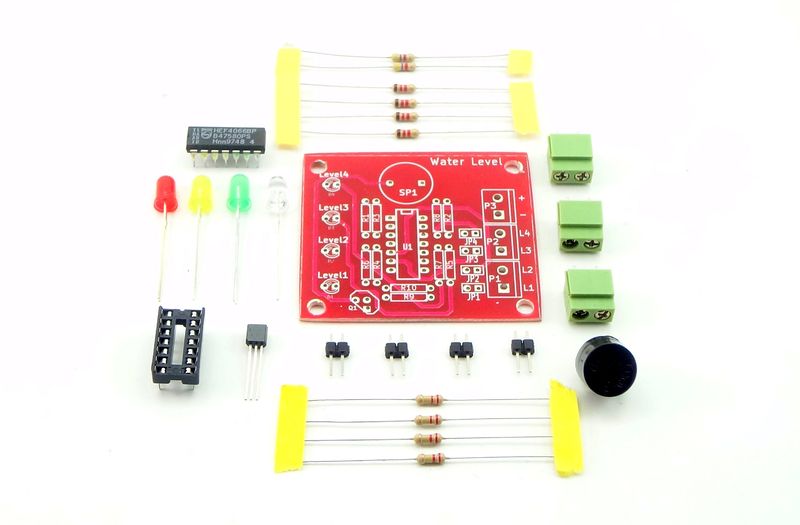
Kit Contains
- Water level Indicator PCB
- All the components
Note: Wire is not shipped with the kit
How it works?
The Schematic
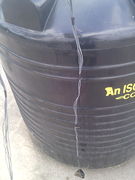
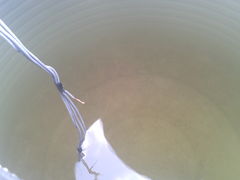
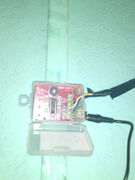
Demo on home water tank
Downloads


