Difference between revisions of "Building a LED matrixGame console with Arduino"
Raghavendra (Talk | contribs) |
|||
| (8 intermediate revisions by 2 users not shown) | |||
| Line 4: | Line 4: | ||
Retro games are cool! The pixel games like tetris, ping-pong, snake etc., are fun to play with physical buttons instead of a touch screen. In this tutorial, we will build a Retro gaming console with super bright Red led matrices, a Joystick and a ATmega328 (with Arduino Uno bootloader. The fun part is not just building it writing/porting pixel games! So let's get started. | Retro games are cool! The pixel games like tetris, ping-pong, snake etc., are fun to play with physical buttons instead of a touch screen. In this tutorial, we will build a Retro gaming console with super bright Red led matrices, a Joystick and a ATmega328 (with Arduino Uno bootloader. The fun part is not just building it writing/porting pixel games! So let's get started. | ||
| + | [[File:0_matrixGame.JPG]] | ||
| + | |||
| + | =Video= | ||
| + | <html> | ||
| + | <iframe width="560" height="315" src="https://www.youtube.com/embed/3Fdp2_jx6UQ" frameborder="0" allowfullscreen></iframe> | ||
| + | </html> | ||
=Schematic= | =Schematic= | ||
[[File:matrixGame_sch.jpg]] | [[File:matrixGame_sch.jpg]] | ||
| Line 9: | Line 15: | ||
=The build= | =The build= | ||
==Soldering== | ==Soldering== | ||
| + | |||
| + | Solder all the parts shown above as per the schematic. Easier said than done. It took about 2 hours, to solder the parts for me. Let me know in the comments how well it went for you! | ||
| + | |||
[[File:matrixGame_1.JPG]] | [[File:matrixGame_1.JPG]] | ||
| Line 20: | Line 29: | ||
File:matrixGame_7.JPG | File:matrixGame_7.JPG | ||
File:matrixGame_8.JPG | File:matrixGame_8.JPG | ||
| − | + | ||
</gallery> | </gallery> | ||
==Acrylic Case== | ==Acrylic Case== | ||
| + | [[File:DSC09972.JPG]] | ||
| + | <gallery mode = "packed-hover"> | ||
| + | File:DSC09975.JPG | ||
| + | File:DSC09976.JPG | ||
| + | File:DSC09977.JPG | ||
| + | File:DSC09978.JPG | ||
| + | File:DSC09979.JPG | ||
| + | File:DSC09980.JPG | ||
| + | </gallery> | ||
=Code= | =Code= | ||
| + | The code varies greatly for each game. You can download the code for all the games from the download section. If you've a specific question about the code, please do comment below. | ||
| + | |||
| + | =Downloads= | ||
| + | * [https://github.com/ExploreEmbedded/matrixGame GitHub repository] | ||
| + | * [https://github.com/ExploreEmbedded/matrixGame/archive/master.zip Zipped download containing pdf schematic, and code for all the games.] | ||
| + | |||
| + | |||
| + | =Credits and References= | ||
| + | |||
| + | * [https://www.zolalab.com.br/eletronica_projetos/pong2.php Ping Ping code by Zola labs] | ||
| + | * [https://github.com/mtbnunu/arduino-tetris/blob/master/tetrisv2.ino Tetris by Jae Yeong Bae] | ||
| + | <html> | ||
| + | <iframe src="https://docs.google.com/forms/d/e/1FAIpQLScnKppOi64xbJVJSUPQqkZagcMy5jO0NNhMPP1b0sJYlwTaYw/viewform?embedded=true" width="760" height="500" frameborder="0" marginheight="0" marginwidth="0" style="background: #FFFFFF;">Loading...</iframe> | ||
| + | </html> | ||
| + | |||
| + | {{DISQUS}} | ||
Latest revision as of 14:25, 25 October 2016
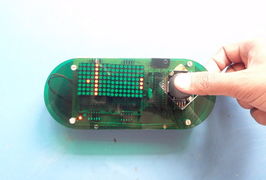
Retro games are cool! The pixel games like tetris, ping-pong, snake etc., are fun to play with physical buttons instead of a touch screen. In this tutorial, we will build a Retro gaming console with super bright Red led matrices, a Joystick and a ATmega328 (with Arduino Uno bootloader. The fun part is not just building it writing/porting pixel games! So let's get started.
Contents
Video
Schematic
The build
Soldering
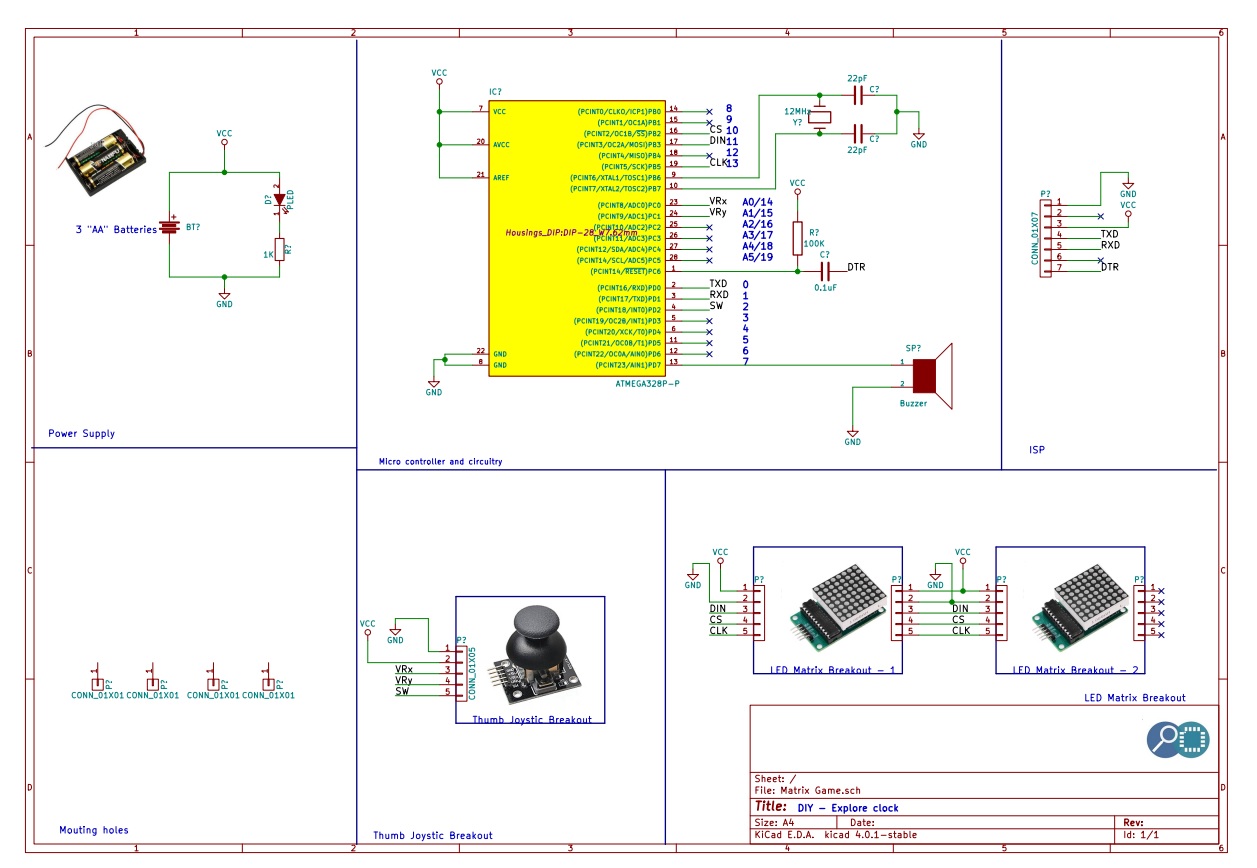
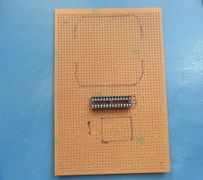
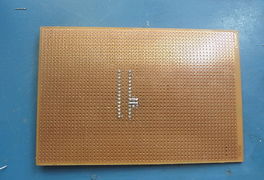
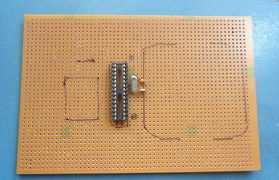
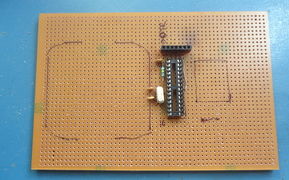
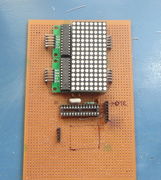
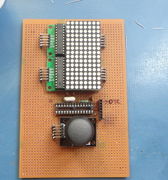
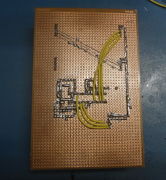
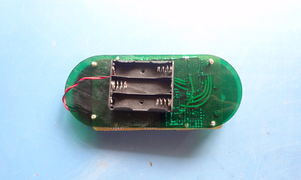
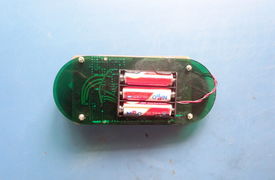
Solder all the parts shown above as per the schematic. Easier said than done. It took about 2 hours, to solder the parts for me. Let me know in the comments how well it went for you!
Acrylic Case
Code
The code varies greatly for each game. You can download the code for all the games from the download section. If you've a specific question about the code, please do comment below.
Downloads
Credits and References


