Difference between revisions of "Interfacing RTC with Starter AVR"
| (2 intermediate revisions by one other user not shown) | |||
| Line 1: | Line 1: | ||
[[category:Starter AVR]] | [[category:Starter AVR]] | ||
| − | In this tutorial we'll see, how to interface RTC with Starter AVR board. For this | + | In this tutorial we'll see, how to interface RTC with Starter AVR board. For this we will be using [https://www.exploreembedded.com/product/RTC%20&%20EEPROM%20Breakout RTC breakout] which has DS1307 RTC on it. For basics of RTC just have a look at our [[Real Time Clock(DS1307) with AVR]] tutorial. |
=Basic= | =Basic= | ||
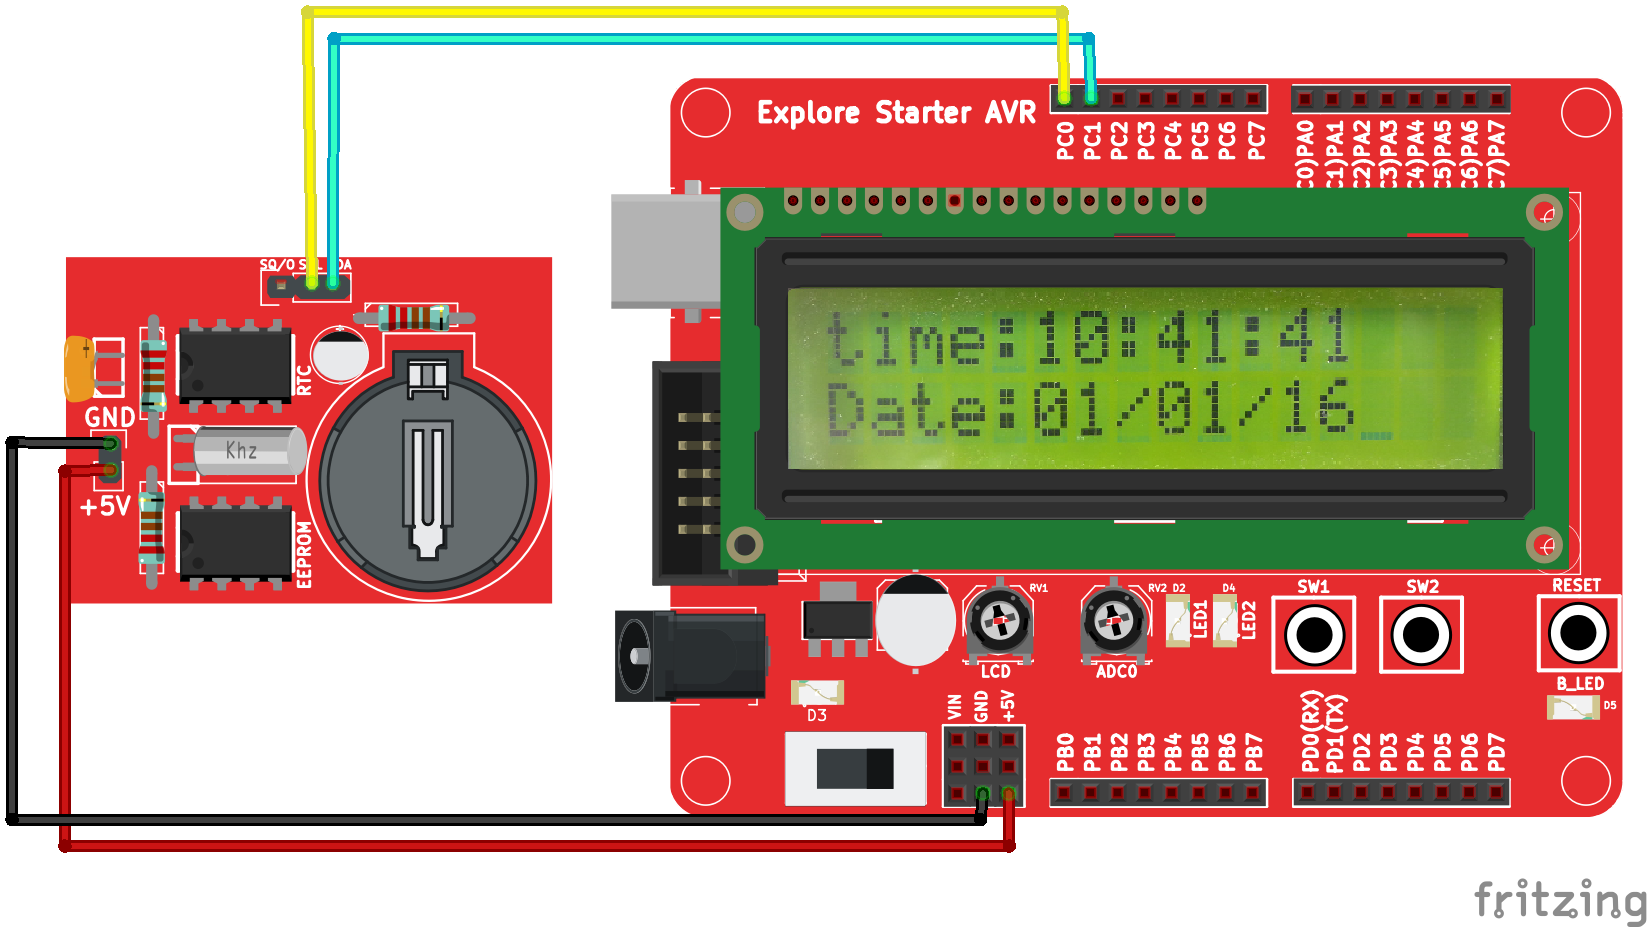
As starter AVR has facility to connect LCD on board, we will display RTC data on LCD in this tutorial. So as shown in hookup connect LCD on starter board. Then connect SCL pin of RTC breakout to PC0 and SDA pin to PC1. PC0 is SCL and PC1 is SDA pin of Atmega 32 microcontroller. | As starter AVR has facility to connect LCD on board, we will display RTC data on LCD in this tutorial. So as shown in hookup connect LCD on starter board. Then connect SCL pin of RTC breakout to PC0 and SDA pin to PC1. PC0 is SCL and PC1 is SDA pin of Atmega 32 microcontroller. | ||
| Line 14: | Line 14: | ||
=Demo= | =Demo= | ||
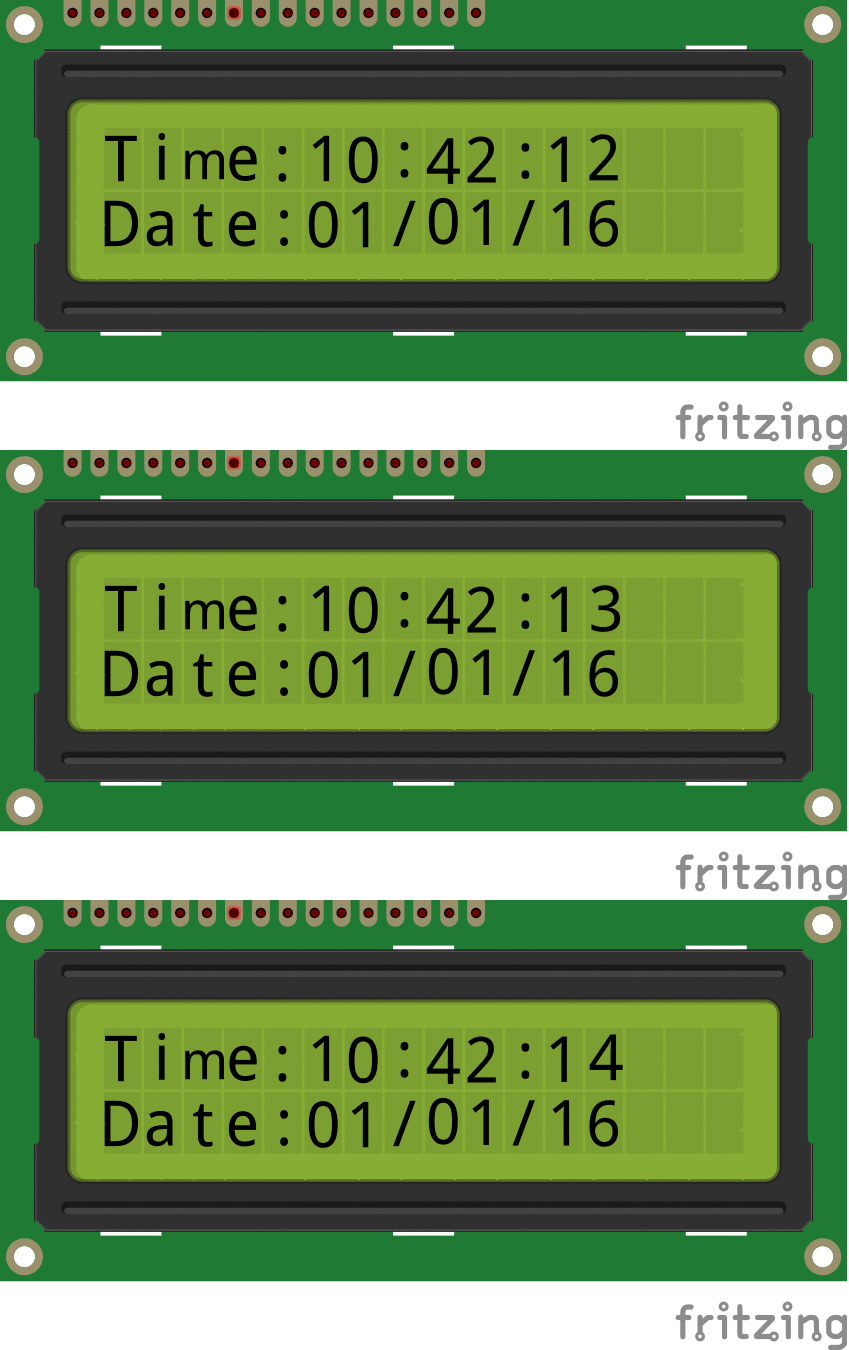
| − | + | [[file:00Interface_RTC_with_Atmega128.gif]] | |
| + | = Downloads= | ||
| + | Download the complete project folder from the below link: | ||
| + | https://github.com/ExploreEmbedded/ATmega32_ExploreStarterAvr/archive/master.zip<br> | ||
| + | |||
| + | |||
| + | |||
| + | Have a opinion, suggestion , question or feedback about the article let it out here! | ||
{{DISQUS}} | {{DISQUS}} | ||
Latest revision as of 10:17, 18 May 2016
In this tutorial we'll see, how to interface RTC with Starter AVR board. For this we will be using RTC breakout which has DS1307 RTC on it. For basics of RTC just have a look at our Real Time Clock(DS1307) with AVR tutorial.
Contents
Basic
As starter AVR has facility to connect LCD on board, we will display RTC data on LCD in this tutorial. So as shown in hookup connect LCD on starter board. Then connect SCL pin of RTC breakout to PC0 and SDA pin to PC1. PC0 is SCL and PC1 is SDA pin of Atmega 32 microcontroller.
Hookup
Code
Demo
Downloads
Download the complete project folder from the below link:
https://github.com/ExploreEmbedded/ATmega32_ExploreStarterAvr/archive/master.zip
Have a opinion, suggestion , question or feedback about the article let it out here!


