Difference between revisions of "8051 Ultra Development Kit"
(cart) |
|||
| (One intermediate revision by one other user not shown) | |||
| Line 5: | Line 5: | ||
We have designed this 8051 kit, so that a beginner can gradually build up from basics like LED blinking up to standard peripherals and communication protocols without having to change boards. We are shipping a USB AT89S series programmer with this board, for easy programming. The entire kit is very affordable and we are making tutorials to help you along. | We have designed this 8051 kit, so that a beginner can gradually build up from basics like LED blinking up to standard peripherals and communication protocols without having to change boards. We are shipping a USB AT89S series programmer with this board, for easy programming. The entire kit is very affordable and we are making tutorials to help you along. | ||
}} | }} | ||
| − | + | [[File:Cart add.png|right|link=https://www.exploreembedded.com/product/Ultra%208051%20Development%20Kit%20with%20USB%20Programmer]] | |
[[File:8051_Development_Kit.jpg|x500px]] | [[File:8051_Development_Kit.jpg|x500px]] | ||
| Line 49: | Line 49: | ||
Step 2: Download and install [http://www.fischl.de/usbasp/usbasp-windriver.2011-05-28.zip USB driver for the programmer.]<br/> | Step 2: Download and install [http://www.fischl.de/usbasp/usbasp-windriver.2011-05-28.zip USB driver for the programmer.]<br/> | ||
| + | ===tutorials to install drivers on windows 7 and windows 8 === | ||
| + | *[http://www.protostack.com/blog/2011/05/usbasp-driver-for-windows-7-and-windows-vista-x64/ Installing on windows 7 and windows vista] | ||
| + | *[http://letsmakerobots.com/node/36841 Installing on windows 8] | ||
| + | |||
Step 3: Download and install [http://exploreembedded.com/wiki/images/e/ef/XploreFlash.zip XploreFlash GUI]. (XploreFlash GUI is based on AVRDUDESS) | Step 3: Download and install [http://exploreembedded.com/wiki/images/e/ef/XploreFlash.zip XploreFlash GUI]. (XploreFlash GUI is based on AVRDUDESS) | ||
'''Note:If you're not able to download and install Xplore Flash, please download the PROGISP software.'''<br/> | '''Note:If you're not able to download and install Xplore Flash, please download the PROGISP software.'''<br/> | ||
Latest revision as of 16:30, 4 April 2015
Image 1
Image 2
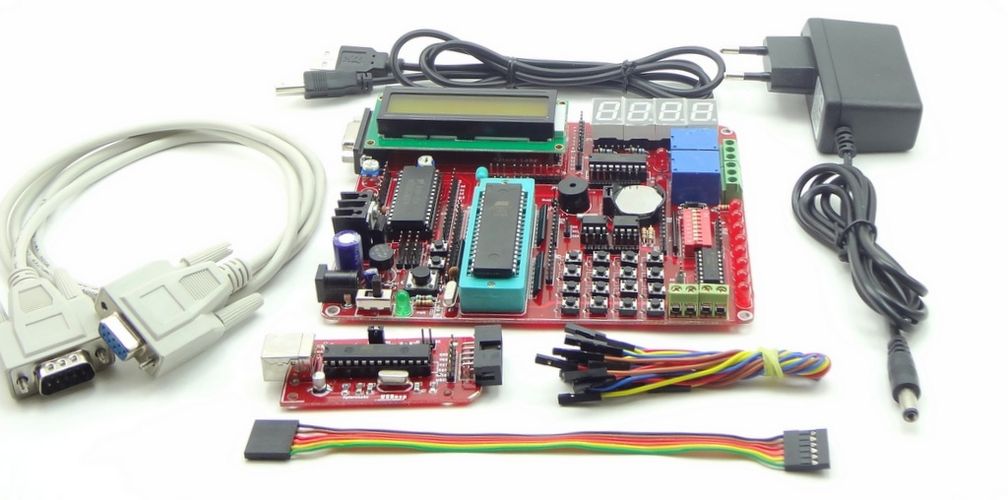
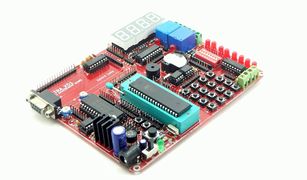
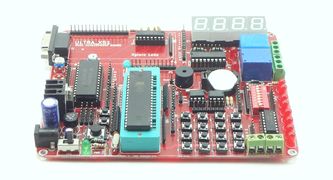
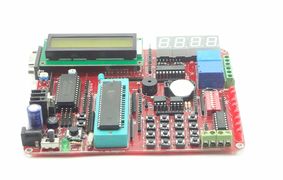
Kit Contents:1. 8051 Development Board with following Modules, ICs and Interfaces- Serial Communication with MAX232
- Eight 5mm LEDs
- Eight Switches in DIP package
- LCD 16x2
- Four Seven Segment Displays
- ADC 0808 with 555 timer for sampling frequency
- ULN 2803 Driver
- Two Relays for Switching AC devices.
- 4x4 Keypad
- L293D Motor Driver for DC and Stepper Motors
- DS1307 based Real Time Clock
- AT2404 EEPROM
2. USB Programmer for AT89S series micrcontrollers
3. Serial and USB cables.
4. Power Adapter
5. Single wire female connectors.
Tutorials and Downloads:Contents
Setting up the XploreFlash Programmer
Step 1: Xplore flash is based on various opensource software, it requires avrdude. Avrdude is part of WinAVR GCC complier. Download and install it.
Step 2: Download and install USB driver for the programmer.
tutorials to install drivers on windows 7 and windows 8
Step 3: Download and install XploreFlash GUI. (XploreFlash GUI is based on AVRDUDESS) Note:If you're not able to download and install Xplore Flash, please download the PROGISP software.
Step 4: Follow Step by step guide on using the programmer software XploreFlash program the micrcontroller. The GUI software will require .NET framework 2.0 or later please download and install it.Alternate Software for flashing hex file: Prog ISP
Download progisp
Downloads and Tutorials
8051 Video Tutorials
{{#widget:YouTube|playlist=PLRuRKN7_FVgtdXWWM-uosWYfmOFDp63dd|width=680}}
If you've any issues in downloading and installing the software or doubts with the development board, please comment below for technical support.


