Difference between revisions of "AWS IOT with Arduino ESP32"
| Line 19: | Line 19: | ||
=AWS Certificate Configuration= | =AWS Certificate Configuration= | ||
The below certificate and private key needs to be copied to aws_iot_certificate.c file in the form of array.<br> | The below certificate and private key needs to be copied to aws_iot_certificate.c file in the form of array.<br> | ||
| − | aws-root-ca.pem | + | aws-root-ca.pem |
| − | certificate.pem.crt | + | certificate.pem.crt |
| − | private.pem.key | + | private.pem.key |
[[File:ESP32 AWS IOT Certificates.png]] | [[File:ESP32 AWS IOT Certificates.png]] | ||
=Upload the sketch and verify the output = | =Upload the sketch and verify the output = | ||
Revision as of 16:46, 12 April 2017
In the earlier tutorial we discussed how to setup AWS IOT for an Amazon user account. Now lets see hot to use the Arduino esp32 AWS IOT library to communicate with AWS server.
Contents
AWS IOT for ESP32
Download the AWS IOT library for Arduino ESP32 from the below link.
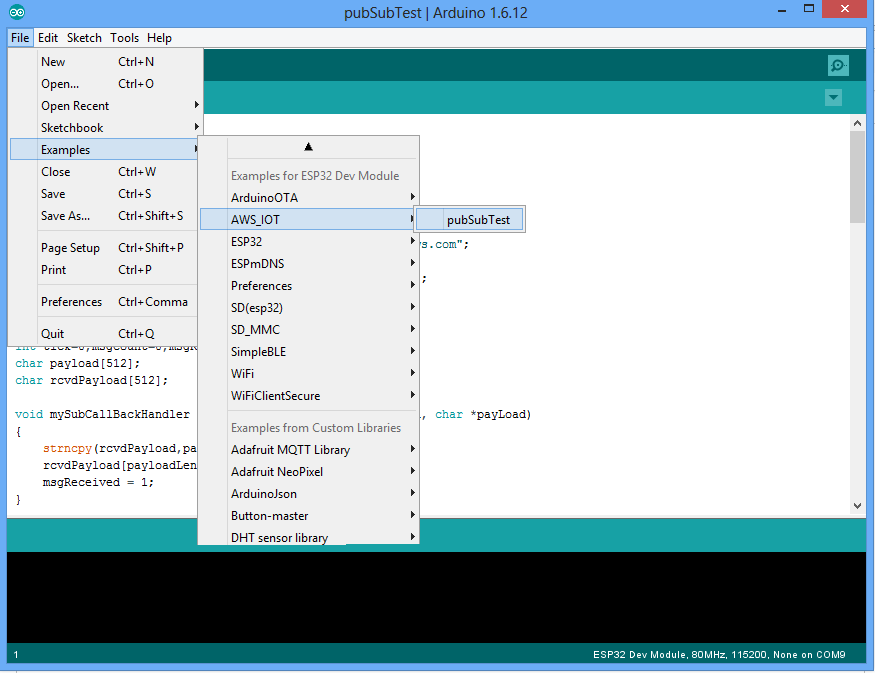
Now open the first example pubSubTest.ino as shown below.
 .
.
Wifi SSID and Host Address Configuration
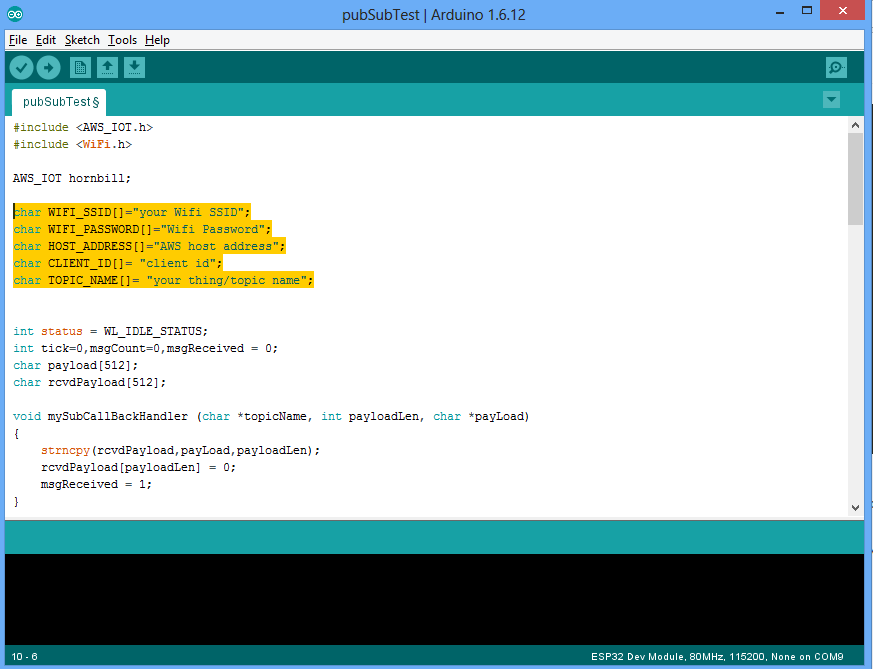
Configure the below parameters at the beginning of the sketch as shown in the image.
WIFI_SSID
WIFI_PASSWORD
HOST_ADDRESS
CLIENT_ID
TOPIC_NAME

AWS Certificate Configuration
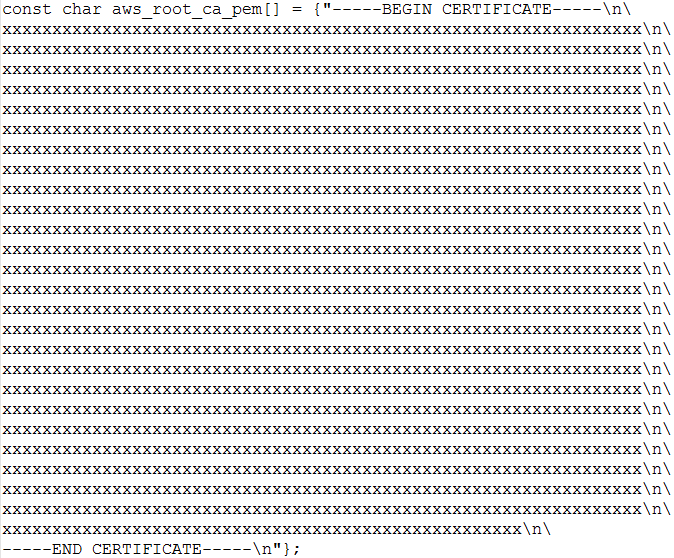
The below certificate and private key needs to be copied to aws_iot_certificate.c file in the form of array.
aws-root-ca.pem
certificate.pem.crt
private.pem.key

