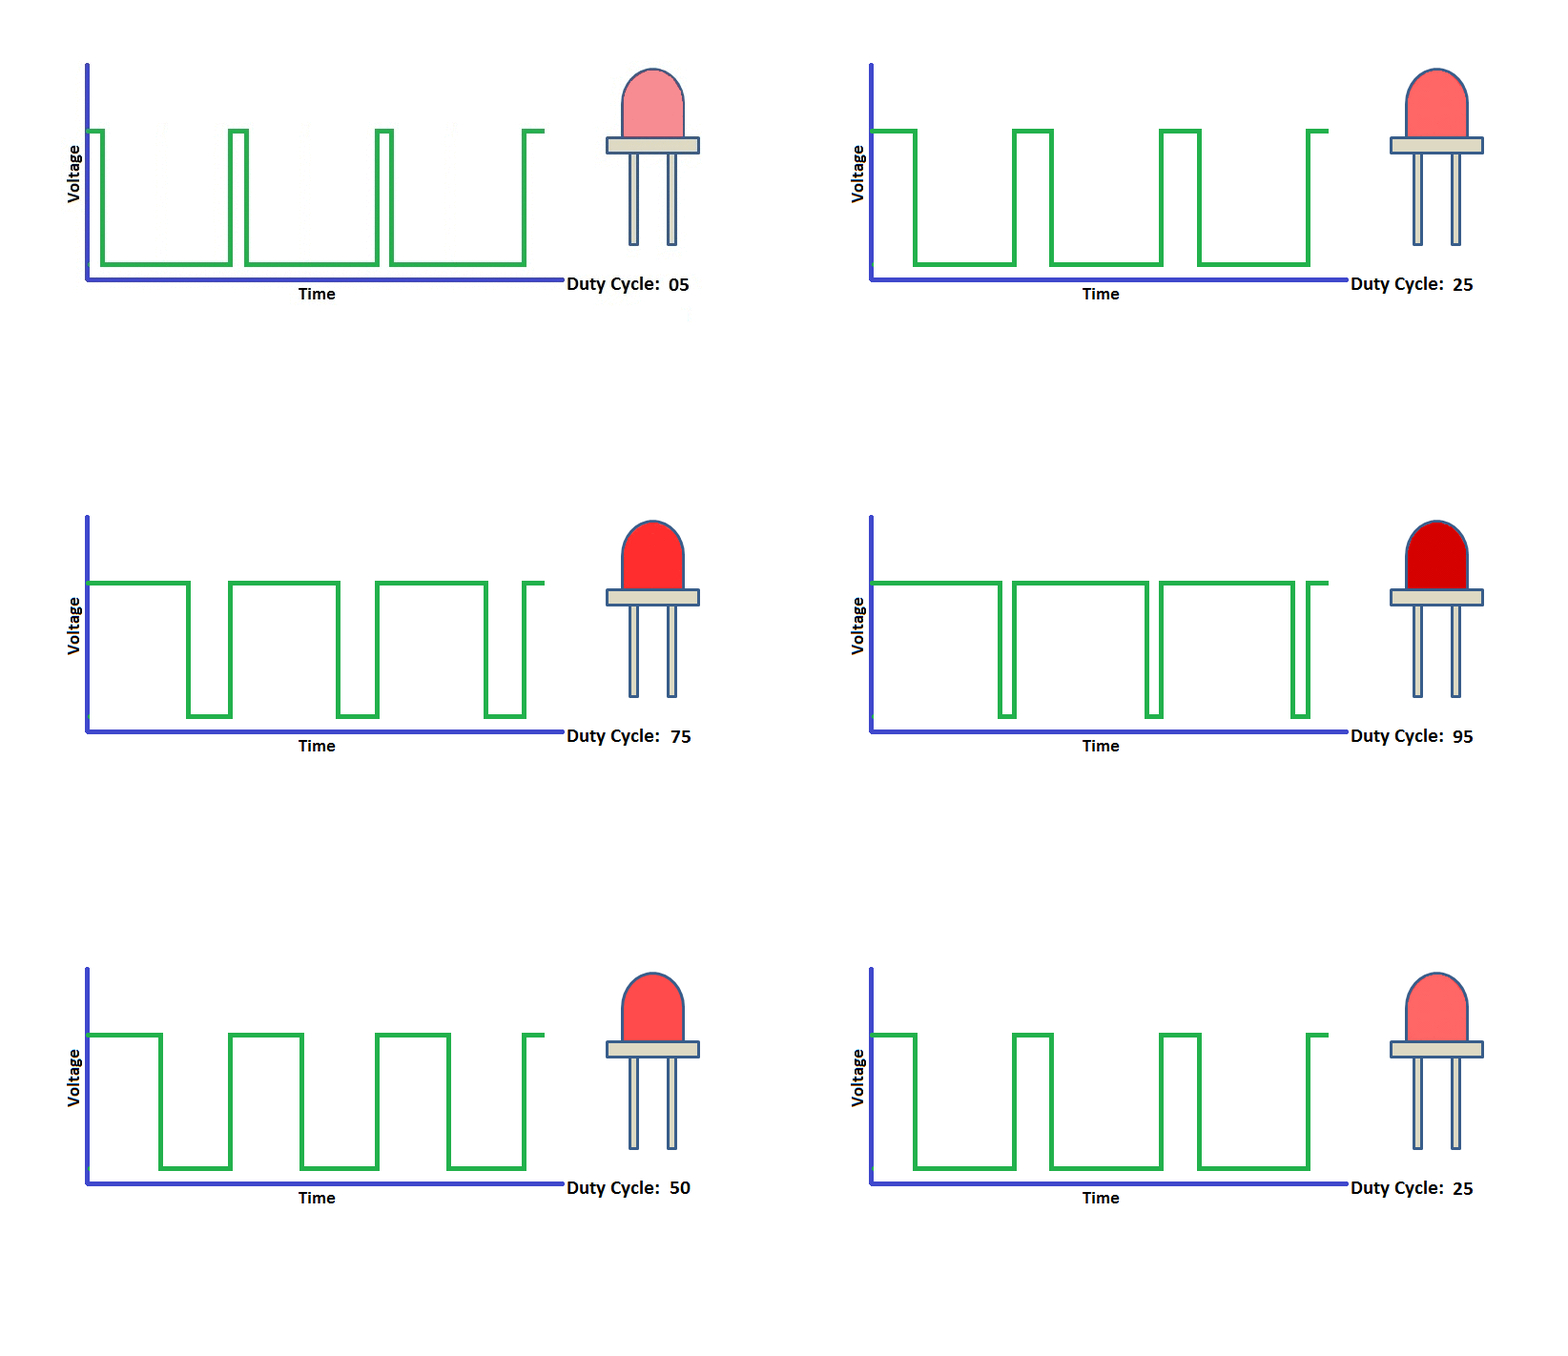
In this tutorial we will see how to generate the PWM signals on Explore M3.

0 LPC1768 PWM.gif

Prerequisites

Please check this tutorial for detailed explanation on Lpc1768 PWM module.
If you are doing it for the first time, then check the below links to setup the project for generating the .bin file.

  1. Keil4 Setup
  2. Keil5 Setup
  3. ARM GCC Setup
  4. Eclipse & ARM GCC Setup


Explore M3 PWM Module

Explore M3 has 6 PWM output pins(24-29) which are mapped to internal PWM module as shown below.

Explore M3 Pin LPC1768 Pin PWM Channel
29 P2.0 PWM1[1]
28 P2.1 PWM1[2]
27 P2.2 PWM1[3]
26 P2.3 PWM1[4]
25 P2.4 PWM1[5]
24 P2.5 PWM1[6]


Code

Below is the example to vary the brightness of the LED using PWM.

#include "gpio.h"
#include "pwm.h"
#include "delay.h"
#define CYCLE_TIME 255
#define PWM_PIN 29
/* start the main program */
int main()
{
int dutyCycle;
SystemInit(); /* Clock and PLL configuration */
PWM_Init(CYCLE_TIME); /* Initialize the PWM module and the Cycle time(Ton+Toff) is set to 255(similar to arduino)*/
PWM_Start(PWM_PIN); /* Start PWM signal generation on Selected pin */
while(1)
{
for(dutyCycle=0;dutyCycle<CYCLE_TIME;dutyCycle++) /* Increase the Brightness of the LED */
{
PWM_SetDutyCycle(PWM_PIN,dutyCycle);
DELAY_ms(5);
}
for(dutyCycle=CYCLE_TIME;dutyCycle>0;dutyCycle--) /* Decrease the Brightness of the LED */
{
PWM_SetDutyCycle(PWM_PIN,dutyCycle);
DELAY_ms(5);
}
}
}