Interactive Menus for your project with a Display and an Encoder
Ever wondered about how simple an User Interface (UI) for your next electronics hack or project be? Indeed, and you should also seen the humble rotary encoder and a Display as UI for 3D printer or other gadgets. In this tutorial we will look at building such a system with a Nokia 5110 display and a rotary encoder KY-040.
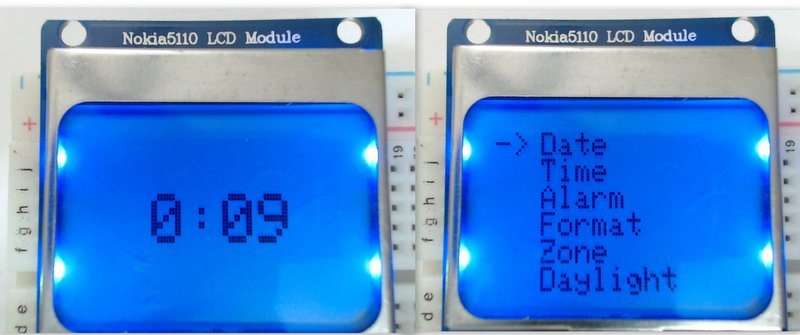
You may use any other character or graphics displays as well as other encoder models. Instead making the code generic, we will start building an UI for a digital clock. On it's home screen it will show time. The pushing of the select switch on the encoder will display the Menu. The Menu in turn will have numerous setting for time, date, time format (12 Hour vs 24 Hour ), time Zone etc..,
Encoder Basics
Encoders are great input devices which have infinite travel in both clockwise(CW) and anti-clockwise directions(CCW). What that essentially means is that the input range for your gizmo can be decided in software. As in case of your clock, the user may have to transverse a menu of say 8 items. The range for the Menu will be 0 to 7 in both directions . However to input time from the user, the hours will be (0 to 23), minutes and seconds will be (0 to 60). Encoders will help us do all of the above. Apart from this the encoder we will be using also has a select switch. Which can be used to select menu items or confirm an action.
I would highly recommend you to go through the Improved Arduino Rotary Encoder Reading instructable to understand the types of encoders, the internal mechanism and all the related terminology.

