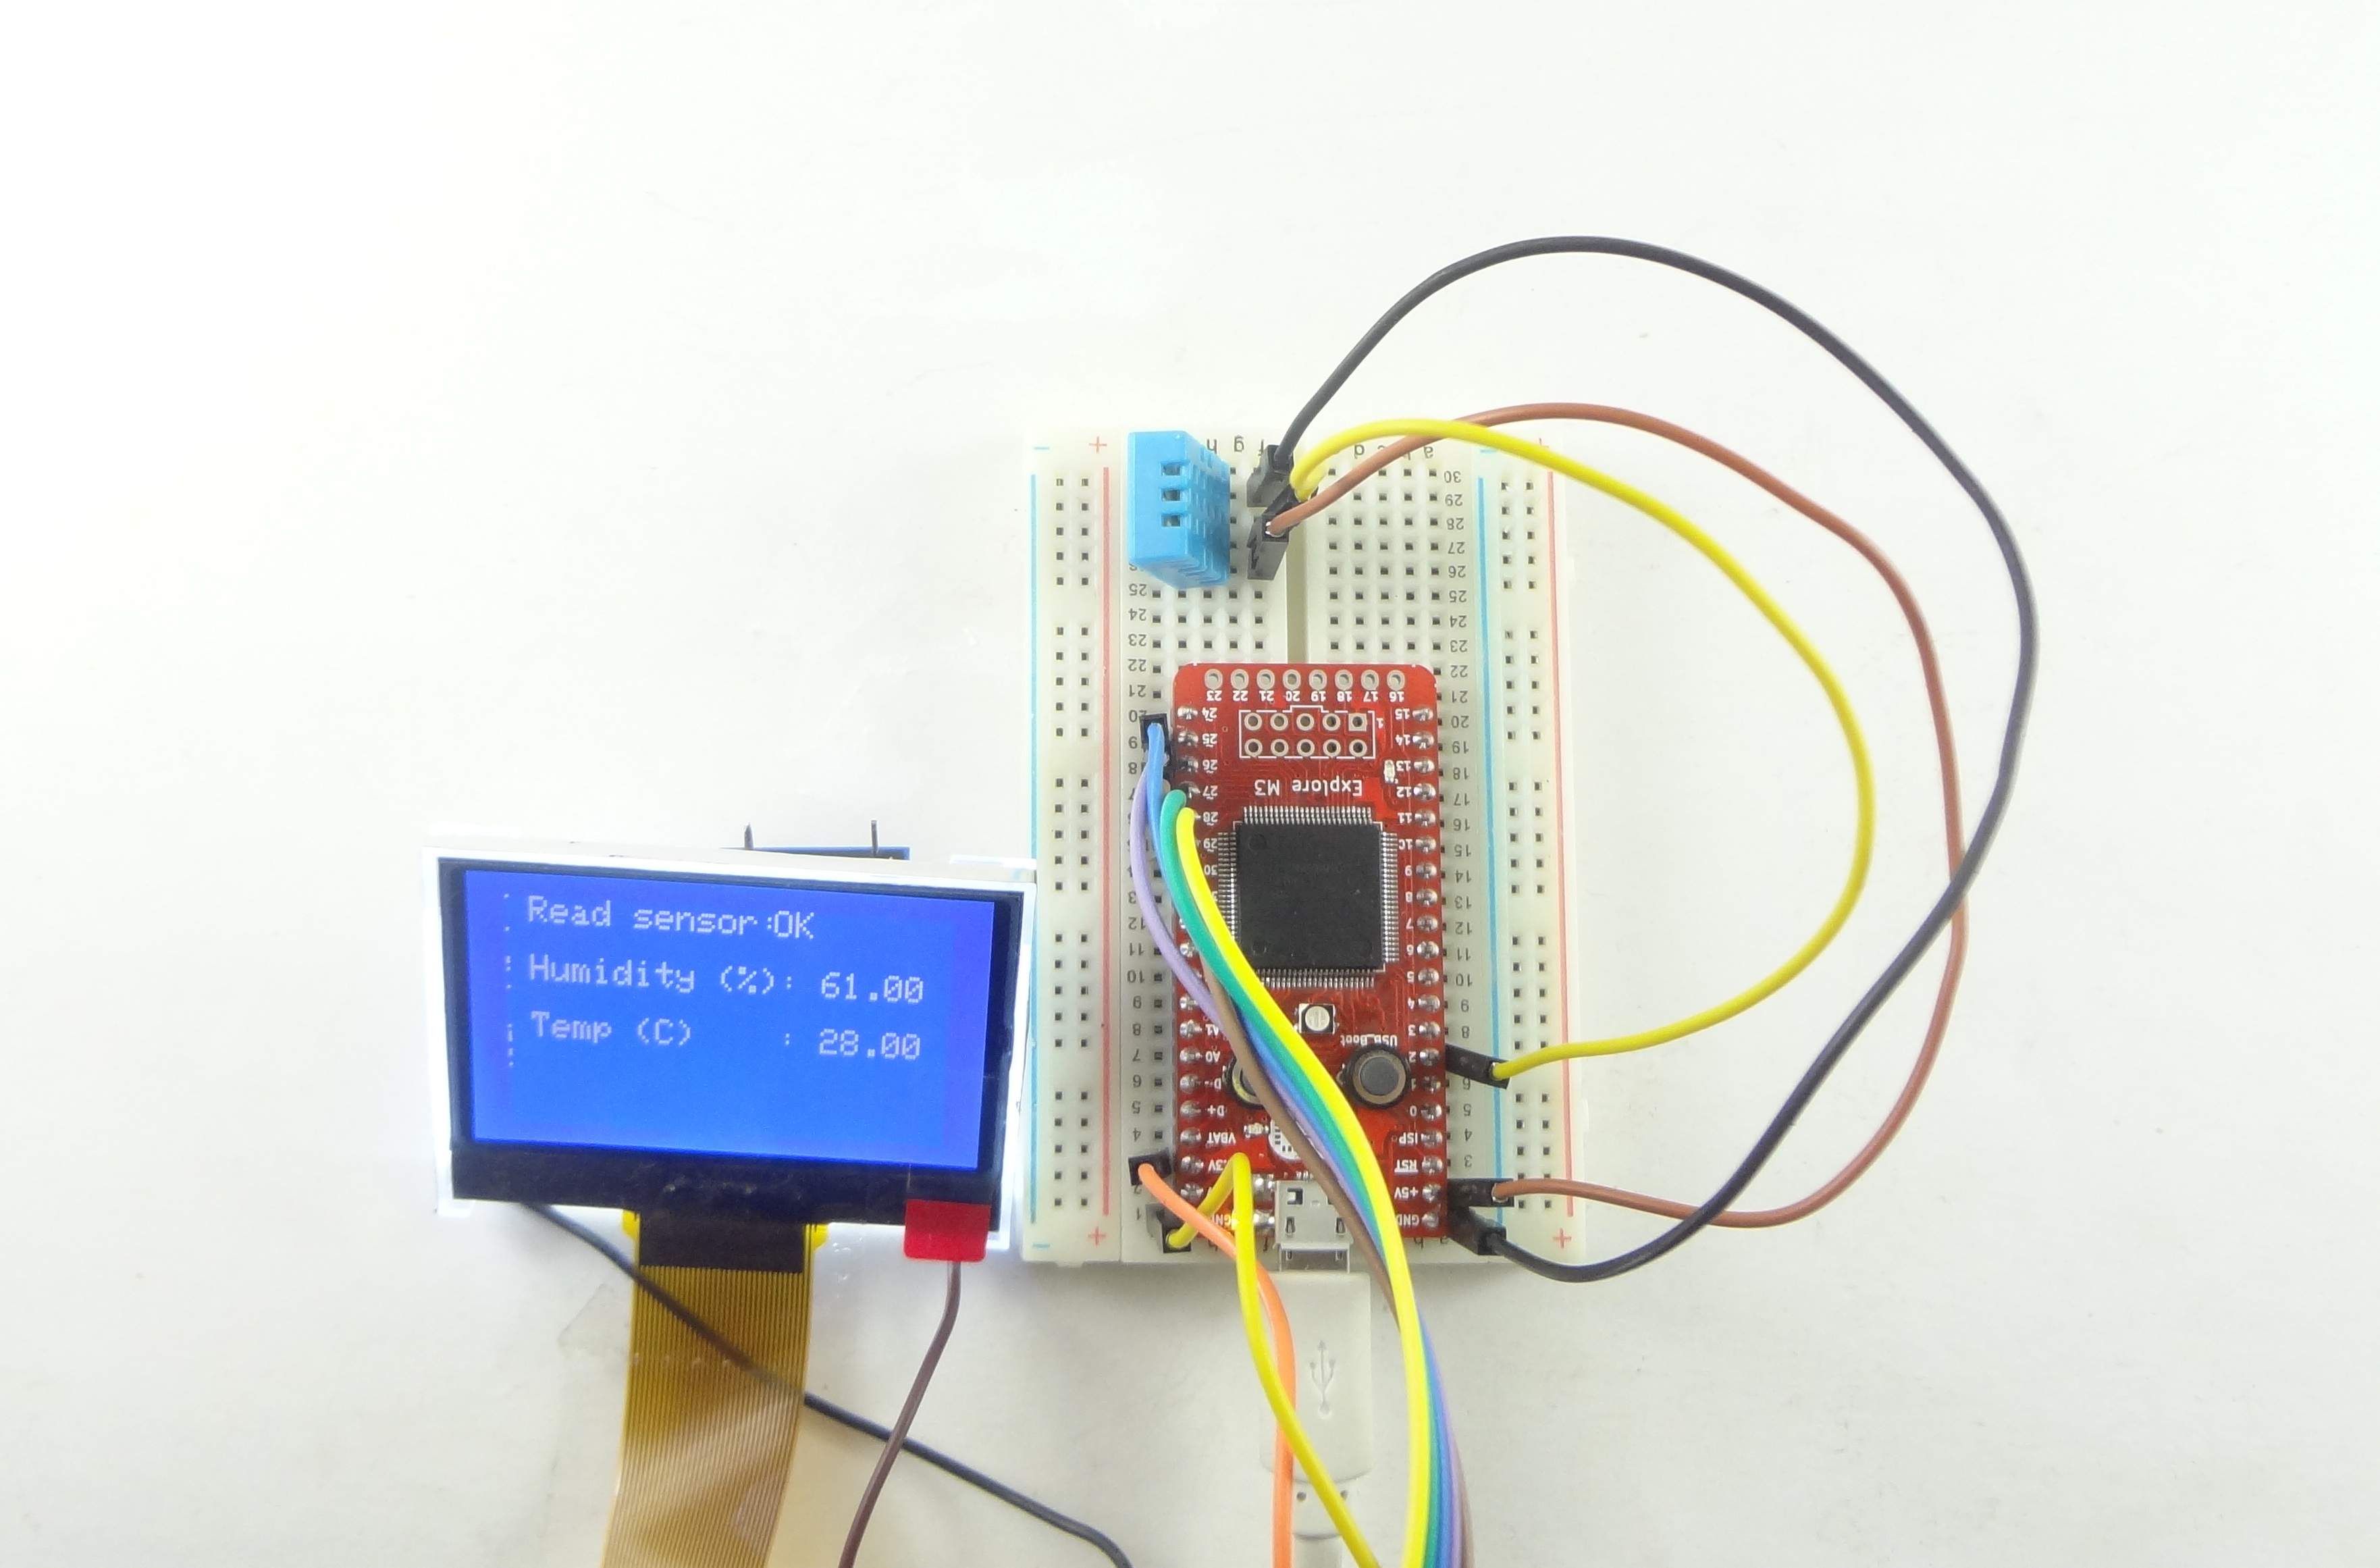
Temerature Humidity Sensor DHT11 with Explore M3
DHT11 is super inexpensive, not that accurate digital temperature and Humidity Sensory. It uses single pin to communicate with Explore M3. Let's display the parameters then on a display!
Hookup and Demo
- DHT11 uses a single pin which is connected to PIN 2 of Explore M3
- Interface for the display usedGraphics_Display_ST7565_with_Explore_M3
Code
This file contains hidden or bidirectional Unicode text that may be interpreted or compiled differently than what appears below. To review, open the file in an editor that reveals hidden Unicode characters.
Learn more about bidirectional Unicode characters
| // | |
| // FILE: dht11_test1.pde | |
| // PURPOSE: DHT11 library test sketch for Arduino | |
| // | |
| #include <dht11.h> | |
| #include "ST7565.h" | |
| //Celsius to Fahrenheit conversion | |
| double Fahrenheit(double celsius) | |
| { | |
| return 1.8 * celsius + 32; | |
| } | |
| // fast integer version with rounding | |
| //int Celcius2Fahrenheit(int celcius) | |
| //{ | |
| // return (celsius * 18 + 5)/10 + 32; | |
| //} | |
| //Celsius to Kelvin conversion | |
| double Kelvin(double celsius) | |
| { | |
| return celsius + 273.15; | |
| } | |
| // dewPoint function NOAA | |
| // reference (1) : http://wahiduddin.net/calc/density_algorithms.htm | |
| // reference (2) : http://www.colorado.edu/geography/weather_station/Geog_site/about.htm | |
| // | |
| double dewPoint(double celsius, double humidity) | |
| { | |
| // (1) Saturation Vapor Pressure = ESGG(T) | |
| double RATIO = 373.15 / (273.15 + celsius); | |
| double RHS = -7.90298 * (RATIO - 1); | |
| RHS += 5.02808 * log10(RATIO); | |
| RHS += -1.3816e-7 * (pow(10, (11.344 * (1 - 1/RATIO ))) - 1) ; | |
| RHS += 8.1328e-3 * (pow(10, (-3.49149 * (RATIO - 1))) - 1) ; | |
| RHS += log10(1013.246); | |
| // factor -3 is to adjust units - Vapor Pressure SVP * humidity | |
| double VP = pow(10, RHS - 3) * humidity; | |
| // (2) DEWPOINT = F(Vapor Pressure) | |
| double T = log(VP/0.61078); // temp var | |
| return (241.88 * T) / (17.558 - T); | |
| } | |
| // delta max = 0.6544 wrt dewPoint() | |
| // 6.9 x faster than dewPoint() | |
| // reference: http://en.wikipedia.org/wiki/Dew_point | |
| double dewPointFast(double celsius, double humidity) | |
| { | |
| double a = 17.271; | |
| double b = 237.7; | |
| double temp = (a * celsius) / (b + celsius) + log(humidity*0.01); | |
| double Td = (b * temp) / (a - temp); | |
| return Td; | |
| } | |
| ST7565 glcd(29, 28, 27, 26, 25); | |
| dht11 DHT11; | |
| #define DHT11PIN 2 | |
| void setup() | |
| { | |
| Serial.begin(115200); | |
| Serial.println("DHT11 TEST PROGRAM "); | |
| Serial.print("LIBRARY VERSION: "); | |
| Serial.println(DHT11LIB_VERSION); | |
| Serial.println(); | |
| glcd.begin(0x18); | |
| // draw a string at location (0,0) | |
| // glcd.drawstring(0, 0, " Welcome to Explore Embedded"); | |
| // glcd.display(); | |
| } | |
| void loop() | |
| { | |
| Serial.println("\n"); | |
| int chk = DHT11.read(DHT11PIN); | |
| glcd.drawstring(0, 0, " Read sensor: " ); | |
| glcd.display(); | |
| //Serial.print("Read sensor: "); | |
| switch (chk) | |
| { | |
| case DHTLIB_OK: | |
| glcd.drawstring(70, 0, " OK" ); | |
| glcd.display(); | |
| //Serial.println("OK"); | |
| break; | |
| case DHTLIB_ERROR_CHECKSUM: | |
| Serial.println("Checksum error"); | |
| break; | |
| case DHTLIB_ERROR_TIMEOUT: | |
| Serial.println("Time out error"); | |
| break; | |
| default: | |
| Serial.println("Unknown error"); | |
| break; | |
| } | |
| //Serial.print("Humidity (%): "); | |
| glcd.drawstring(0, 2, " Humidity (%): " ); | |
| glcd.drawNumFloat(90,2,DHT11.humidity,2); | |
| glcd.display(); | |
| // Serial.println((float)DHT11.humidity, 2); | |
| //Serial.print("Temp (°C): "); | |
| glcd.drawstring(0, 4, " Temp (C) : " ); | |
| glcd.drawNumFloat(90,4,DHT11.temperature,2); | |
| glcd.display(); | |
| //Serial.println((float)DHT11.temperature, 2); | |
| delay(2000); | |
| } | |
| // | |
| // END OF FILE | |
| // |
References

