Accelerometer ADXL335 with Explore M3
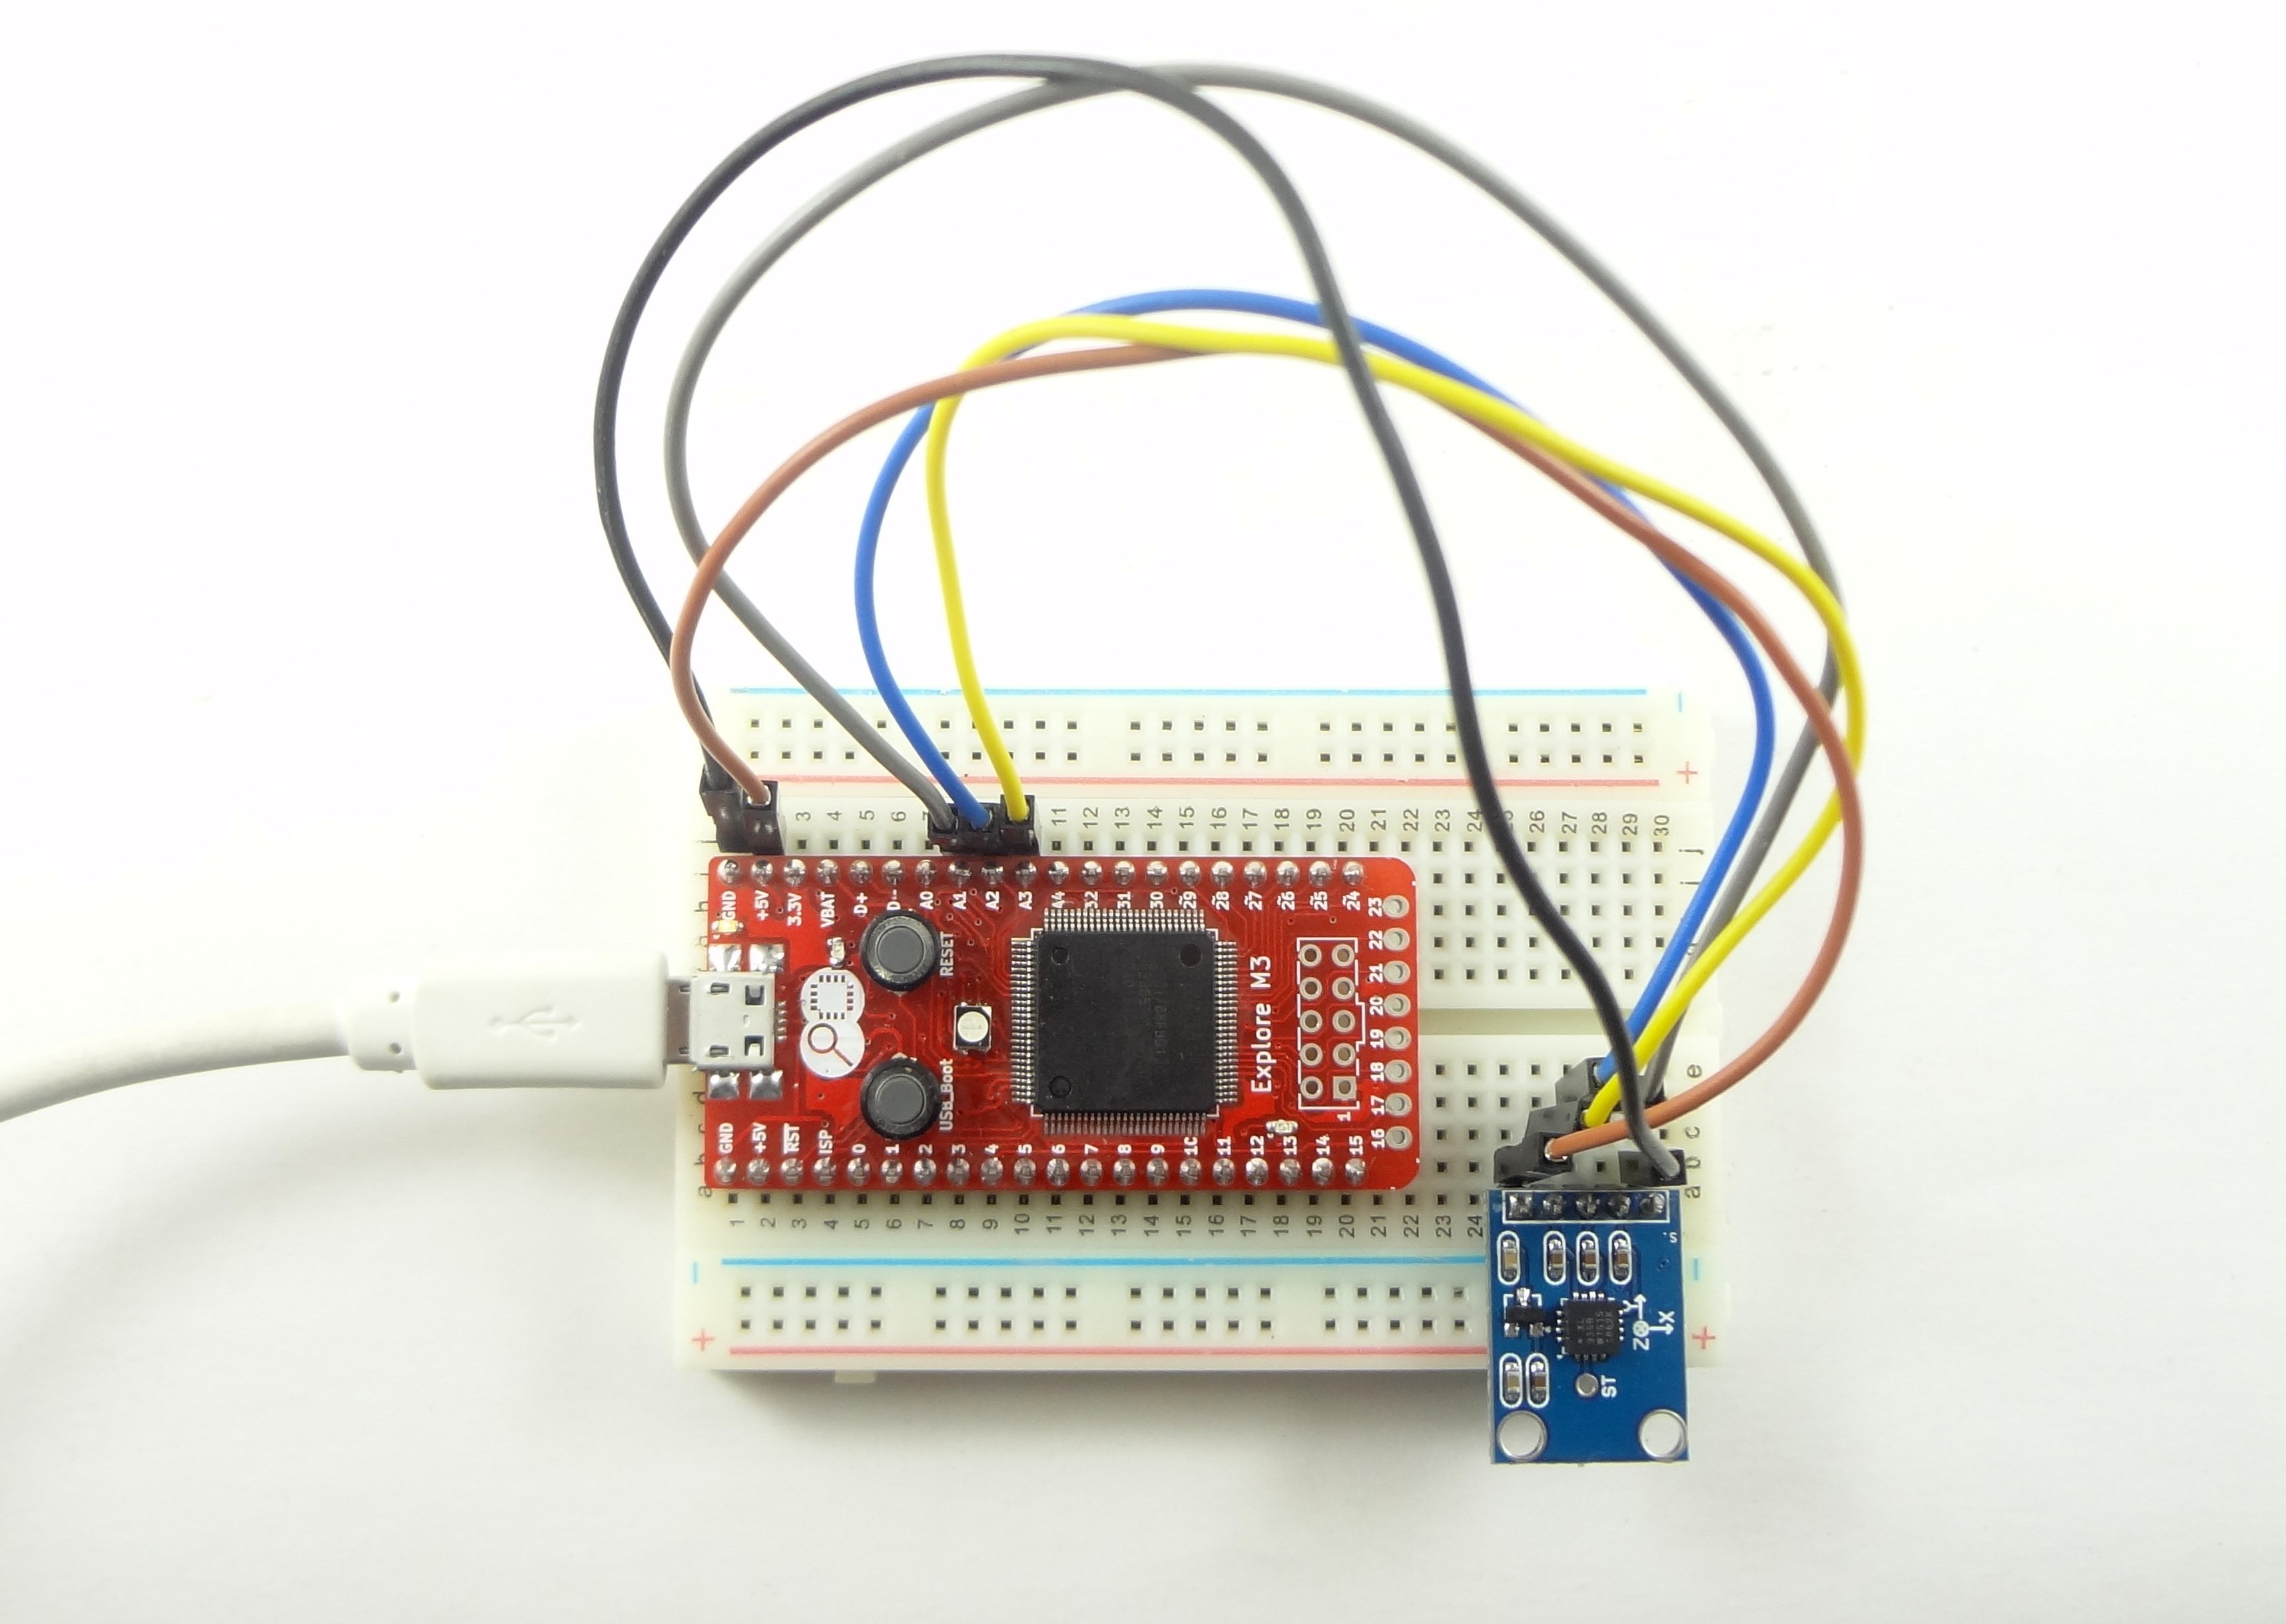
The ADXL335 is an three axis analog accelerometer which outputs raw X, Y and Z axis values on three pins. Let's connect these to the analog input pins on Explore M3 and log the data to the serial monitor.
Hookup
Explore M3 | ADXL335 |
---|---|
5v | 5v |
GND | GND |
A3 | X axis pin |
A2 | Y axis pin |
A1 | Z axis pin |
Code
This is a standard Arduino example that I will be using. We will make a tutorial some time later to do some math and put the accelerometer to good use.
/* | |
ADXL3xx | |
Reference: | |
http://www.arduino.cc/en/Tutorial/ADXL3xx | |
The circuit: | |
analog 0: accelerometer self test | |
analog 1: z-axis | |
analog 2: y-axis | |
analog 3: x-axis | |
analog 4: ground | |
analog 5: vcc | |
created 2 Jul 2008 | |
by David A. Mellis | |
modified 30 Aug 2011 | |
by Tom Igoe | |
This example code is in the public domain. | |
*/ | |
// these constants describe the pins. They won't change: | |
//const int groundpin = 18; // analog input pin 4 -- ground | |
//const int powerpin = 19; // analog input pin 5 -- voltage | |
const int xpin = A3; // x-axis of the accelerometer | |
const int ypin = A2; // y-axis | |
const int zpin = A1; // z-axis (only on 3-axis models) | |
void setup() | |
{ | |
// initialize the serial communications: | |
Serial.begin(9600); | |
// Provide ground and power by using the analog inputs as normal | |
// digital pins. This makes it possible to directly connect the | |
// breakout board to the Arduino. If you use the normal 5V and | |
// GND pins on the Arduino, you can remove these lines. | |
// pinMode(groundpin, OUTPUT); | |
// pinMode(powerpin, OUTPUT); | |
// digitalWrite(groundpin, LOW); | |
// digitalWrite(powerpin, HIGH); | |
} | |
void loop() | |
{ | |
// print the sensor values: | |
Serial.print(analogRead(xpin)); | |
// print a tab between values: | |
Serial.print("\t"); | |
Serial.print(analogRead(ypin)); | |
// print a tab between values: | |
Serial.print("\t"); | |
Serial.print(analogRead(zpin)); | |
Serial.println(); | |
// delay before next reading: | |
delay(100); | |
} |
Demo
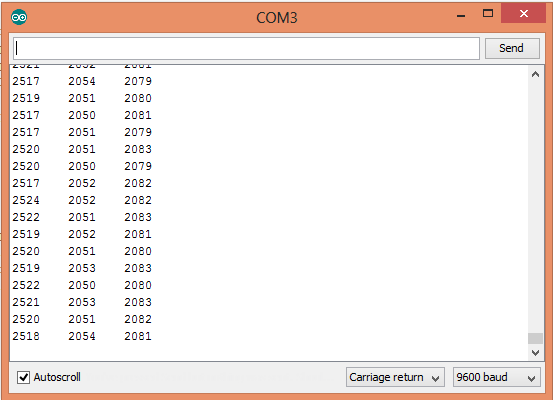
The log on the serial monitor.

Explore M3 Introduction
Explore M3 is a feature rich ARM Cortex M3 development board. It can help you prototype ideas faster with Arduino/mbed and take them be beyond with bare metal programming, RTOS support and lower power...

Arduino Setup for Explore M3
In this tutorial we will look at the basic setups of setting up the ExploreM3 on Arduino and installing DFU and Vcom drivers on Windows, Linux and MAC. Finally we will flash a simple led-blink example...

Led Blink with Explore M3
Blinking an LED is fun for a newbie, a setup test for a Embedded Developer and for this tutorial it getting started with Explore M3 and answering some basic questions like, where did it come from...

Explore M3 Arduino Libraries
Arduino libraries need no introduction. There are numerous devices and peripherals that work with Arduino. This page lists all the libraries that have been tested or ported to Explore M3. ...